Struggling with complicated code and technical jargon while trying to create a stunning picture gallery for your website? We’ve got your back! In this blog, we’re here to make your life easier by introducing a fantastic solution: a photo gallery widget that’s completely coding-free and incredibly simple to use.
Let’s discover how this responsive photo gallery widget for website optimization can be your go-to tool for creating eye-catching photo galleries without breaking a sweat.
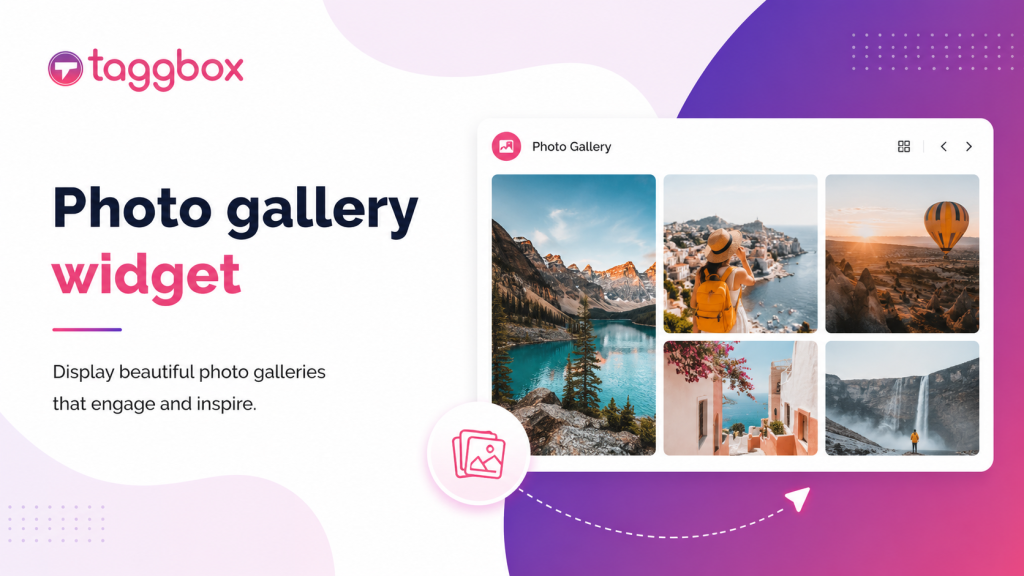
What is a Photo Gallery Widget?
A photo gallery widget is a tool used to display images and photos directly on your website by pooling multiple images into a single, cohesive display block.
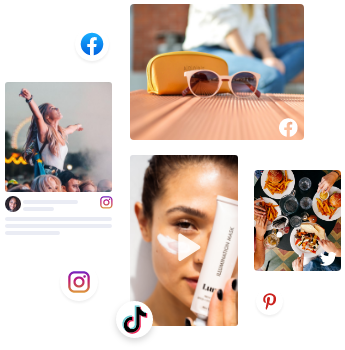
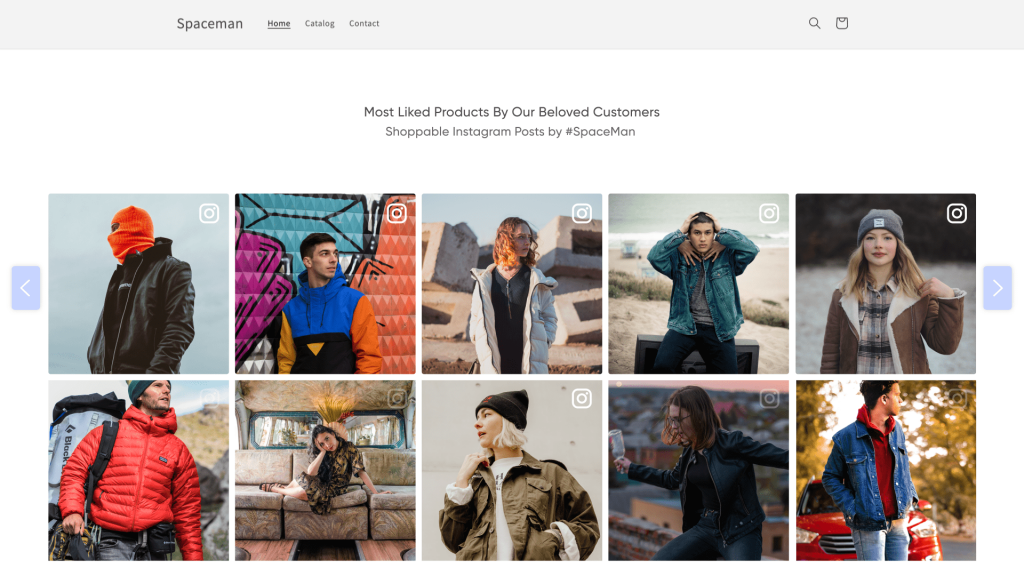
Con Taggbox, you can aggregate photos from various social networks, including Instagram, X (formerly Twitter), Facebook, and Pinterest. You can also visit the Photo Gallery Widgets Libreria di modelli to explore all the available themes and see what else you can achieve with a social gallery and widget setup. It eliminates the need for complex coding or technical expertise, making this highly intuitive image gallery widget accessible to everyone from website owners and bloggers to professional photographers.
How Do You Embed Photo Gallery on Website Platforms?
With a modern photo widget, you can effortlessly create visually appealing galleries that enhance your website’s overall aesthetic. It allows you to organize and showcase your images in a structured, engaging manner, providing a seamless experience for your visitors.
Whether you want to exhibit your portfolio, share memorable event moments, or showcase products, learning how to embed photo gallery streams offers an effective setup. When you are ready to embed photo gallery on website layouts, the process involves a few straightforward steps:
1: Creare un Taggbox Account
- Inizia accedendo al tuo Taggbox account. If you don’t have one yet, iscriviti gratuitamente account. Once logged in, you will be directed to the social network selection screen.

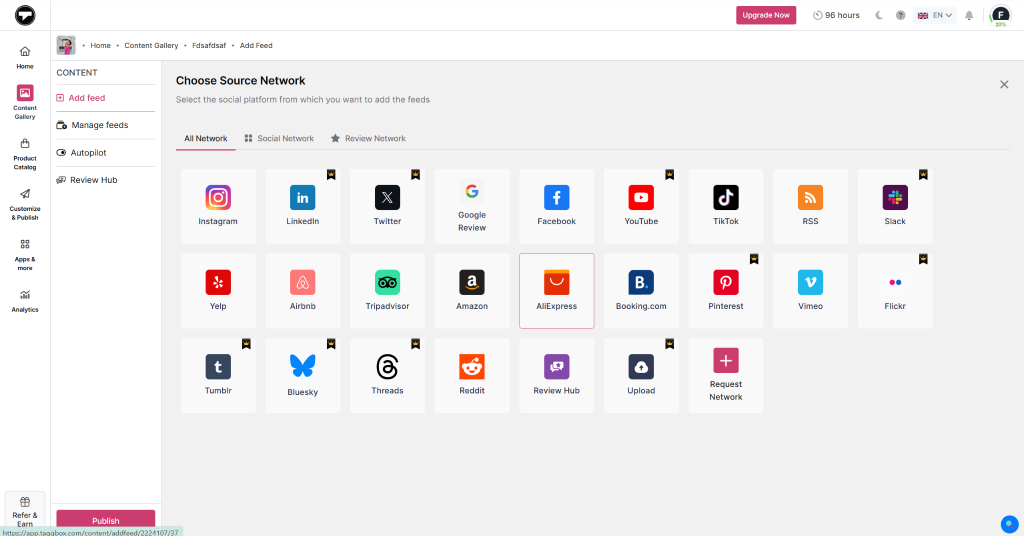
2: Scegli la tua fonte
Nella dashboard, fare clic su “Aggiungi feed social” to bring photo content into your photo widget. In the source pop-up that appears, select your preferred platform (such as Instagram, Facebook, or X). Enter your desired post type or handles, and click the "Crea Feed" pulsante.
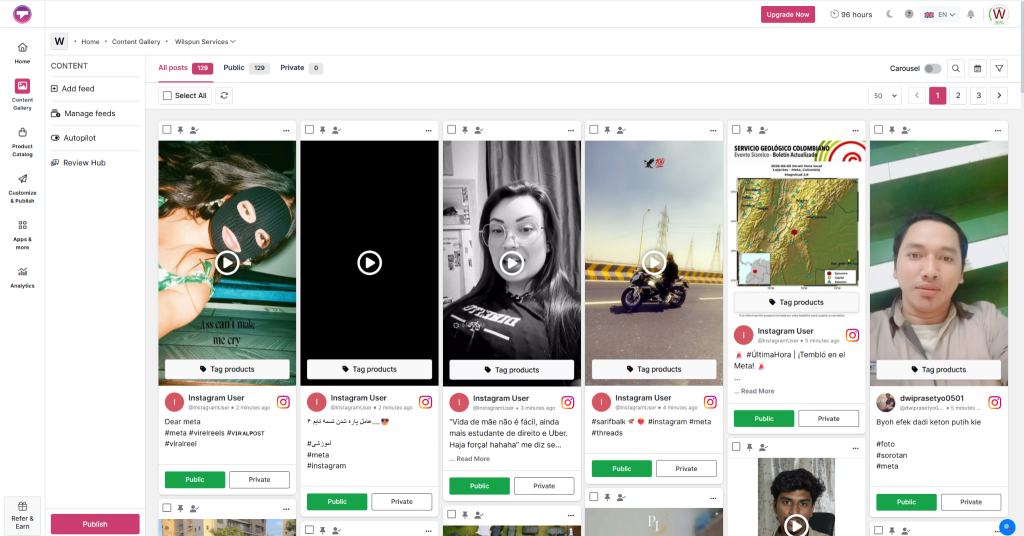
3: Moderate feed
Filter out any posts you do not want to showcase in your public widget. Use ai moderation feature to smartly do this task
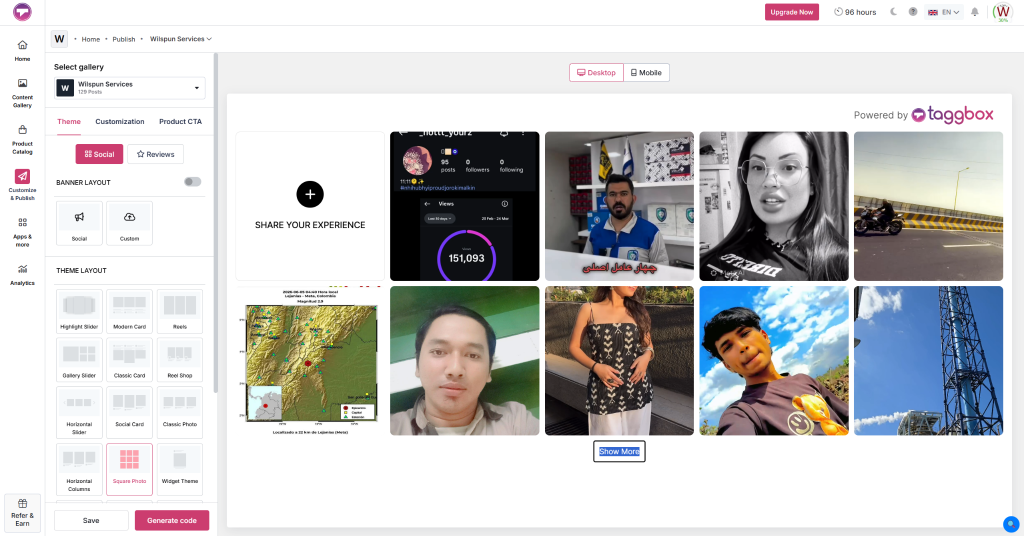
4: Personalizza il widget
Use the latest themes and other customization features to customize your photo widget easily. Make it more attractive and similar to your website theme.
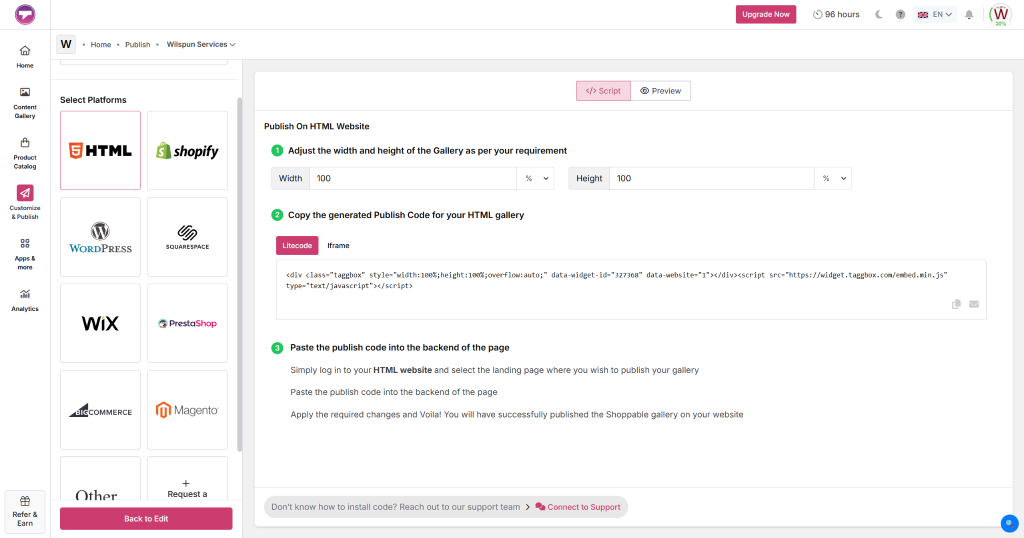
5: Embed and Publish
Clicca sul Pubblica button and choose your specific website builder (e.g., WordPress, Wix, or Squarespace). Copy the generated embed code, navigate to the backend page where you want the gallery to appear, and paste it into an HTML block to deploy your custom HTML photo gallery widget.
Create And Embed Photo Gallery Displays For Free!
Leverage a dynamic photo gallery widget to feature content from Instagram, Facebook, X, and more. Multiple Themes.
Iscriviti, è GRATISNon è necessaria la carta di credito.
Caratteristiche distintive del Taggbox Widget Galleria Fotografica
Explore the core features designed to elevate your website’s visual impact and user experience:
a). Opzioni personalizzabili:
The image gallery widget is completely customizable, allowing you to tweak colors, fonts, spacing, and templates to craft a unique visual journey that aligns perfectly with your brand identity.
a). Design reattivo:
This adaptive photo widget layout automatically adjusts its size to fit any screen or device flawlessly, including desktops, tablets, and smartphones.
c). Aggiornamenti in tempo reale:
The system fetches live posts from your chosen social media platforms. Whenever new content is posted there, your social gallery and widget instantly and automatically refresh.
D). Didascalie delle immagini:
Provide context or storytelling by showing or hiding captions on individual images within the generated feed.
E). Advanced Moderation:
Take full control over what appears on your site. Filter content, block specific tags, or manually approve posts before they go live on your photo gallery widget per il sito web layout.
f). CSS personalizzato:
For those who want absolute design control over their HTML photo gallery widget, you can inject custom CSS code to fine-tune the layout and turn your gallery into a custom masterpiece.
g). Hub di revisione:
Effortlessly gather user feedback using a “ReviewHub” button or a dedicated QR code generated right within your web display, reducing your reliance on external review platforms.
What is the Best Way to Use a Photo Gallery Widget for Website Conversions?
Where you place your imagery matters. Here are the most effective placements for maximum impact:
1. Pagina iniziale:
Placing a photo widget here acts as a dynamic introduction to your brand, instantly engaging visitors with your latest highlights or products.
2. Dedicated Gallery Page:
Perfect if you have an extensive collection of photos or want to categorize your work into clean, easy-to-navigate albums.
3. Product or Portfolio Pages:
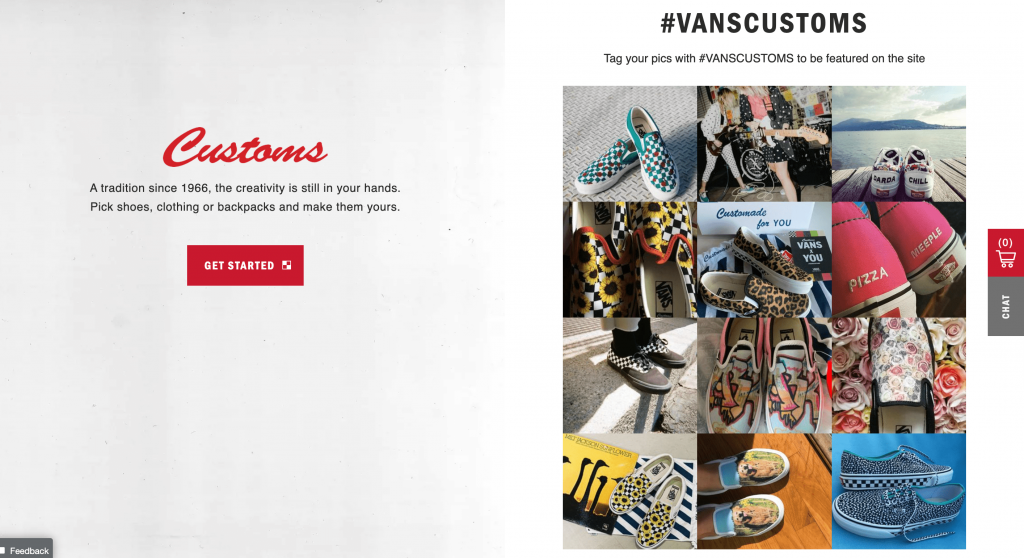
Essential for e-commerce sites and creative professionals to display close-up details, variations, or real-life use cases using an image gallery widget.
4. I post del blog:
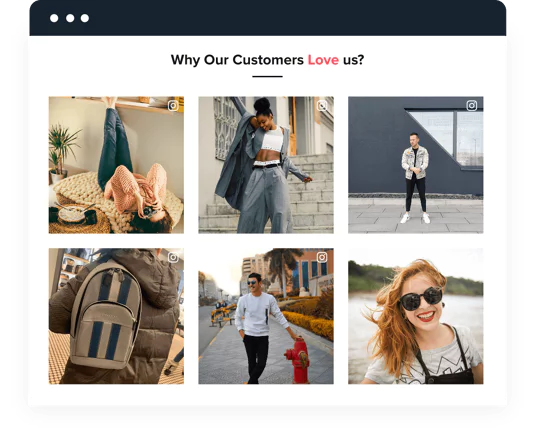
Break up text-heavy blogs with relevant image galleries to illustrate your points and make your articles more readable.
5. Memories or Wall of Fame Pages:
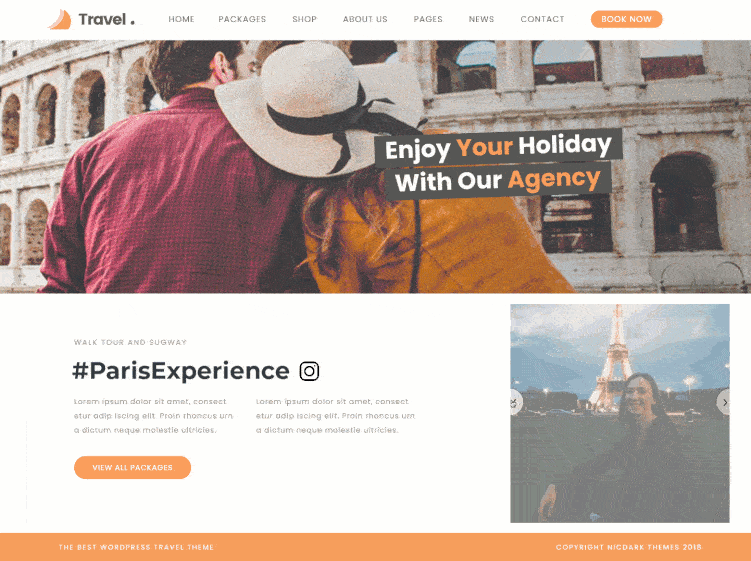
Great for building social proof. For example, Leela Hotels utilized a Taggbox memories page to highlight user-generated content, successfully driving community building and on-site engagement.
6. Event Pages:
Use galleries as a visual recap of past events, allowing attendees to relive the experience and showing prospective guests what to expect next time.
7. barre laterali:
Supplement your primary content on content-heavy sites or blogs by adding small, featured image feeds in the sidebar.
8. Header or Footer:
Subtle, rotating mini-galleries in these zones add continuous visual interest without disrupting the main page layout.
9. Pagine di destinazione:
Marketing campaigns heavily rely on visuals to convert. When you embed a photo gallery on a website landing page, it significantly boosts trust. To kickstart your layout without starting from scratch, consider pairing your widget with pre-designed templates like Digital Marketing or Accounting landing page templates.

Integra gratuitamente la Galleria Immagini del Sito Web sul tuo Sito Web
Inizia gratuitamenteWhy Do Brands Need a Photo Gallery Widget?
a). Increases Visitor Engagement:
Captivate users with highly stimulating visual stories via an active social gallery and widget that grabs attention far better than standard text.
b). Enhance Website Sales:
High-quality images and user-generated social proof help potential customers understand your products better, giving them the confidence to purchase.
c). Migliora l'esperienza dell'utente:
A well-organized gallery allows users to effortlessly flip through multiple images without having to navigate away to separate web pages.
D). Increases Time-on-Site:
When users are drawn into your visuals, they stay longer. This increased dwell time signals health to search engines, helping lower your bounce rates and improve SEO rankings.
E). Tells a Compelling Visual Story:
Share your brand’s journey, introduce your team, or give a behind-the-scenes look at your operations to build an emotional connection with your audience. As a blogger, you can easily use visual storytelling through the Blogger photo gallery widget to create a stronger emotional bond with your audience.
Avvolgere Up
Deploying a photo gallery widget offers a hassle-free, user-friendly solution for transforming your website’s visual appeal. Because this system acts as an easy-to-configure HTML photo gallery widget, anyone can build a stunning, interactive photo journey in minutes. Implement one today to give your web visitors a more engaging online experience!