How To Create An RSS Feed on Screen Cloud?
To create an RSS feed, you need to follow the given steps-
Step 1
First Signup or Login to your Taggbox Display account
Step 2
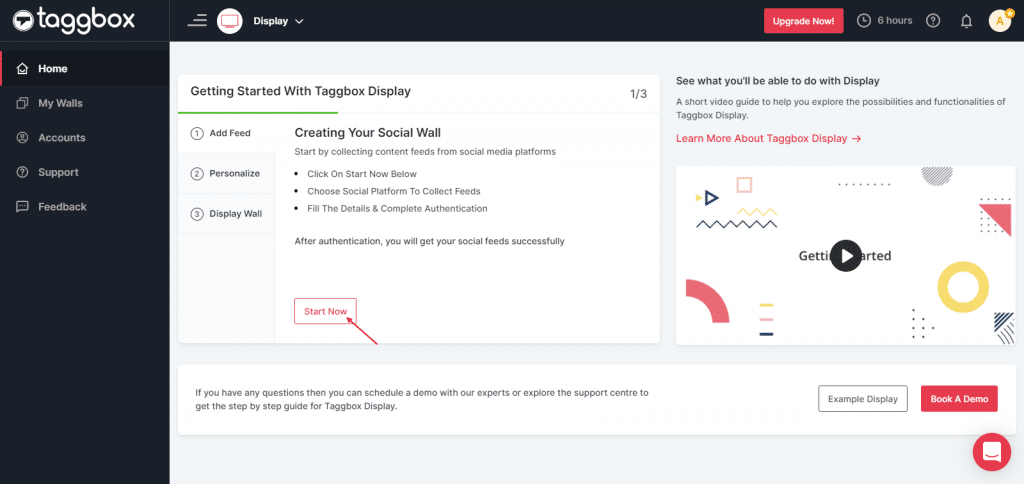
After Login you will be land on the Taggbox Display Home, Click on Start Now and on Next Screen you will ask to choose a network to create social wall
Step 3
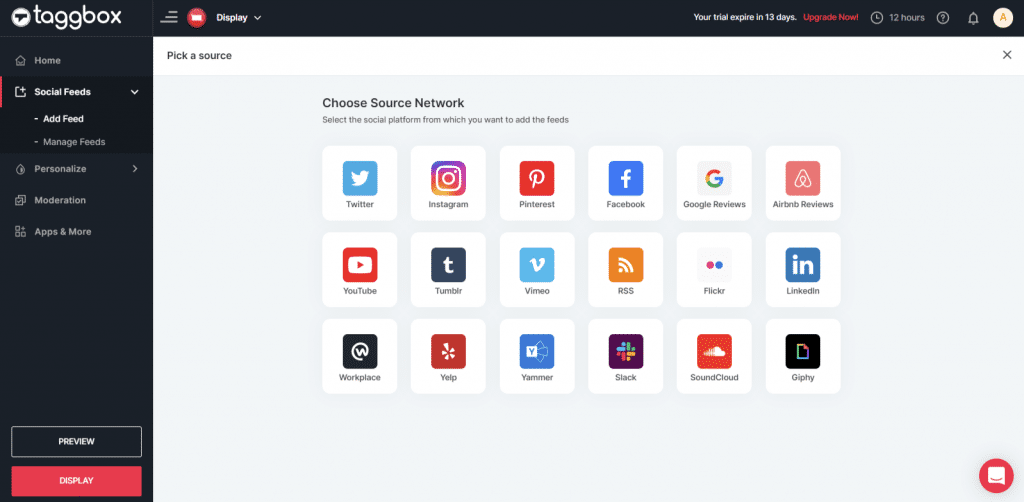
In the popup that appears, select the source “RSS”.
Step 4
A box will appear in which you have to fill up the details of the “display name” and “feed URL” column as per your requirement.
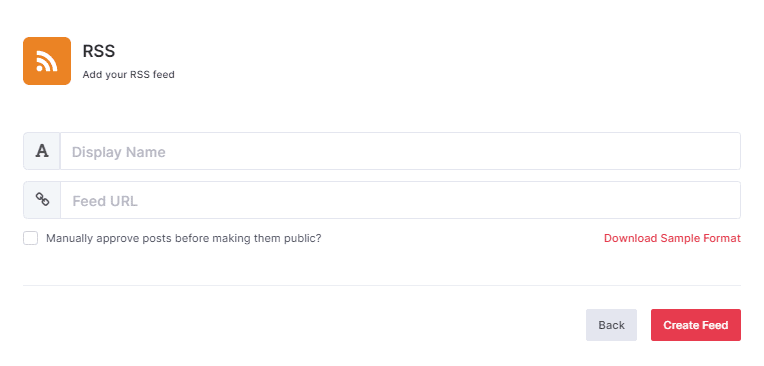
To enable Moderation on the connection select “Manually approve posts before making them public”.
Step 5
Then click the “Create Feed” button to complete the process.
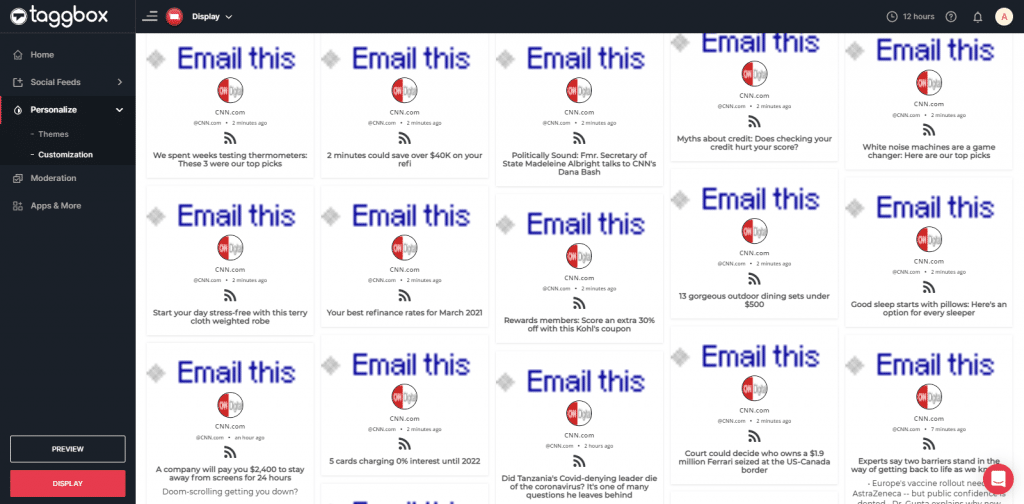
Great, the Connection has been created and within a few moments posts will appear in the Wall Editor.
Display RSS Feed on Screencloud
Step 1
Click on the Display button at the bottom of the left column.
Step 2
Select Screen Cloud as your digital signage option.
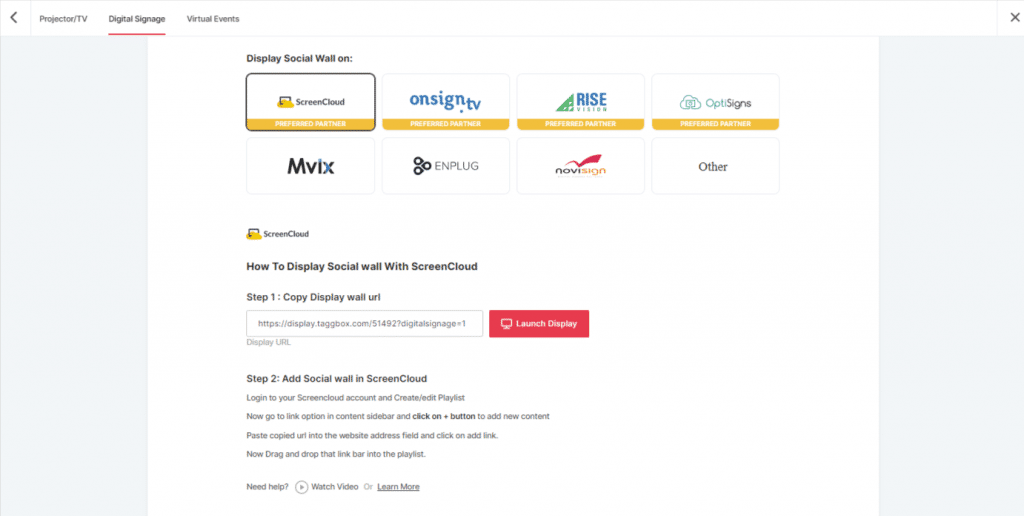
Step 3
A dialogue box explaining steps to display social wall on Screen Cloud will appear. From the last step, copy the Embed Code/ URL to the clipboard.
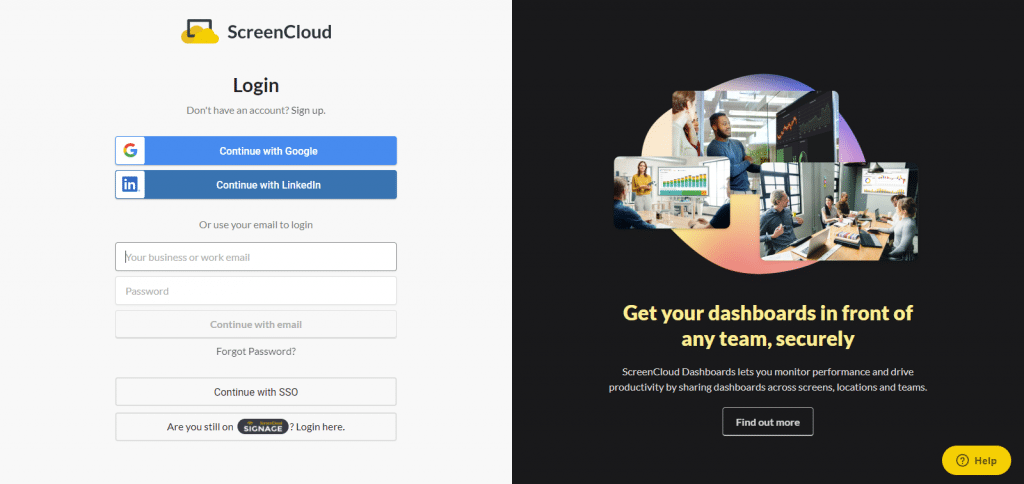
Step 4
Now, login to your Screen Cloud account.
Step 5
Click on “Apps” and Search for Taggbox Display
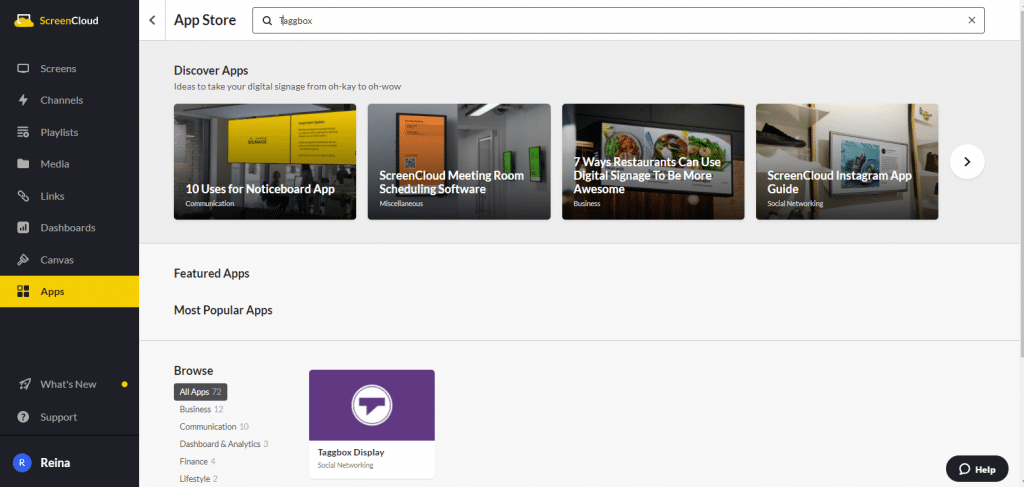
Step 6
Now you will get the app guide, click on get option

Step 7
Now give name to your wall, enter the unique URL of your social media wall (as per above), select the theme and number of posts. Click save.
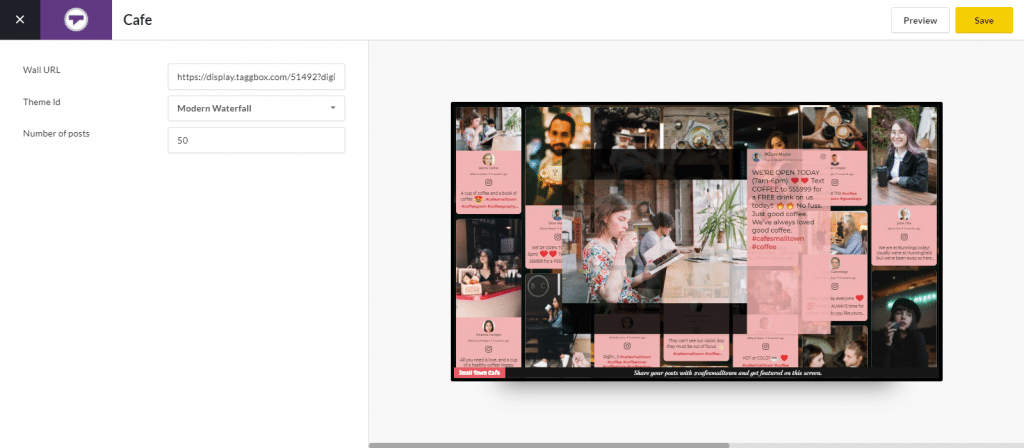
Great! You have successfully integrated your RSS feed wall on the Screen Cloud digital signage.
If you have any questions or need help, please contact us or write to us at [email protected]