In this video, you will learn how to create and embed a Shoppable gallery on a website using Taggbox Commerce.
So, Here is a step-by-step guide on how to create & embed a Shoppable Gallery or Shoppable Feed.
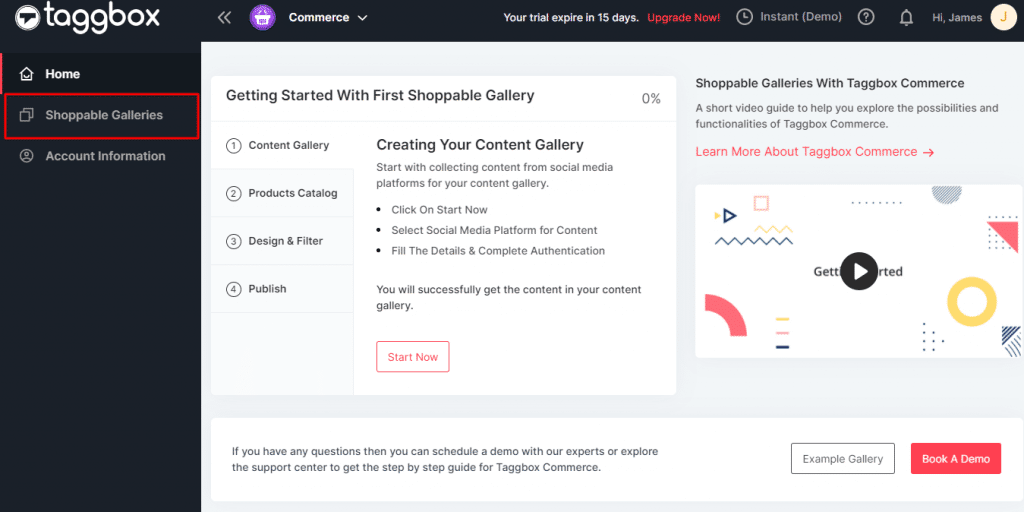
1. Create a new account for free or Log in to your existing Taggbox Commerce account, you will see the Dashboard.

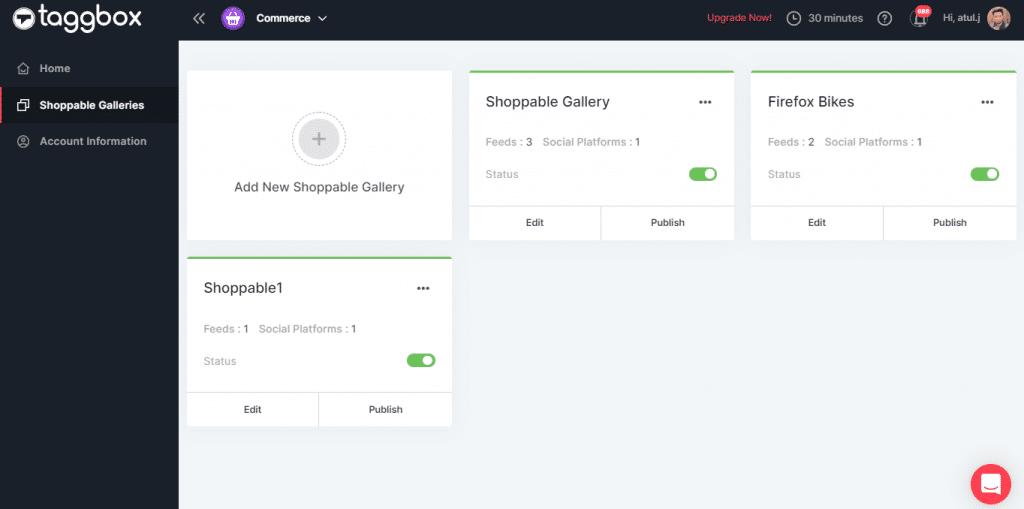
2. Click on the “Shoppable Galleries” section in the sidebar and all your existing galleries will appear (if you have any)
2.1 If you do not have an existing gallery, then you can create a new Shoppable gallery.
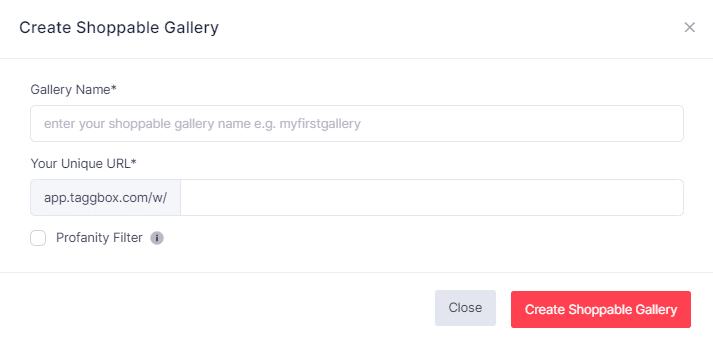
3. Enter your Gallery Name and enter a unique URL for it then click on create Shoppable gallery button, a pop-up will appear
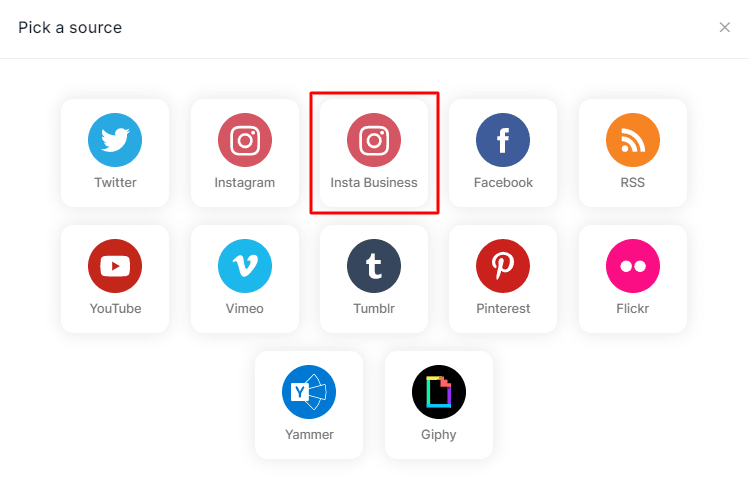
4. To add feed to the Shoppable gallery, select the social media platform form the options
Let’s choose Instagram as an example here
5. Now a new pop-up will appear, choose the feed type like hashtag, handle, mentions, and tagged.
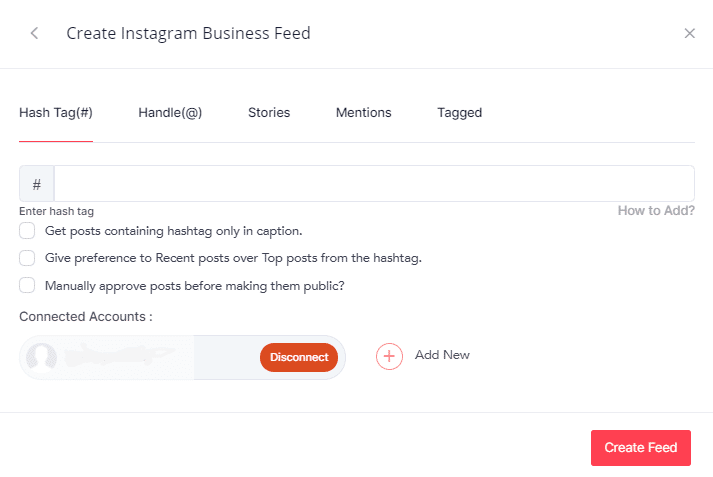
6. Click on the “Create Feed” button and complete the authentication process securely from the source.
You will now get the posts from your Instagram business account into your shoppable gallery.
7. Once you have added the feed successfully, you will land on the editor of your Shoppable Gallery.
8. Now Click on “Add Products” under the product catalog menu in sidebar, you will see the options to “Import Product List” or “Add A Single Product”
9. Select as per your choice and follow the instructions

For Uploading In Bulk: You can choose the Import Product List option to upload CSV files and add multiple products at once. Kindly follow the format provided in the sample CSV file there.
For Adding A Single Product: Fill in the necessary details in the pop-up to upload a single product
Once you have successfully added your products now move on to tagging the products.
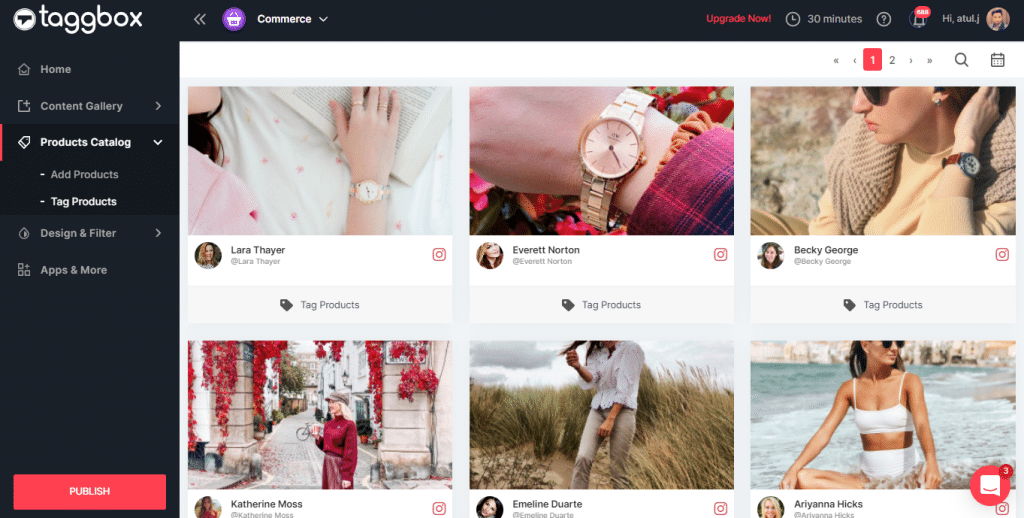
10. Now click on the “Tag Products” menu under the Product Catalog section. You will see all your posts with a “Tag Products” option under each post.
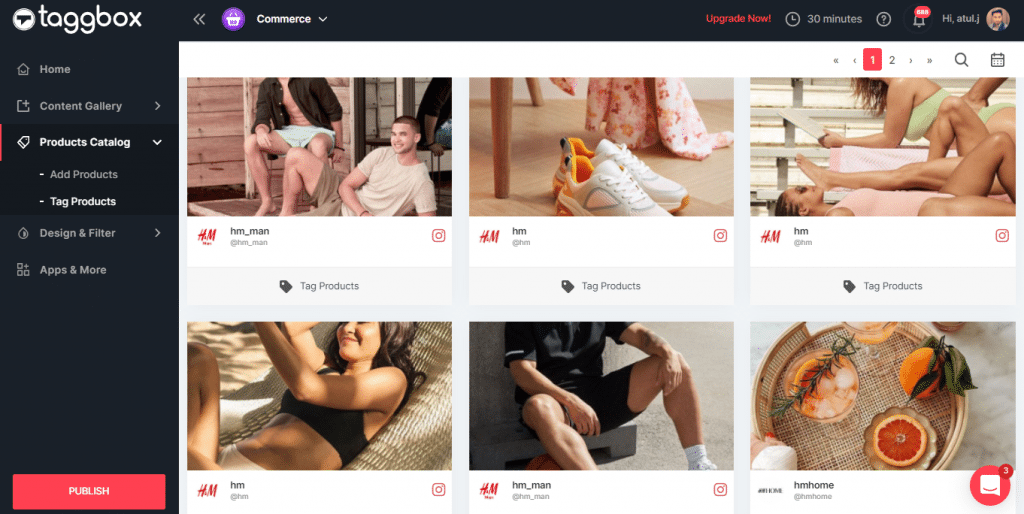
11. Click on “Tag Products” to tag your product to the chosen post.
You can add up to 4 products per post and you can tag products to as many posts as you like in your Shoppable Gallery.
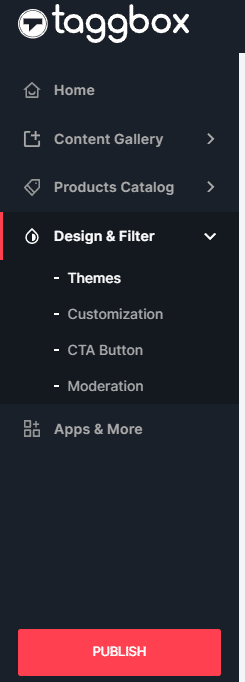
Once you have made your Shoppable Instagram feed by tagging products, now you can personalize & moderate your Shoppable Gallery with options like Themes, customize,CTA Button, Moderation, etc. under the Design & Filter Section
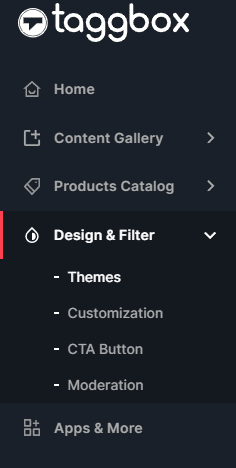
This will help you make your Shoppable gallery look engaging and appealing.
12. Once you complete this then you can move to embedding your shoppable gallery on website
13. On the sidebar menu, click on the “Publish” button in the bottom left corner.
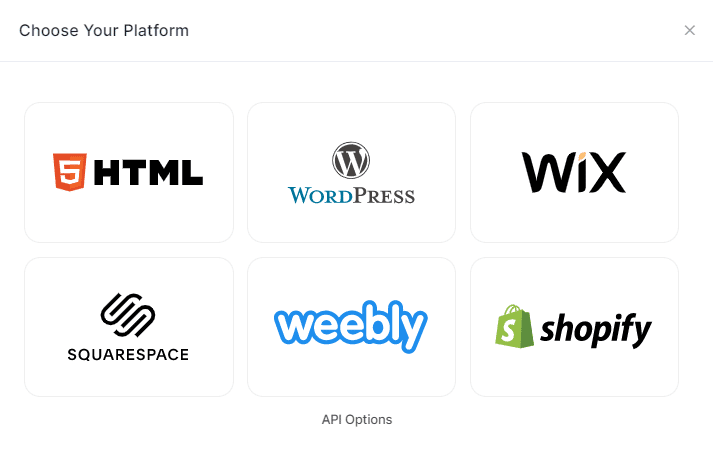
14. A pop-up will appear, choose your website CMS platform like HTML, Shopify, WordPress, etc.
15. After choosing the website CMS, you can adjust the height & width of the Shoppable Instagram Gallery.
16. Now click on the “Get Code” button, a unique code will appear.
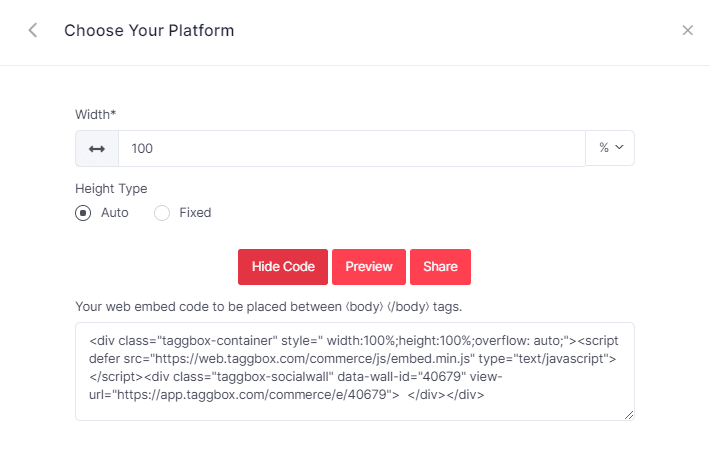
17. Copy the given code and paste it on the backend of your webpage where you want to show it.
Kudos! You have successfully created & published your Shoppable Instagram Gallery on website.