Your SharePoint site can be more than just files and folders. By adding a Facebook feed, you can bring in live updates, team highlights, and social content—all in one place.
This guide will show you how to display a Facebook feed on your SharePoint page, helping you create a more engaging and up-to-date experience for your team or visitors.
Steps to Show Facebook Feed On SharePoint
Here is an elementary step-by-step guide to display the Facebook feed on SharePoint:
Step 1: Create an Account
- Create an account on Taggbox or log in if you already have an account.
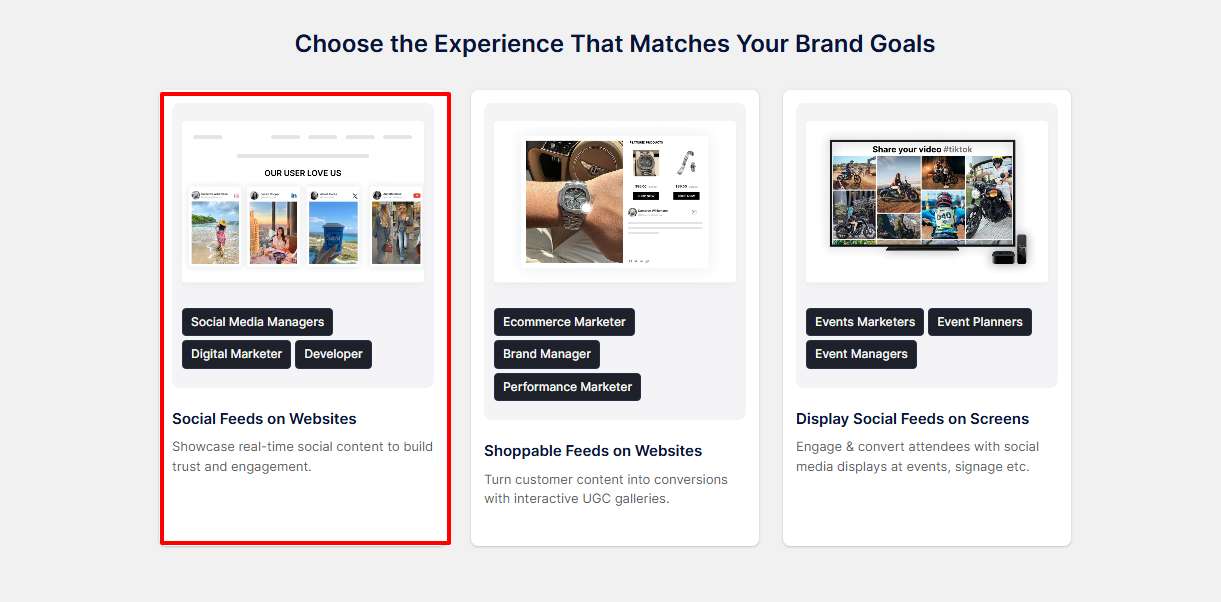
- Select “Social Feeds On Website” from the next tab.
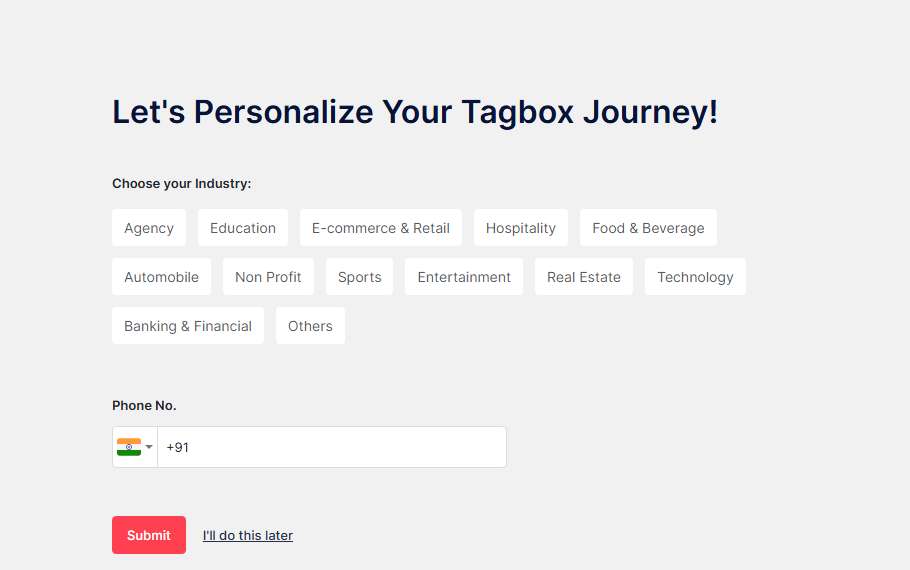
- Now, add your industry type and submit it for verification.
Step 2: Create a Facebook Feed
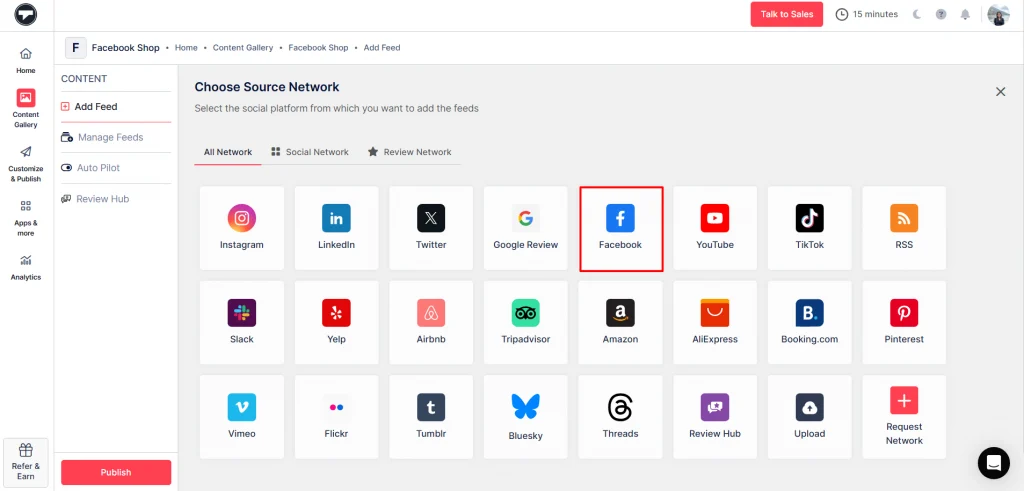
- Choose “Facebook” as your source network.
- A new window will open, connect to Facebook, and add your connection type. After that, click on “Create Feed.“
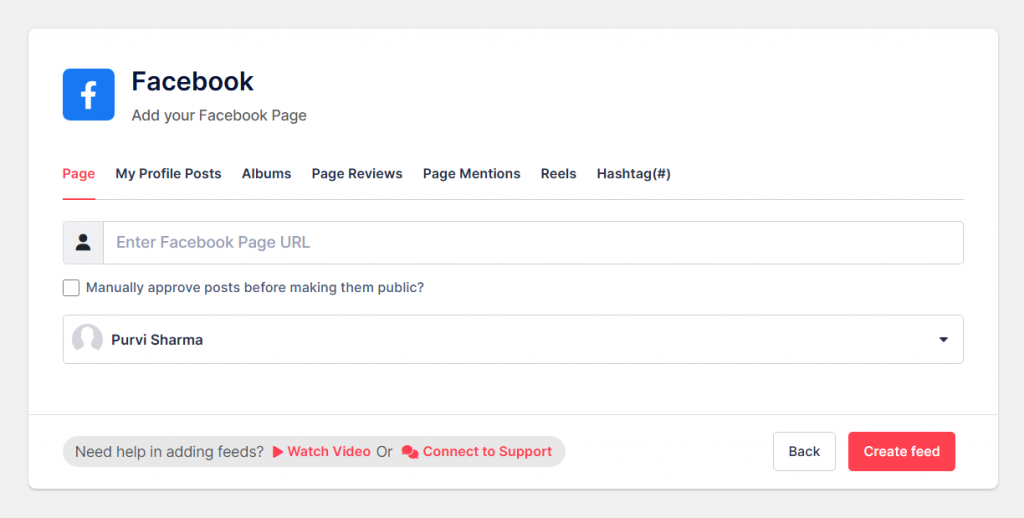
- Your Facebook Feed has been created successfully, and you can moderate it from here.
- After moderation, click on “Customize & Publish,” and select website as your channel.

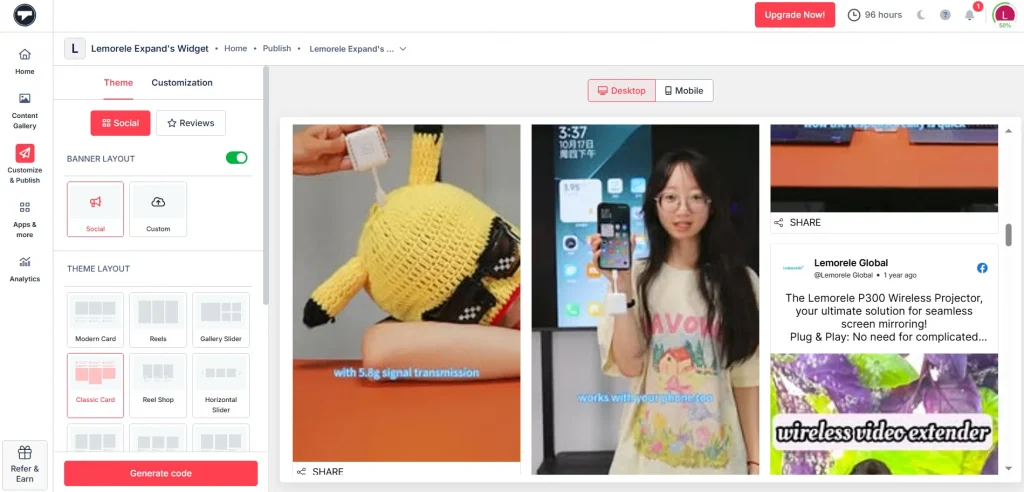
Step 3: Generate an Embedded Code
- You will be redirected to a new window, where you can customize the Facebook widget, like layout, theme, font, etc. Then click on “Generate Code.“
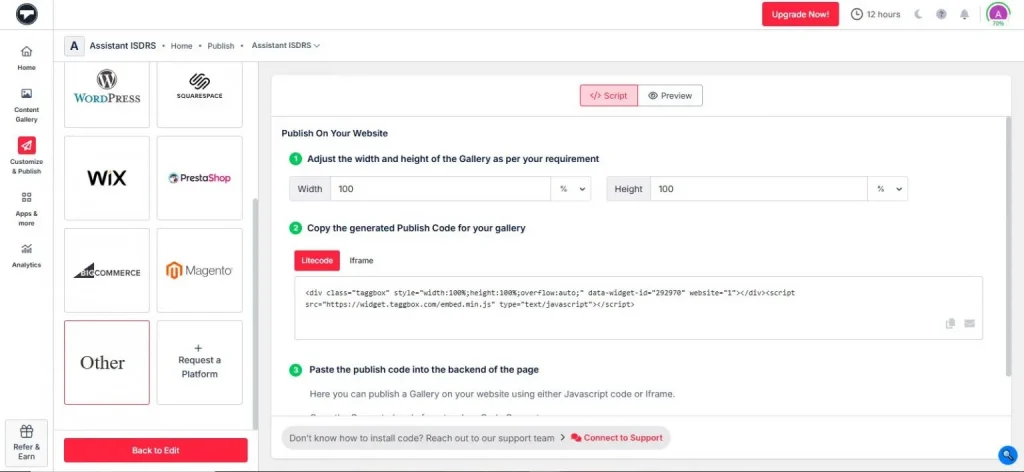
- Choose “Others” as the platform, adjust the height and width as needed, and then copy the embedded code.
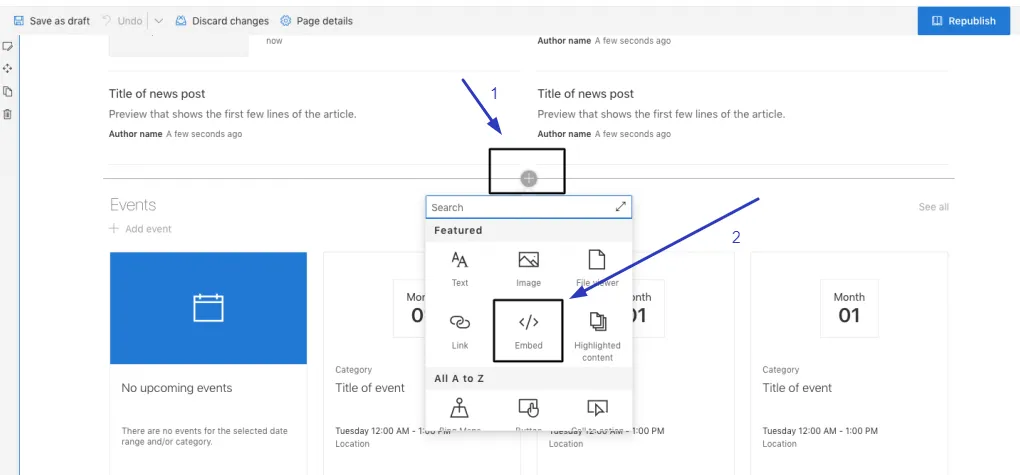
Step 4: Display Your Facebook Feed On SharePoint Website
- Go to your SharePoint site and open the page where you want to add the feed. Paste the code, click save, and your Facebook feed will show up on the page.
Looking to level up? With Taggbox, you can make your Facebook feed on SharePoint shoppable by tagging products, turning your social posts into a clickable shopping experience.