Tag-based widget is an innovative moderation feature that enables you to showcase your category-wise content to your widget. This can easily be done by assigning tags to each post. The brand can leverage this feature by showcasing its filtered posts on the website’s page.
For instance, if you are a holistic D2C fashion brand, looking to fetch content related to ‘women’s shirts’ only. Here comes the Tag-based feature, by using this feature you can identify posts containing women’s shirts. Use similar tags, curate them into one place, and display them on your ‘women’s shirts’ subcategory or category page.
Steps to Leverage Widget’s Tag-Based Feature
Tag-based Widget feature is a great opportunity for potential and active customers, aiding them in experiencing the product’s real-life appearance and ultimately leading to more informed purchasing choices. Also, it enhances lead generation and boosts sales for your brand.
Here are the highlighted points that you can follow to integrate the tag-based widget feature on your website.
- Create your FREE Taggbox Widget Account or log in to an existing account.

2. Click on ‘Widget’ from the left bar, you will see all your existing widgets (if you have any).
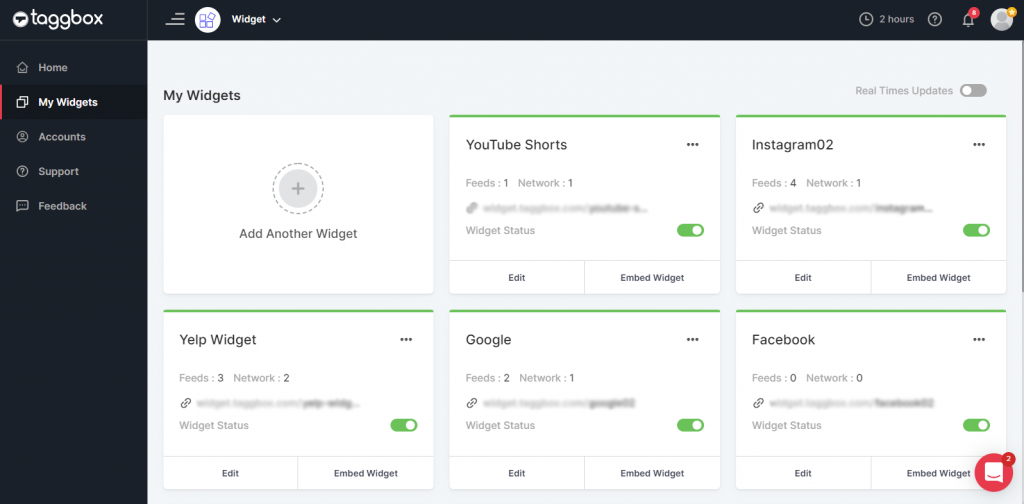
3. Now, if you do not have a widget created before, then read this blog “How to Create your First Widget” to create your first widget and follow the steps to use the tag-based widget.
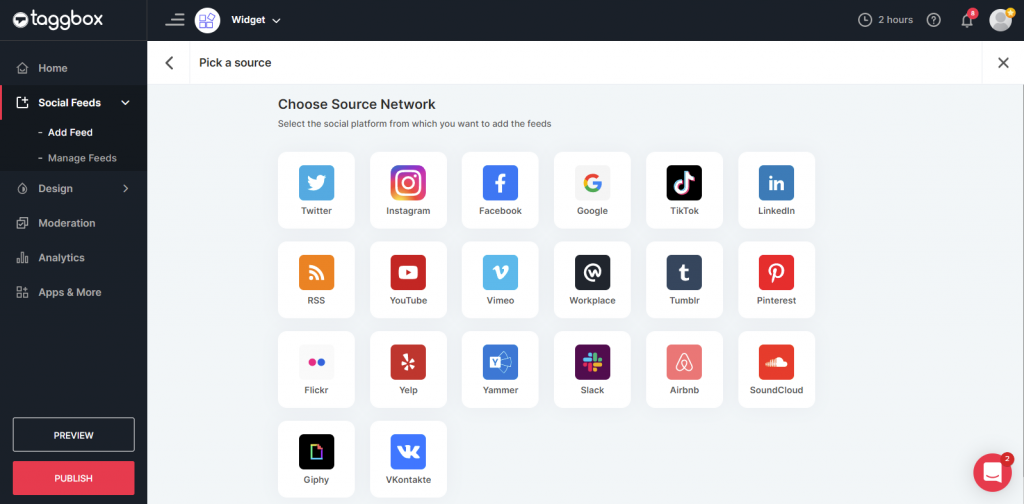
4. After creating your widget or with an existing widget, click on your Widget > Social Feeds > Add Feed > Choose Your Source Platform and enter the Post Type.
5. After choosing the platform, your widget will fetch all the data in the “Moderation” part. When you click on Moderation in the left sidebar, you can see all the images and you can customize them easily by filtering out the images of your choice.

Follow the steps on how you can choose the tags for an image or multiple images
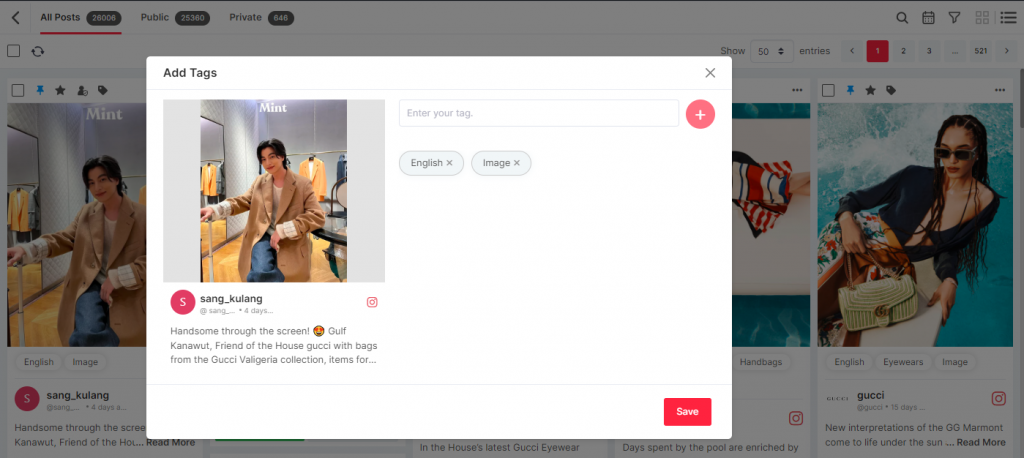
6. You can either select one picture and click on the tag icon to add the specific tag for a particular image. The popup box shown in the image below will appear to add the tag.
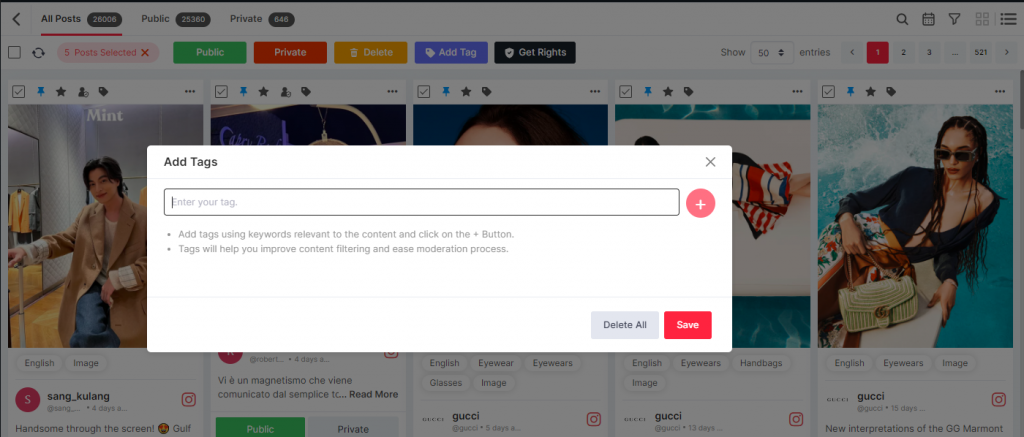
7. Otherwise, you can select multiple images > Click on Add Tag > Enter the name of your tag for those selected images > Click on the “PLUS” sign and click on “Save”. Similarly, you can create various tags by choosing other images.
If you would like to change the images or tags click on Moderation from the left sidebar and make the required changes.
You can Publish the tag-based widget by using two methods:
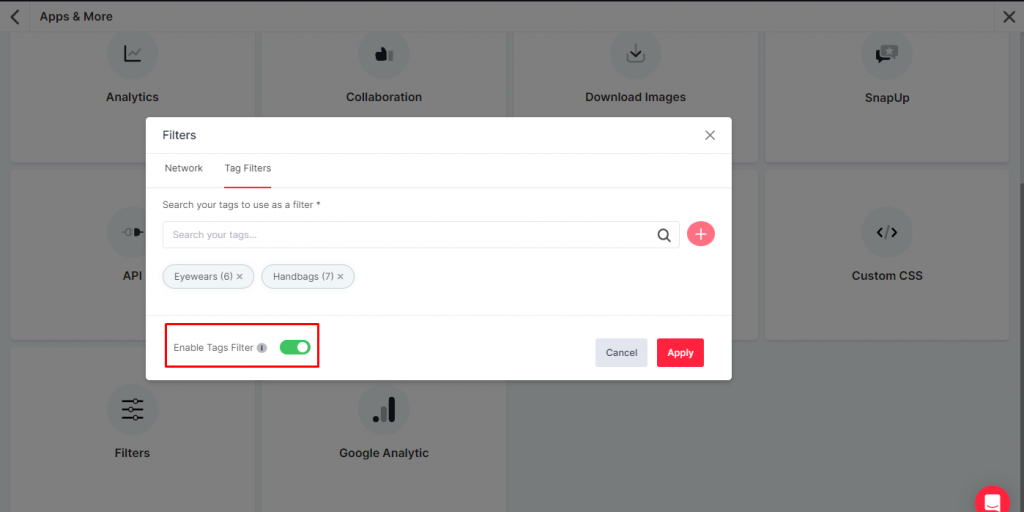
- First, Click on Apps & More > Click on Filters > Tag Filters > Add the created tags in the Search your tags bar and click on the “PLUS” sign. (Do this for all your created tags)
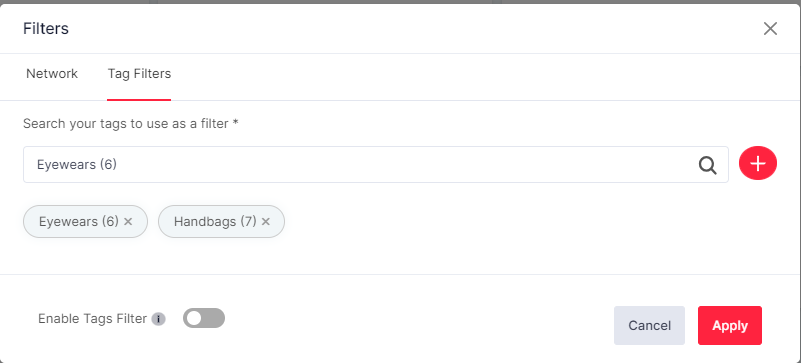
- After adding the tags, at the bottom of the pop-up box “Enable Tag Filter” and Click on the Apply Button.
Click on the “Preview Button” to check the preview of your created tag-based widget by using the filter option.
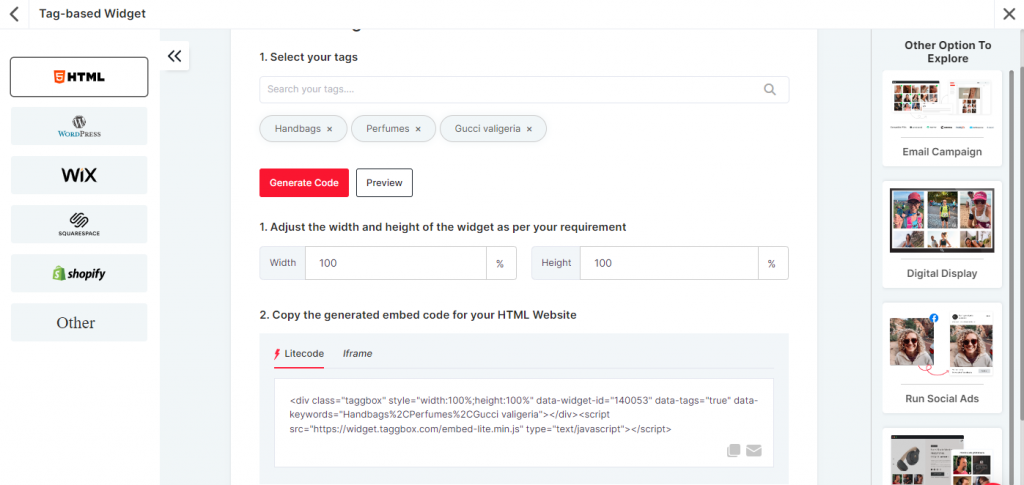
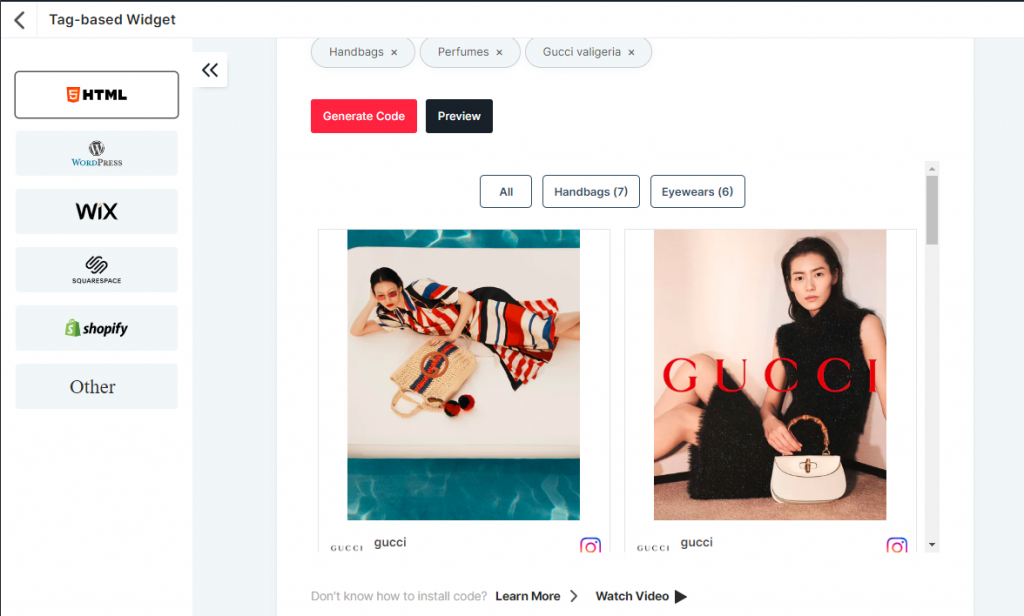
2. Second, click on the “Publish Button” and choose Tag-based Widget. After this, search for your tags to Generate Code (you can also see the preview of the created widget by clicking on the “preview” button. Finally, Copy and paste the generated code into the HTML of your website code.
- This is how your Tag-based widget preview looks like after generating the code!
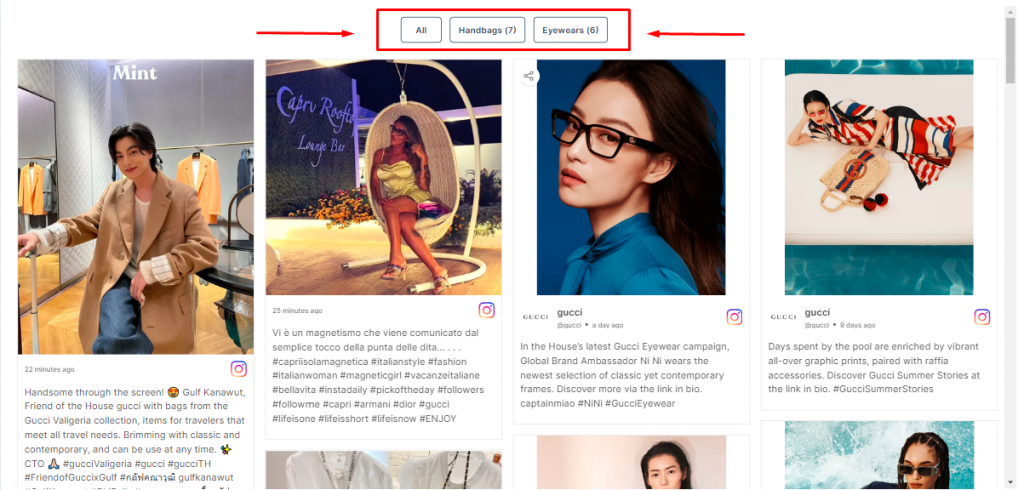
Finally, this is how your website will look after embedding the tag-based widget on your website

Wrapping Up
Sign up or Login Today into your accounts and explore this amazingly designed feature for your brand!