Change Your Widget Background
Step 1
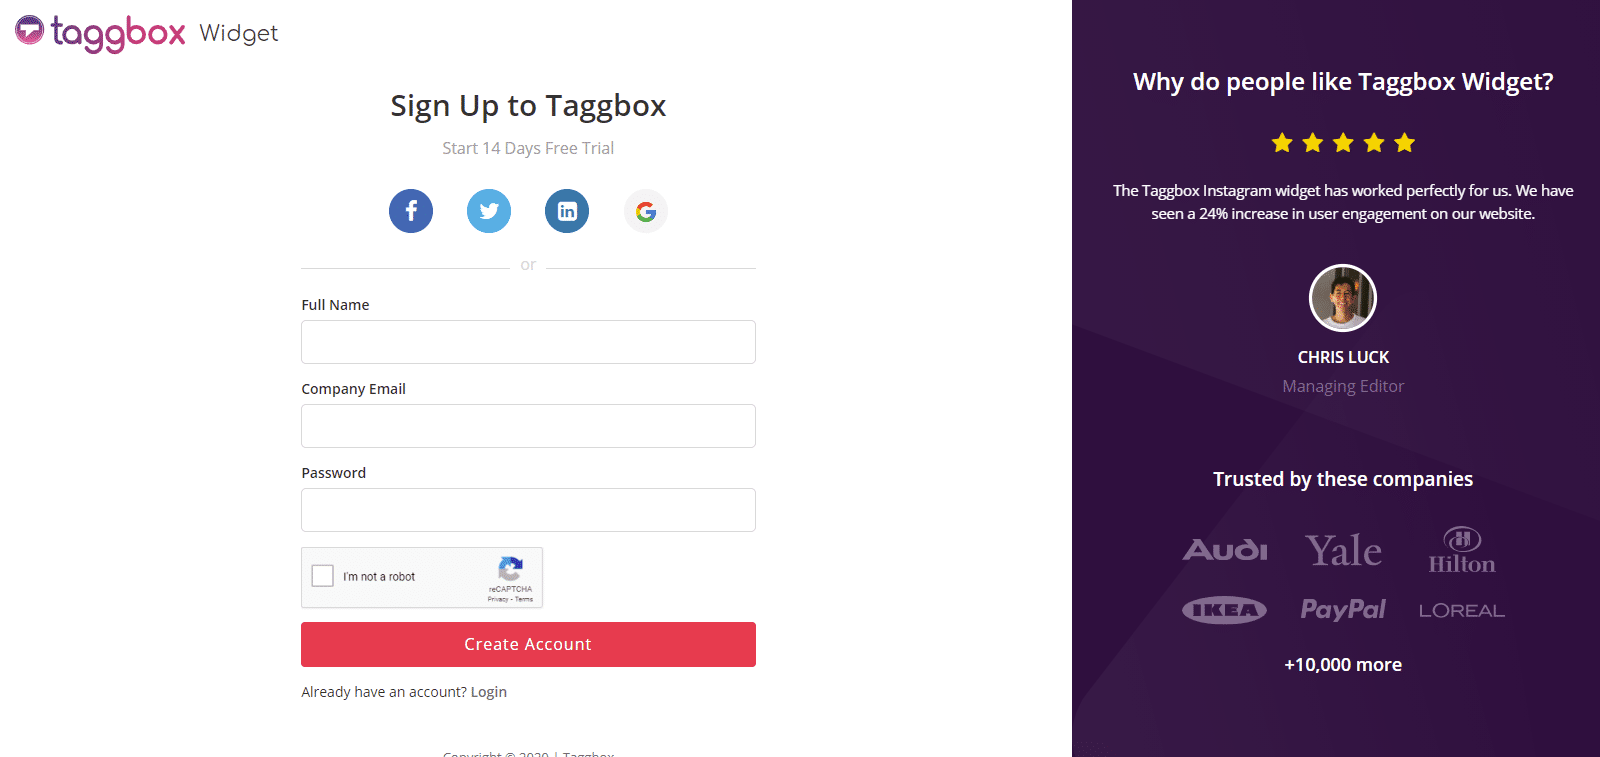
First, Login or Sign-Up to Taggbox Widget.
Step 2
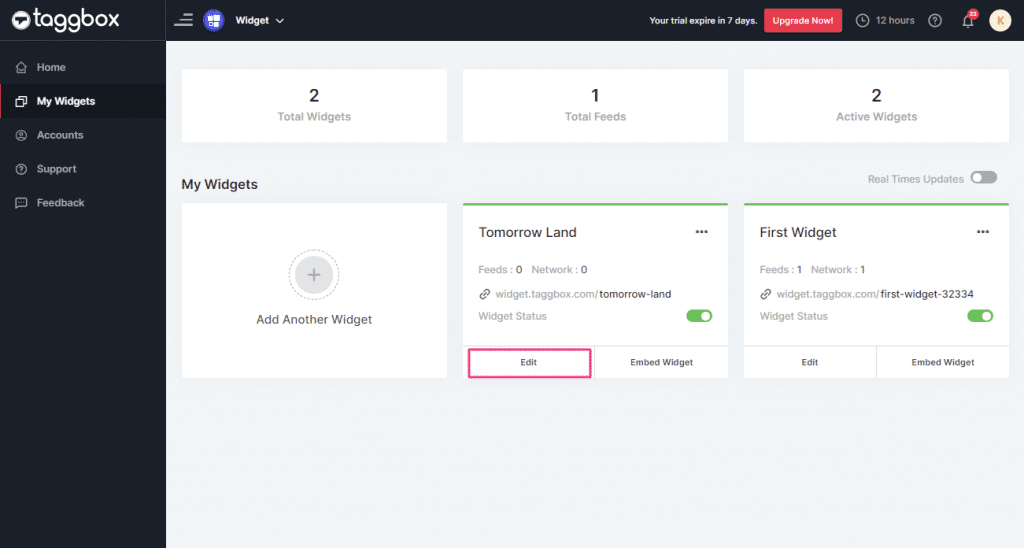
Click on My Widgets to open the list of your Widgets.
Choose your widget and click EDIT button to open your Widget Editor & proceed.
Edit Background
Your widget editor will be open.
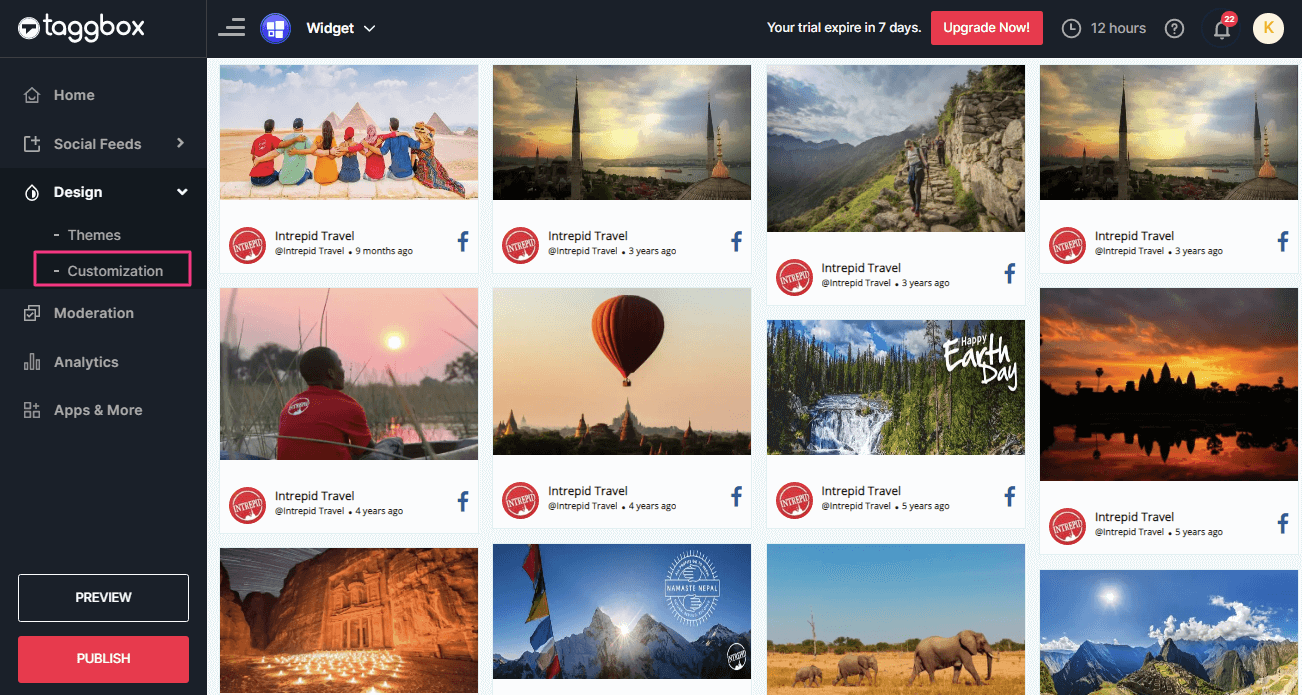
Now, Click on Design on the left menu panel.
There you’ll see two options that are Themes and Customization.
Choose Customization to proceed to change the background:
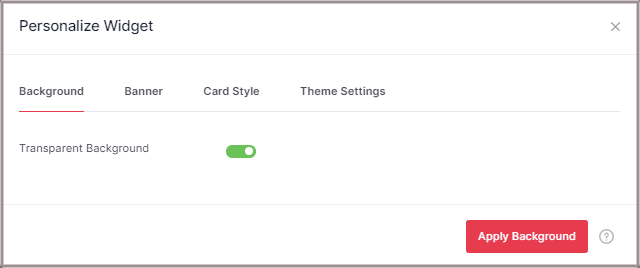
A new pop-up Personalize Widget will appear:
Using it You can change the Transparent Background with your Theme Color or Personalized Image. Follow the steps below:
Transparent Background
If you don’t want the Transparent Image then turn off the toggle.
It will switch off the transparent background and let you set your own background:
Background Color
Set Your Background Color based on your widget theme.
After turning off the Transparent Background, you can choose the Background Color that you want from the color picker.
Choose your theme color and Click on the Apply Background button to make it effective successfully.
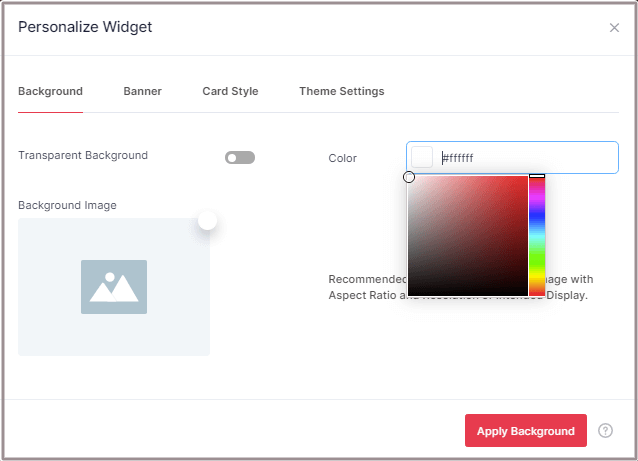
Background Image
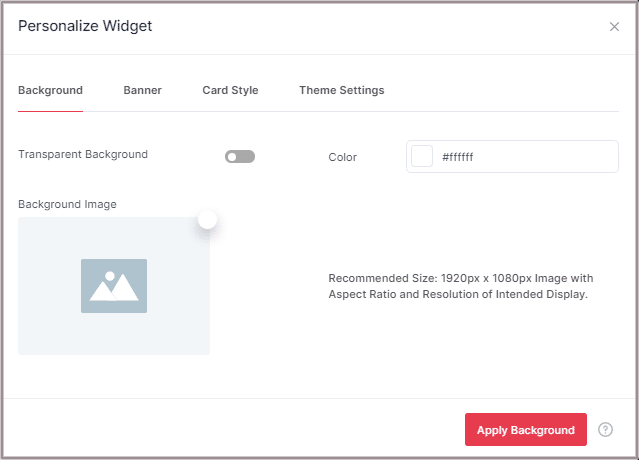
If you have your own personalized background image then you can upload it to the editor to make it effective.
Follow the below steps to make it effective:
1. Upload your background image using the edit icon:
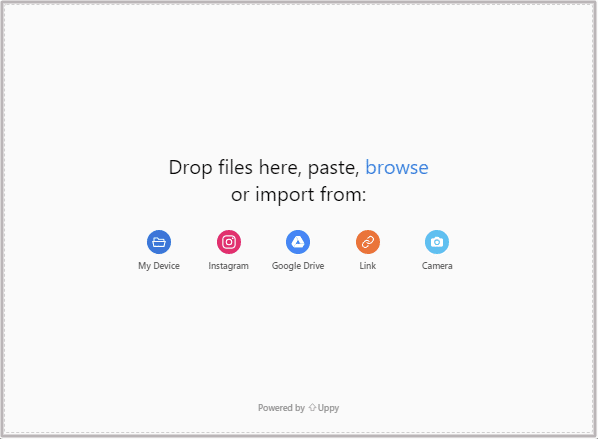
2. You can upload image from the following sources:
- My Devices
- Google Drives
- Link
- Camera
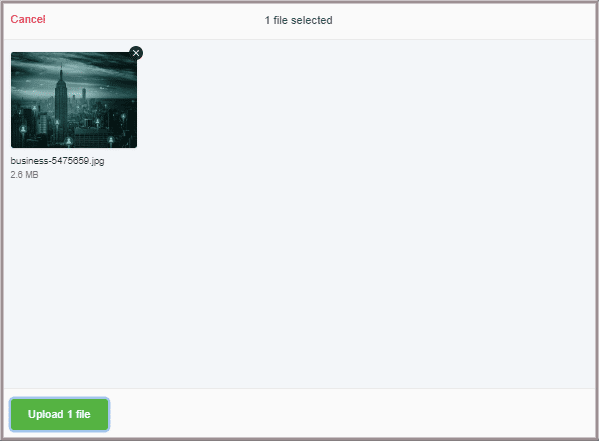
3. Choose Your Image from any of the above sources and click the Upload button to upload the image file:
For example: the below image is uploaded by the source: My Device
Note: The recommended size of the image is 1920px X 1080px Image with Aspect Ratio and Resolution of Intended Display.
4. After uploading the image the screen will look something like this:
Finally, click on the Apply Background button to make the background image effective.

You’ve successfully changed the background of your widget.
If you face any additional issue then please feel free to Contact us or write us at [email protected].