The Taggbox WordPress plugin allows you to easily display your Taggbox widgets on your WordPress website without manually adding code. Once connected, you can embed social media feeds, customer reviews, and user-generated content widgets directly into your pages, posts, or website sections.
In this guide, we will walk you through the complete process of installing, connecting, and embedding a Taggbox widget using the WordPress plugin.
Prerequisites Before Installing Taggbox WordPress Plugin
Before getting started, make sure you have:
- A Taggbox account
- A WordPress website with admin access
How to Install Taggbox WordPress Plugin
There are two ways to install the Taggbox plugin on your WordPress website.
Method 1: Install Plugin From WordPress Dashboard
Follow these steps:
Step 1: Log in to your WordPress admin dashboard.
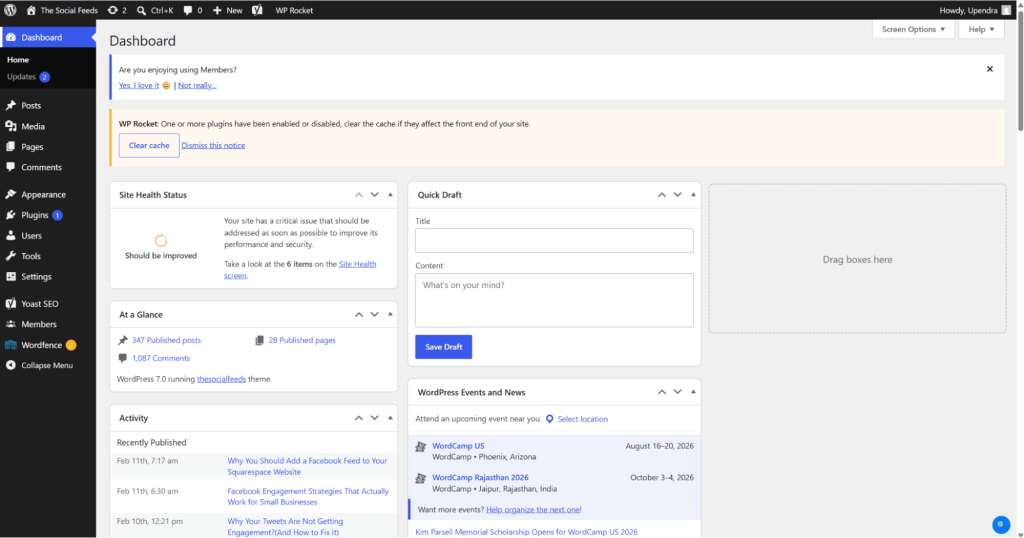
Step 2: Navigate to: Plugins → Add New Plugin
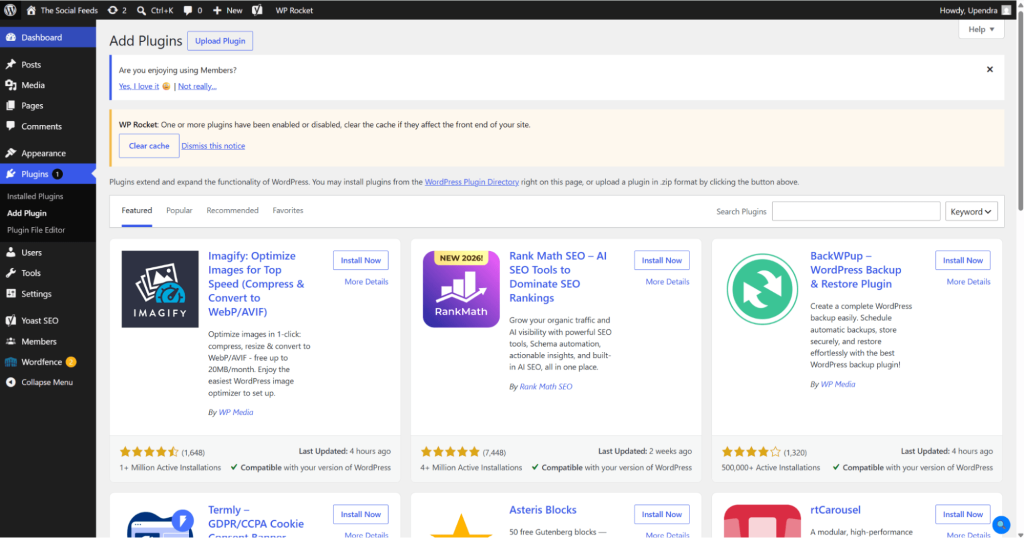
Step 3: Search for: Taggbox Widget
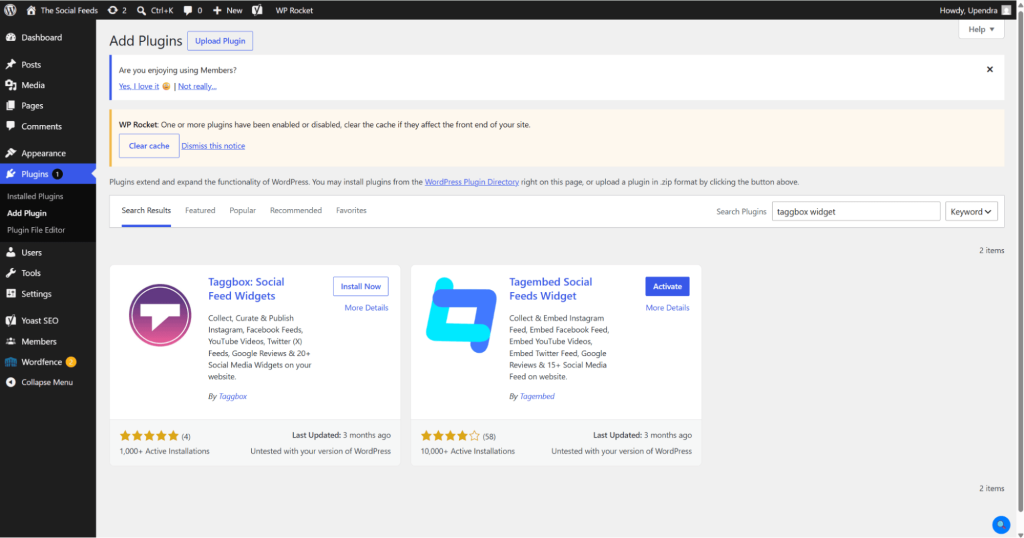
Step 4: Click: Install Now → Activate
Once activated, the Taggbox plugin will be available in your WordPress dashboard.
Method 2: Upload Taggbox Plugin Manually
First, download the plugin file from here
If you have downloaded the plugin file follow the steps below:
- Go to your WordPress dashboard.
- Navigate to: Plugins → Add New → Upload Plugin
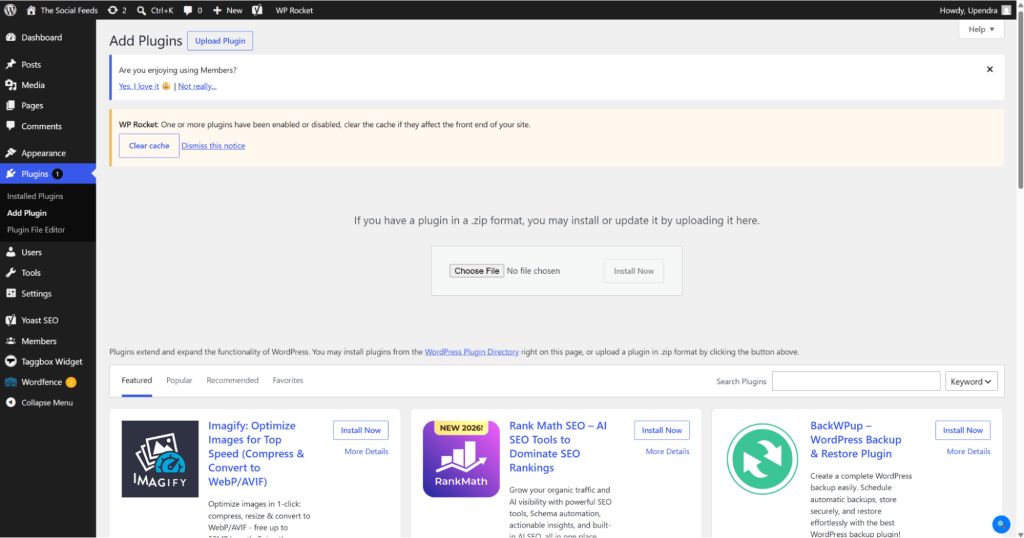
- Upload the Taggbox plugin ZIP file. & Click Install Now
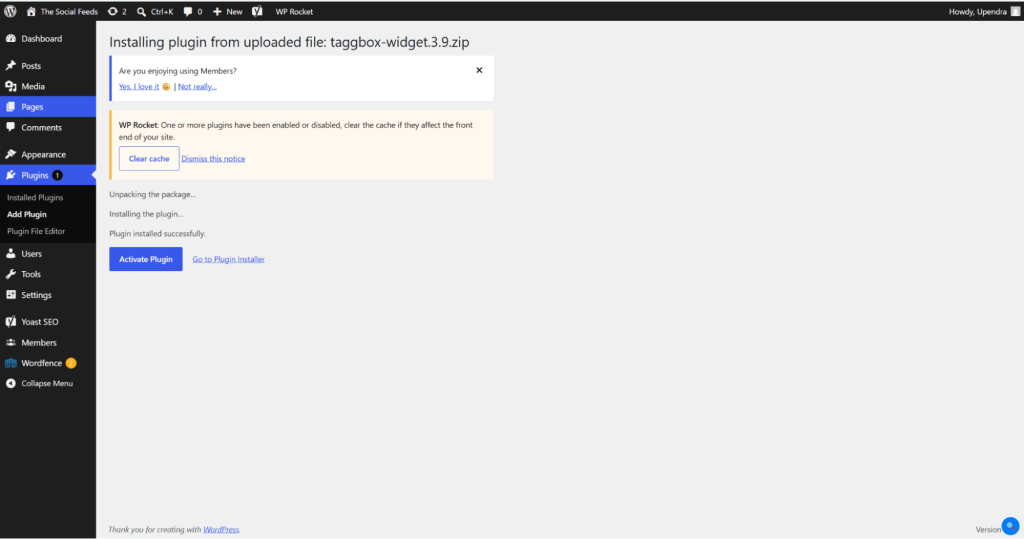
- Activate the plugin.
How to Add Taggbox Widget to WordPress Website
- Open the Taggbox Widget from your WordPress dashboard. Sign up or log in using your Taggbox account credentials
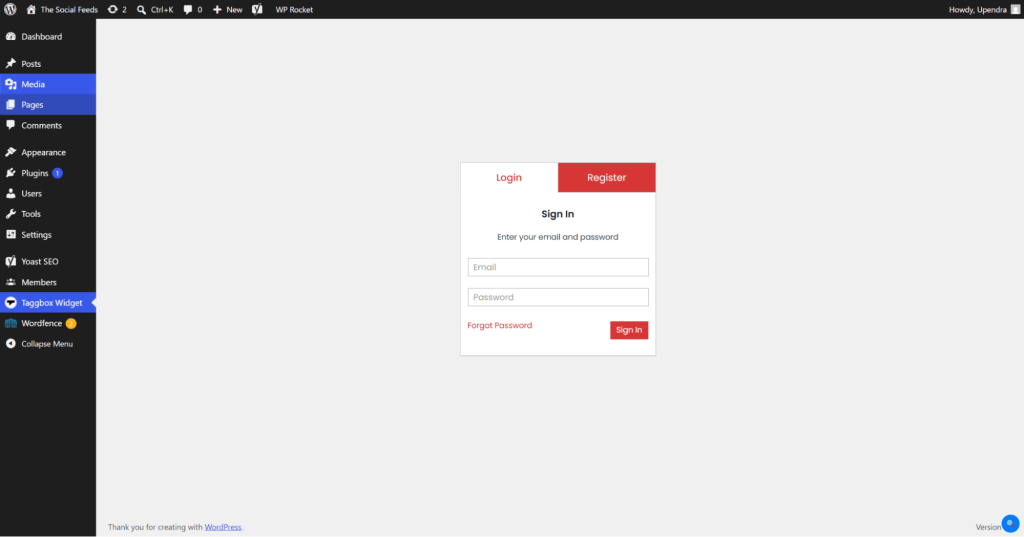
2. Select the widget you want to display. Edit the widget and create your feed
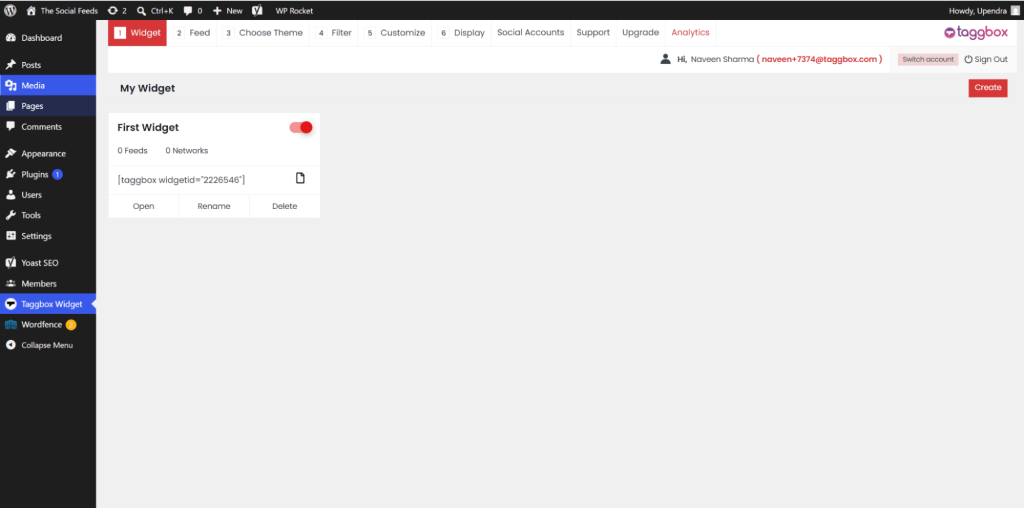
3. After creating the feed, copy the widget shortcode.
Example:
[taggbox-widget id=”xxxxx”]
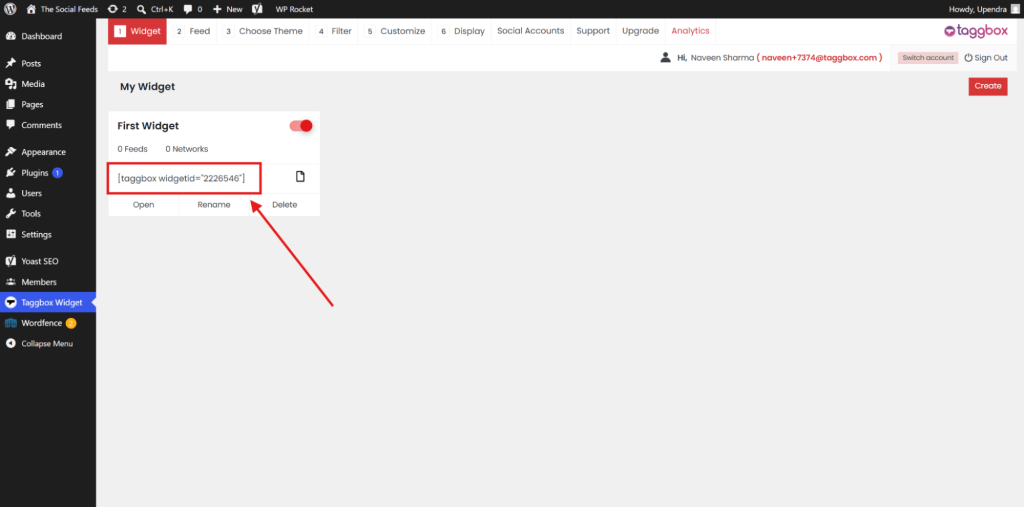
4. Open the WordPress page where you want to display the widget.
5. Search for taggbox here
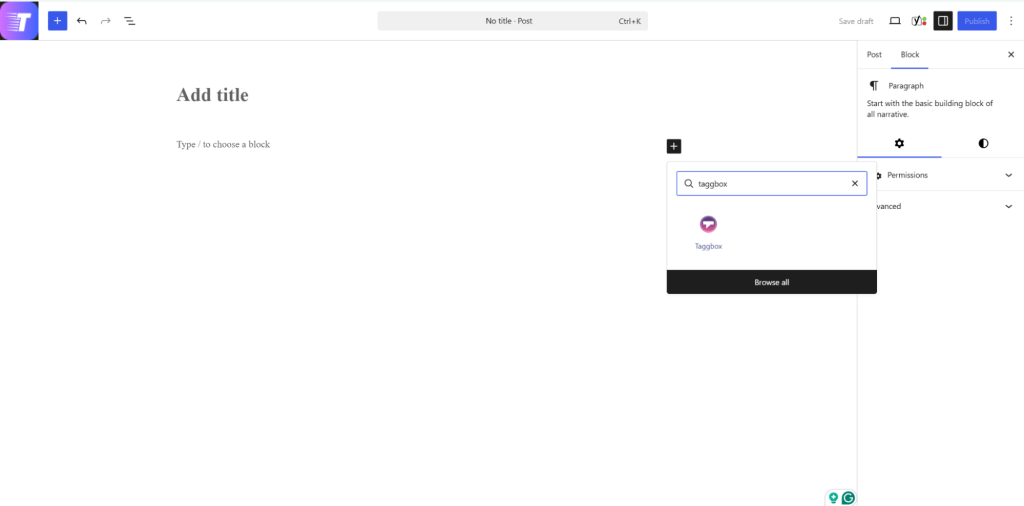
6. Paste the shortcode and click Update.
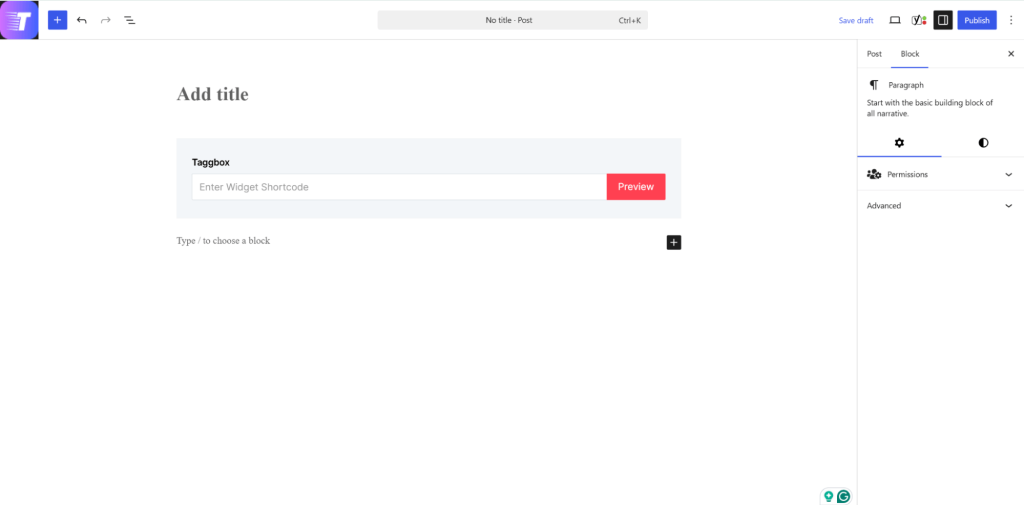
7. Your Social media feeds will now appear on your website.
Get Started with Taggbox. – Start For Free
If you have any questions or need help, please Contact us or write us at support@taggbox.com