Add a Twitter Feed
To add a Twitter feed on Enplug, you need to follow the given steps-
Step 1
First Signup Or Login to your Taggbox Display account

Step 2
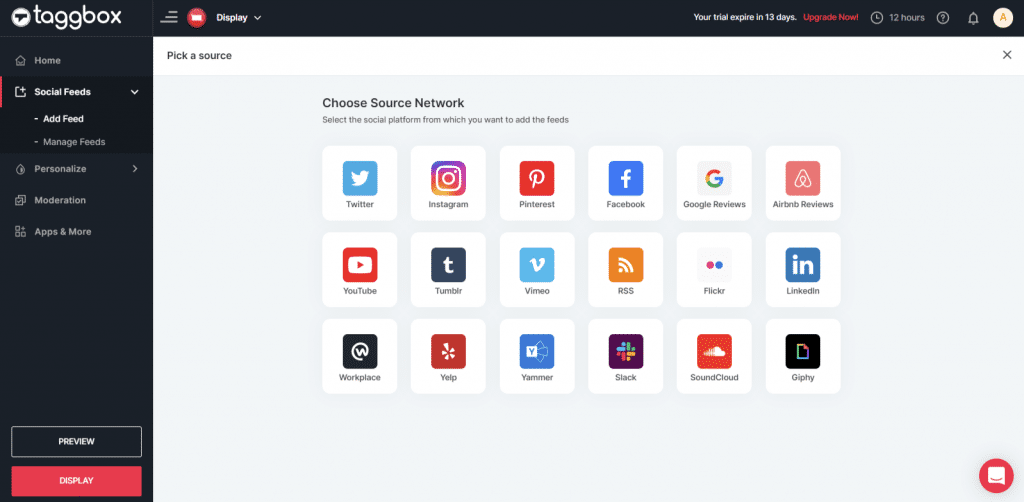
After Login you will be land on the Taggbox Display Home, Click on Start Now and on Next Screen, you will ask to choose a network to create a social wall

Step 3
In the popup that appears, select the source type “Twitter”.
Step 4
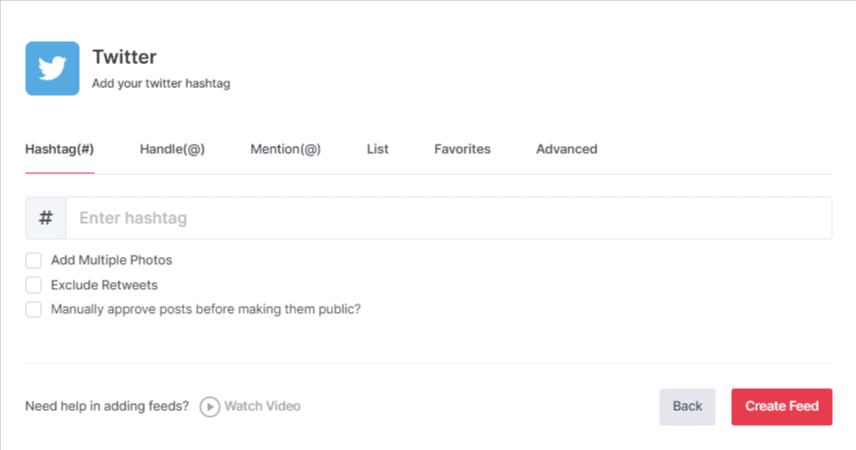
Choose one of the following to create Twitter feed:
HashTag (#): Enter your Hashtag in the box and collect all your Hashtag embedded feeds of Twitter.
Handle (@): Enter your Twitter user Handle and collect all feeds.

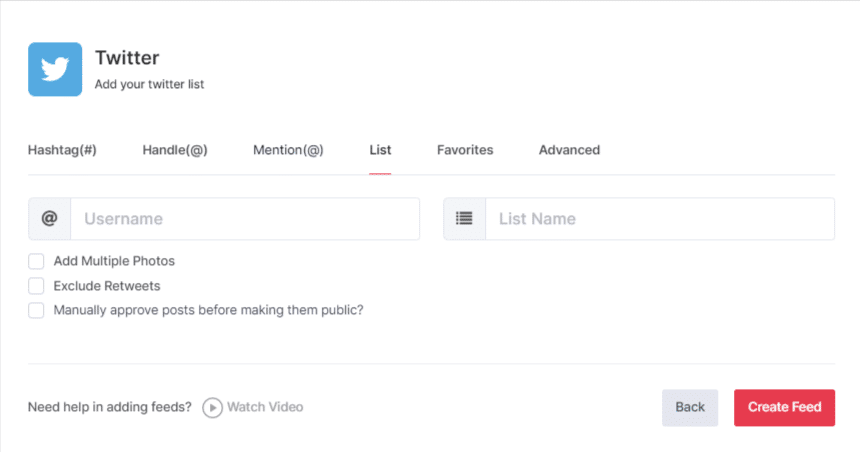
List: You can also collect feeds of the list as well; just enter the Twitter Handle or username and List Name.
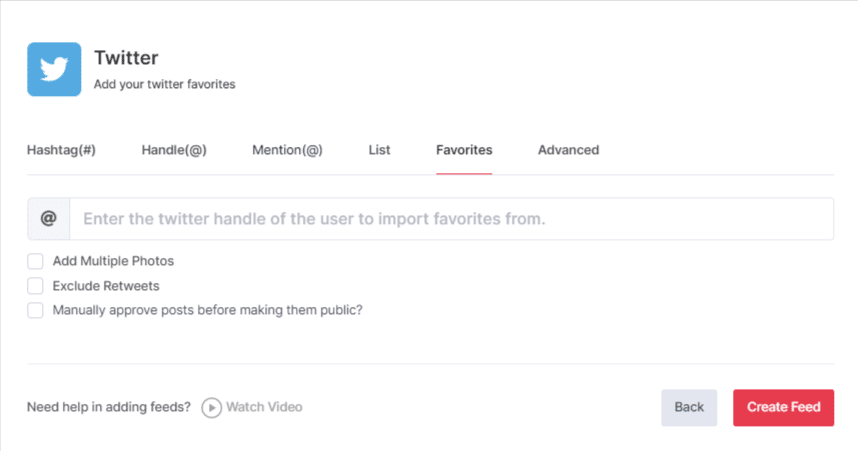
Favourites: You can collect Twitter Feeds of your Favorites; just use their Twitter Handle.
Advanced: Here you can collect the feeds with keywords, questions, user, location, content, dates.
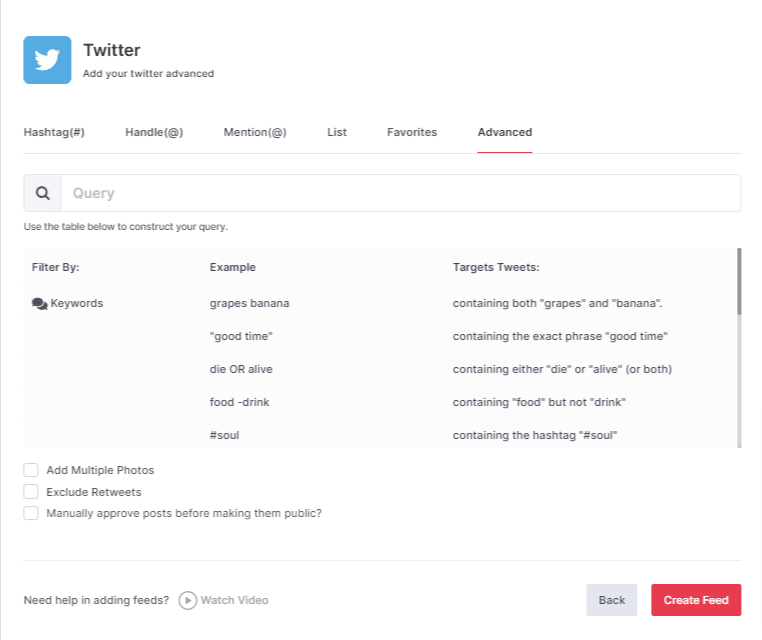
To enable Moderation on the connection select “Manually approve posts before making them public”.
To Add Multiple Photos and Exclude Retweets on the connection select “Add Multiple Photos” and “Exclude Retweets”.
To enable Moderation on the connection select “Manually approve posts before making them public”.
Then click the “Create Feed” button to complete adding.
You can also use the Personalize and Moderation Panel to set up your Twitter wall according to you (You can find them below the Feeds option).
Display Twitter Feed on Enplug
To display a Social Wall on Enplug Digital Signage, you need to follow the given steps-
Step 1
Click on the Display button at the bottom of the left column.

Step 2
Select Enplug as your digital signage option.
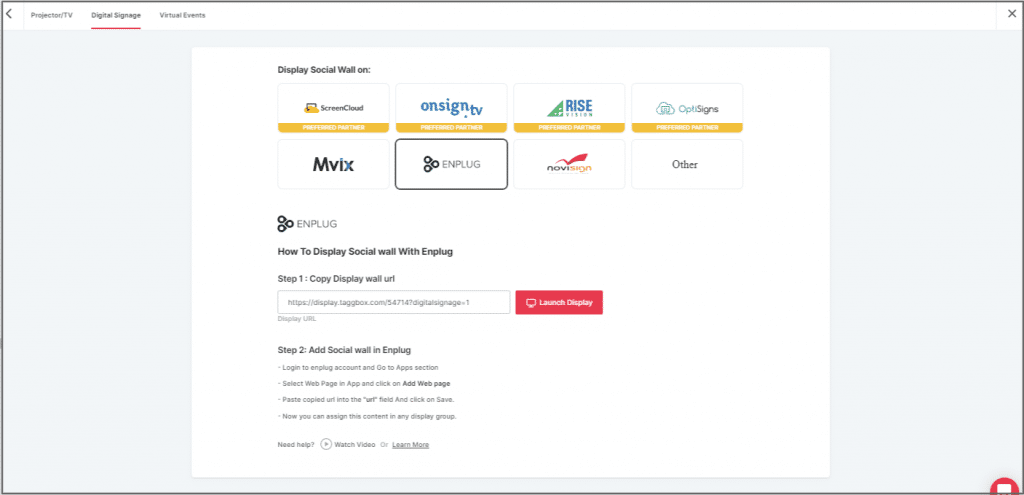
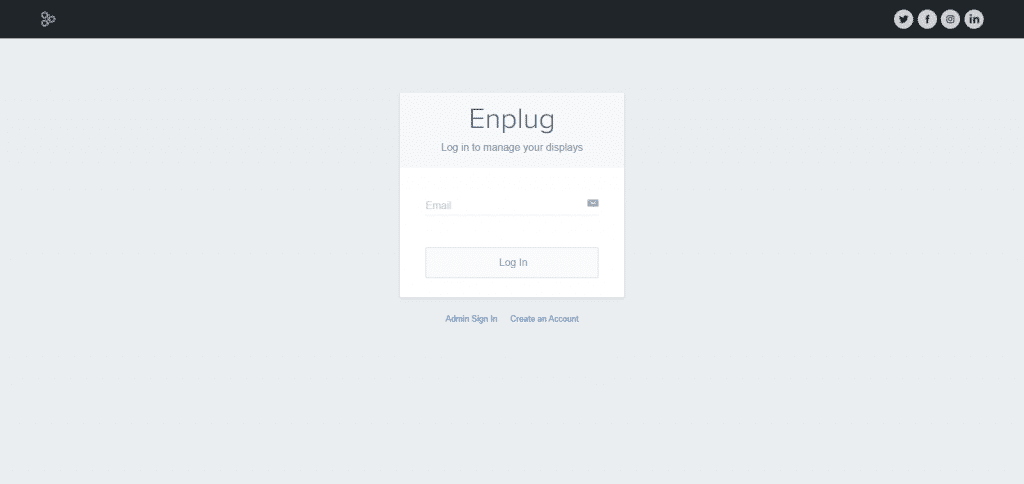
Step 3
Now, login to your Enplug account.
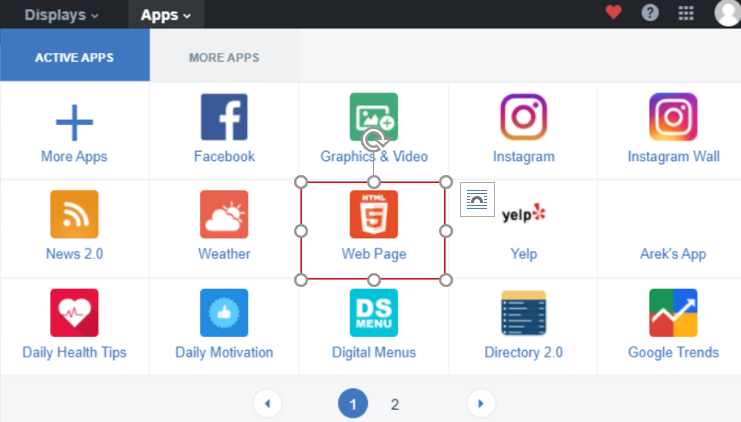
Step 4
Next, click on the Apps dropdown.

Step 5
Select the Webpage App.
Step 6
Now, click on Add Website.

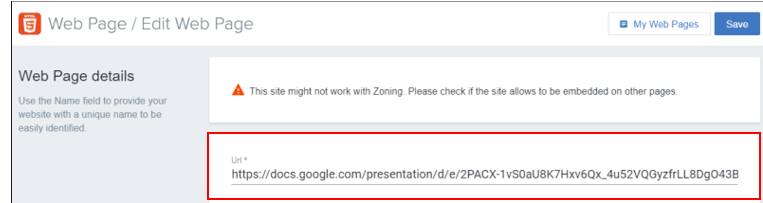
Step 7
In the URL Field, paste the copied Embed URL.
Great! You have successfully integrated the Twitter wall on your Enplug digital signage.
If you have any questions or need help, please contact us or write to us at [email protected]