Creating and Publishing social wall with taggbox is very easy. Follow below given details to create amazing social wall for your displays.
Get Started with Taggbox Display Wall
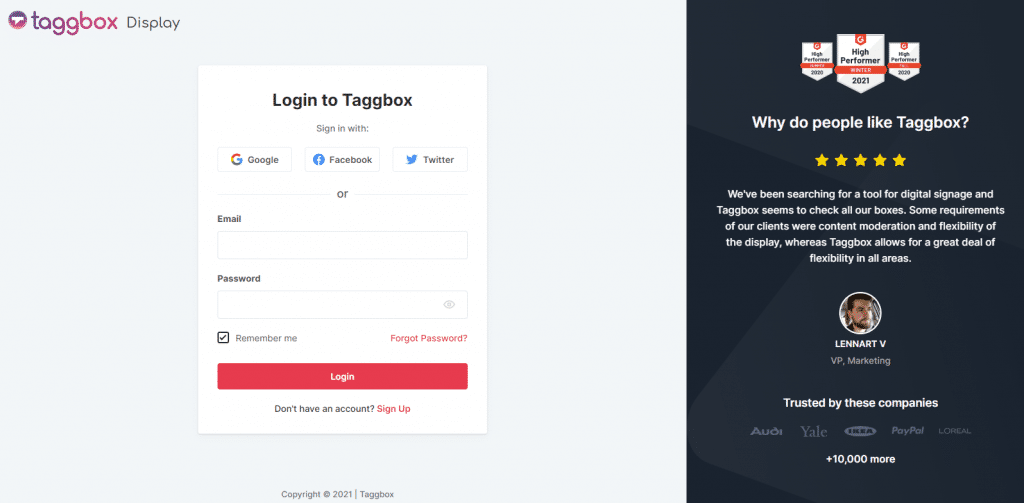
Create a new account or login to your existing Taggbox account:
Do one of the following:
- New User – To create an account, click “Sign Up”.
- Existing user – To sign in to your account, enter the email address and password.
Create a Wall in the Taggbox Dashboard
After Login, You will see your Dashboard.
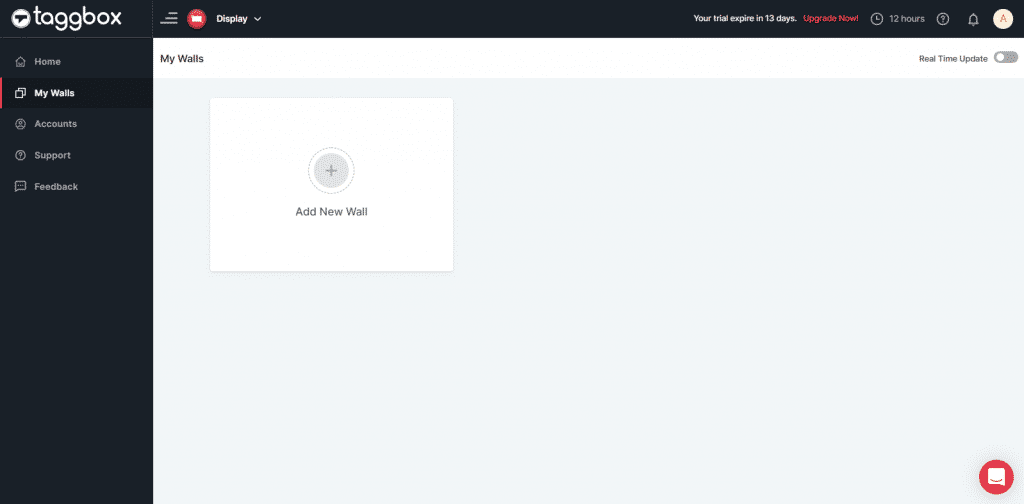
On the Taggbox Dashboard click the “+Create Wall” button to get started:
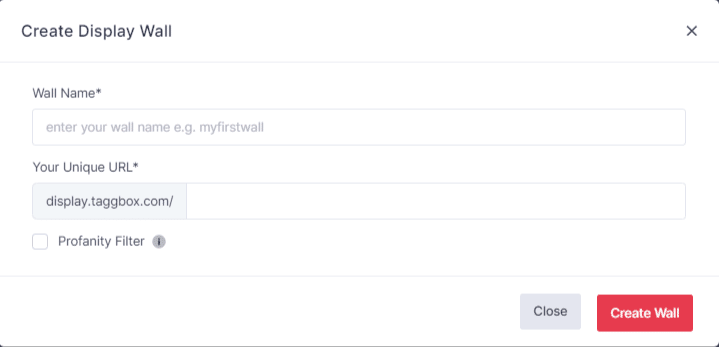
Then, give a name to your wall. A Unique URL of your wall will be created automatically according to your wall name. You can also change it according to you.
If you want to use Profanity Filter then check the box otherwise leave it. Then, click “Create Wall“.
Add Content
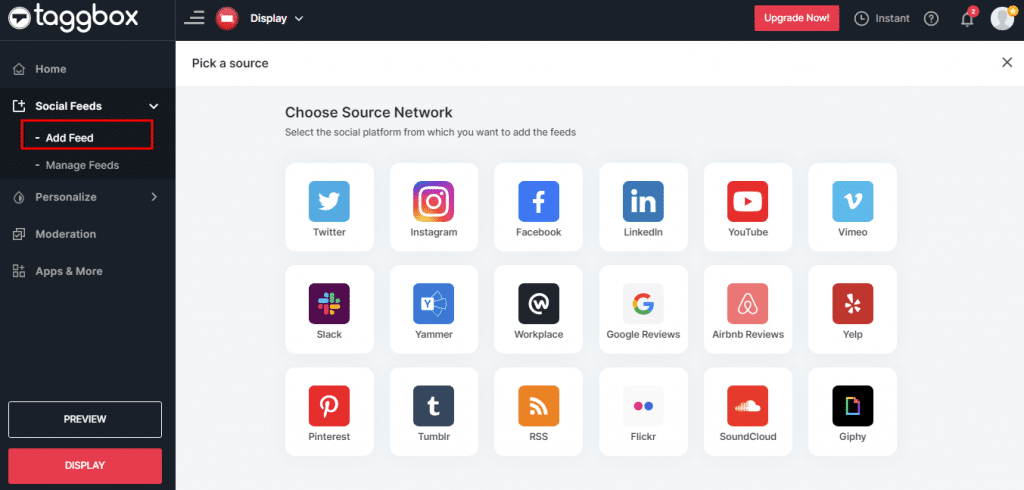
After creating a Wall, you will see a Pick a source box. You can pick any social network such as Twitter, Instagram, or Facebook.

If you don’t want to add content right now then close it and leave it for later.
For Later, Follow these steps to add content:
- Click “Feeds” (You will find it on the left-hand side of the page).
- Do one of the following:
- Click Add Feed, To create a new feed.
- Click Manage Feeds, To Edit, Delete and Manage already created feeds.
Add Feed
Click on Add Feed to create a new feed. You will see Pick a source box. Simply click any network icon to start:
Step 1. Click on Add Feed
Step 2. Select Desired Social Network
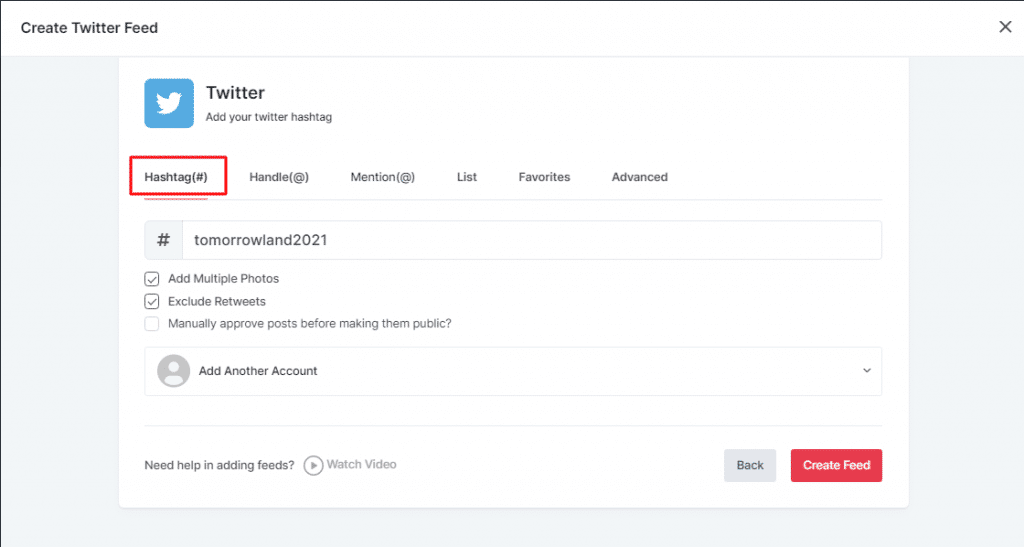
In the popup that appears, select the desired connection type from the top tabs and then fill out the required fields. To enable Moderation on the connection select “Manually approve posts before making them public”. Then click “Create Feed” button to complete adding.
Here’s an example of how to fill out details for Twitter Page connection:
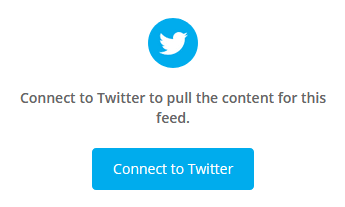
Then provide the login credentials for the Social Network and sign in. (Login Credentials are required for most connections).
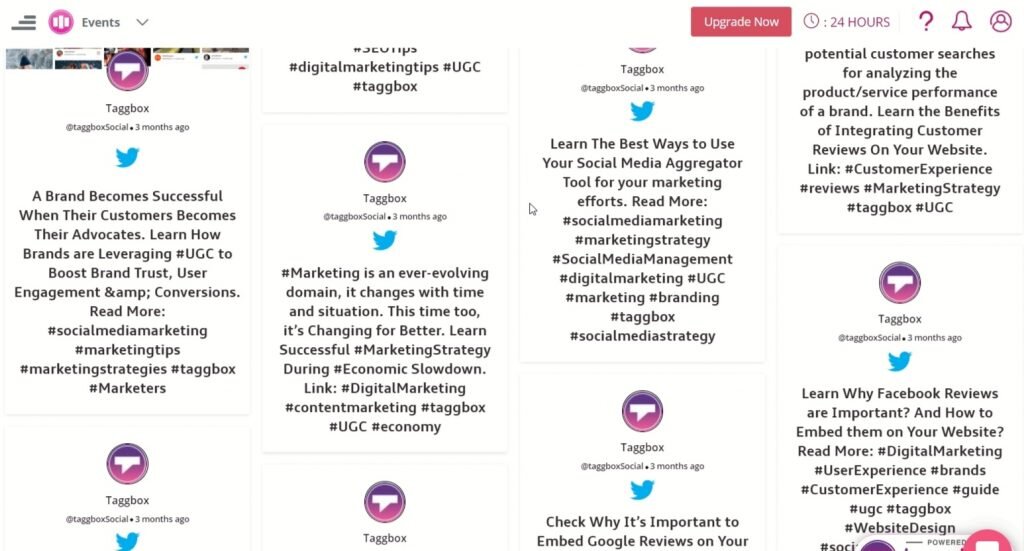
The Connection has been created and within few moments posts will appear in the Editor Panel of the page. Like this:
You can add multiple connections by repeating the process. After creating connections you can use Personalize and Moderation Panel to set up your wall according to you.
Manage Feeds
Click on Manage Feeds to edit old and running feeds. You will see a Feeds Pop-up. Like this:

In Manage Feeds, you can manage Status (On-Off), Moderation (On-Off) and Action (Delete).
Publish Taggbox Social Wall
Now it’s time to Publish your Taggbox Social Wall.
Click on the “Display” button (You will find it on the left-hand side of the page).
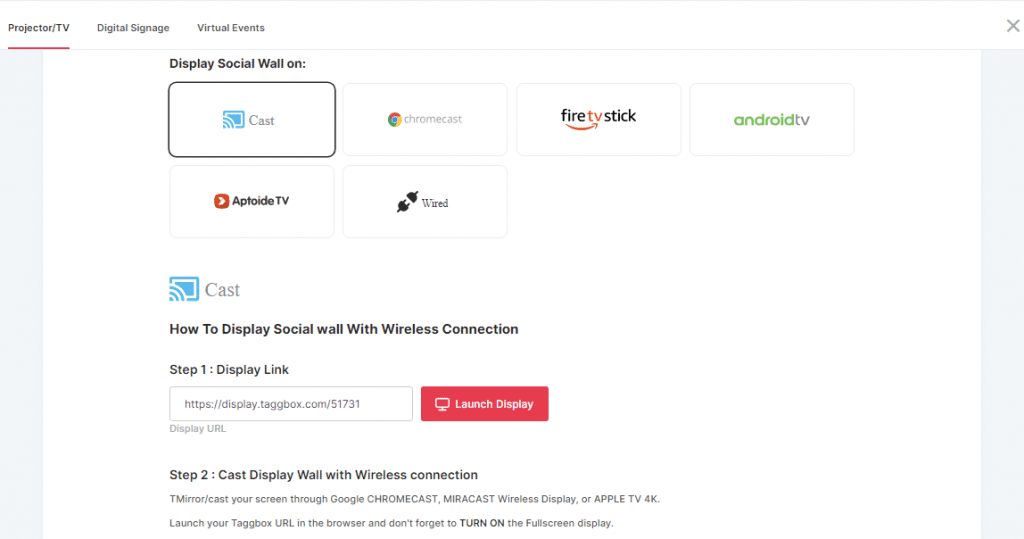
After Clicking on Display You will see mulitple options
- Display Wall on projector/tv
2. Display Wall in Digital signage
3. Display Wall in Virtual Events
1. Display Wall on Projector/TV
Option 2: If you have already using digital signage platforms like
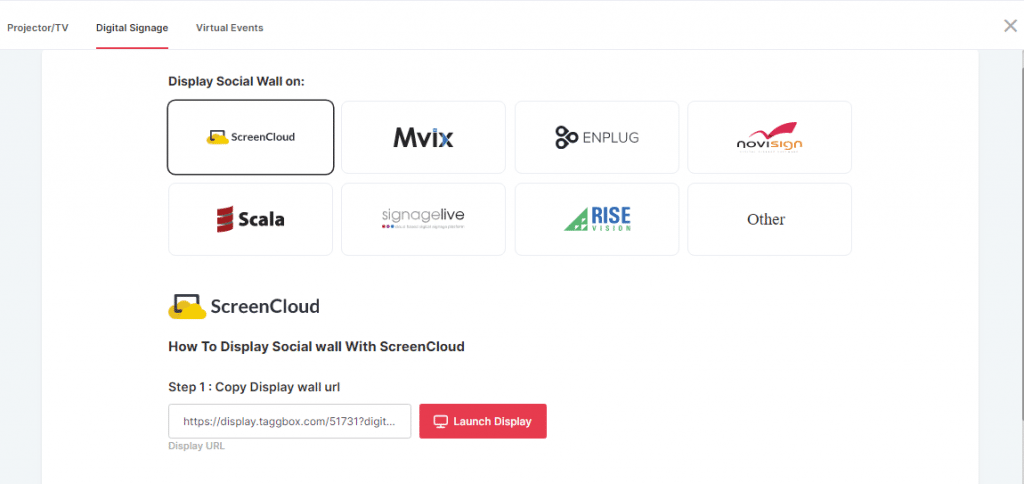
you can select your signage platform option and follow the given steps to add social wall in your signage.
Option 3: you can also share a wall url with your team or clients by clicking on share wall option.
Embed In virtual events
To embed in virtual events click on button next screen appears
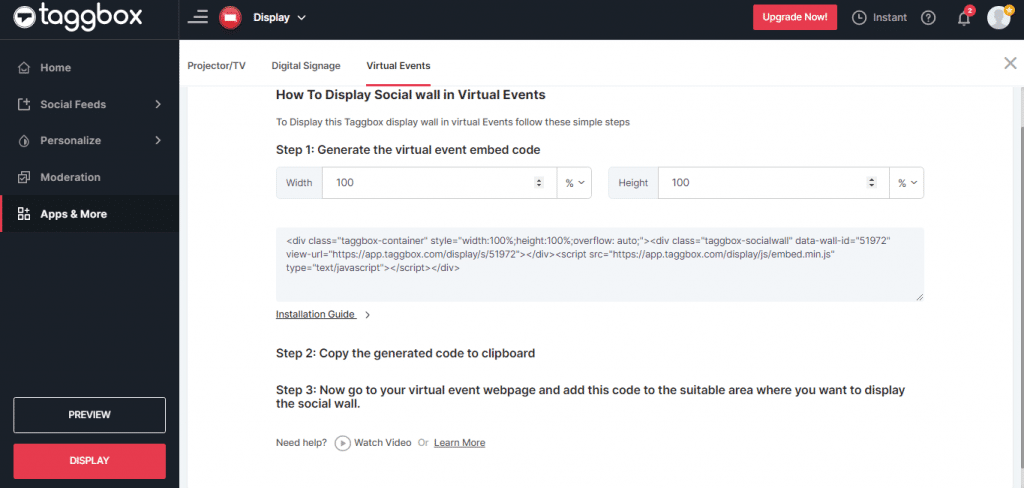
Follow the instructions to get your embed code to publish social wall in virtual events.
That’s it. You made it.
Create a Social Wall Now – Start Your 14 Days Free Trial
If you have any questions regarding creating or adding connections please Contact us or write us at [email protected].