Are you enjoying the benefits of the Taggbox Social Wall? How about we tell you there is something else that can maximize these benefits to a different level?
Taggbox Display has introduced the all-new Taggbox Display Studio, an in-app feature to extract more from your social wall by mixing other content seamlessly.
Follow the given instructions to learn how to use the Taggbox Display Studio:
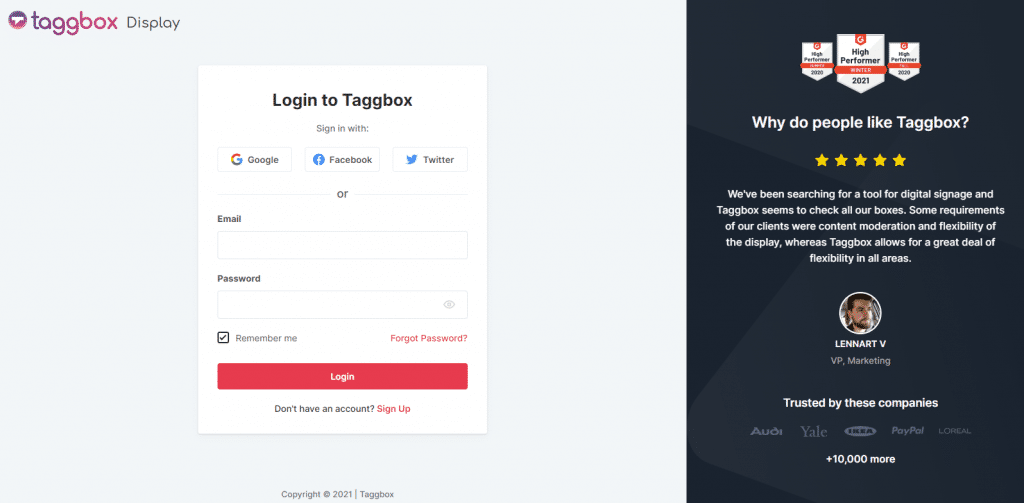
Step 1: Log in to your Taggbox Display Account
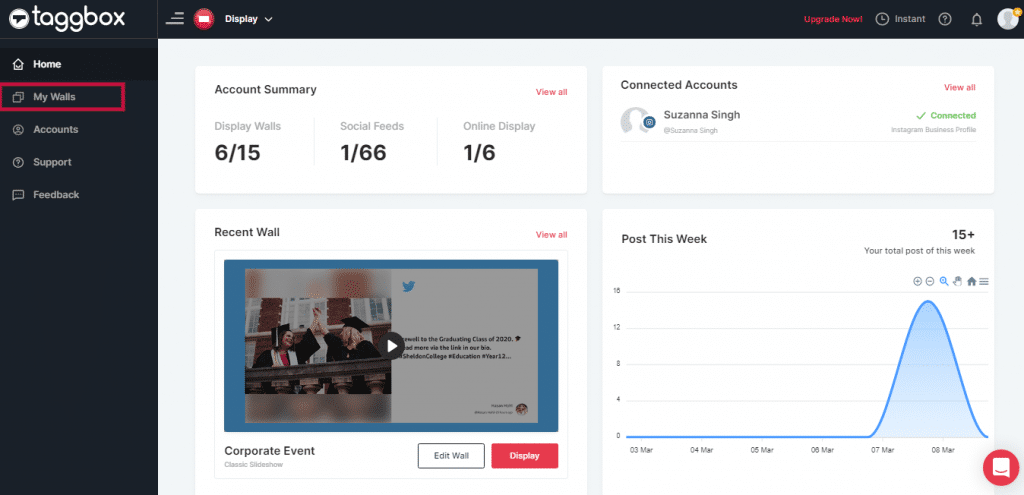
- You will be redirected to the dashboard
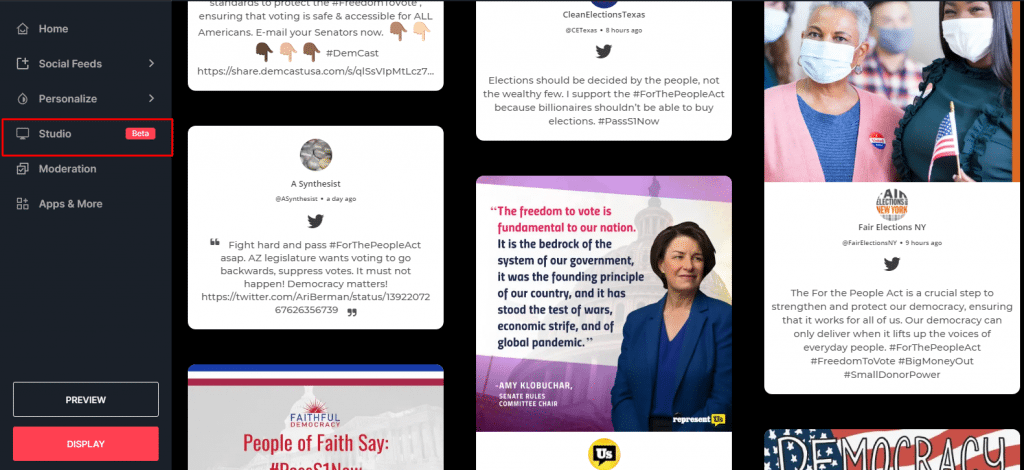
Step 2: Choose My Walls among the left sidebar options
- You will reach your social walls
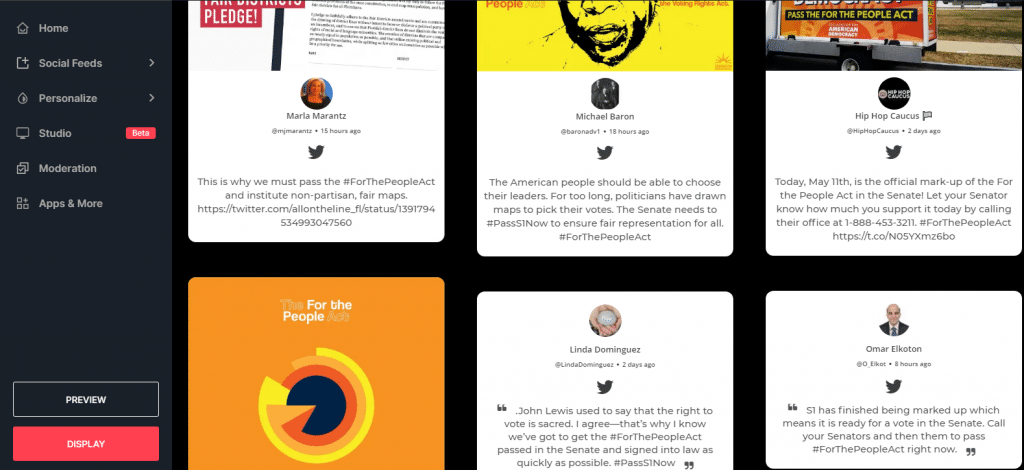
Step 3: Choose the wall that you want to incorporate with the studio apps

Step 4: Click on the edit wall option
- You will be redirected to the wall editor
- Make sure you have already added your social feed
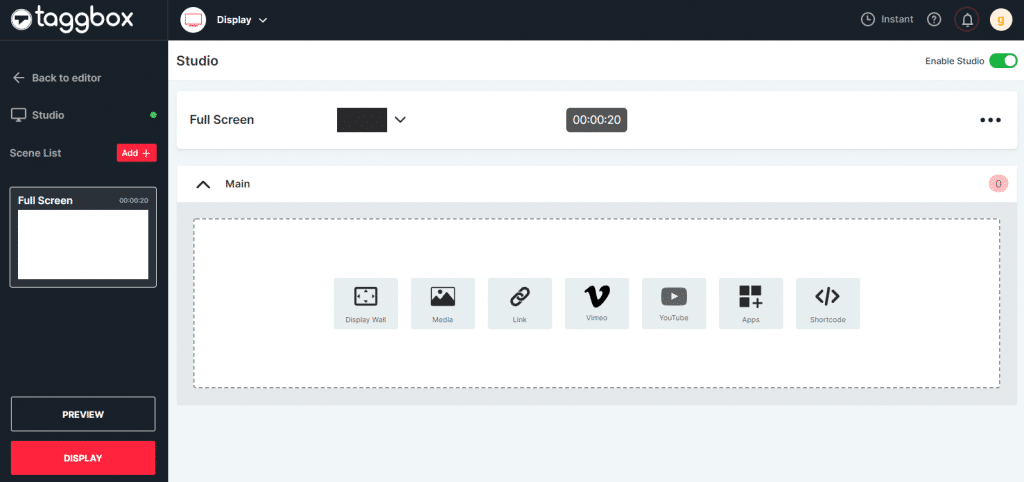
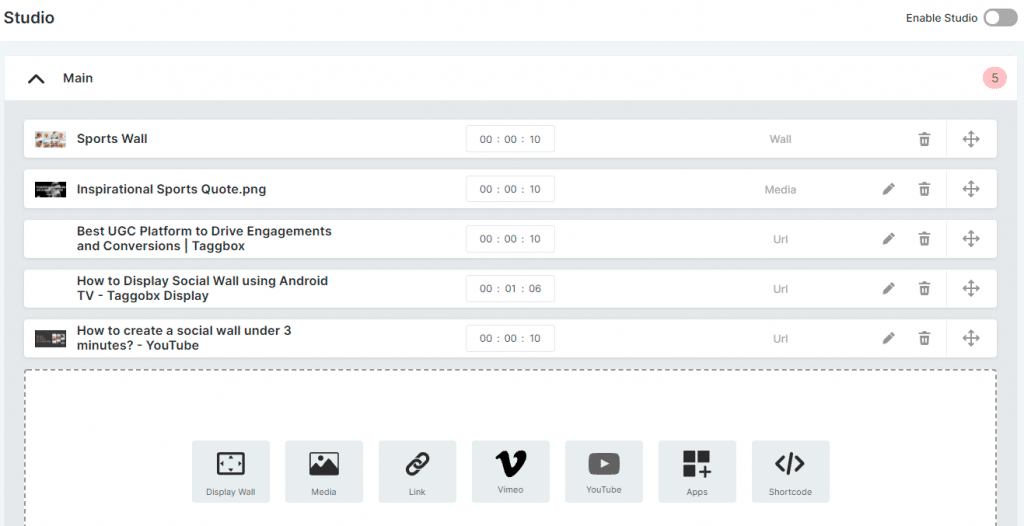
Step 5: Click on the Studio tab situated on the left sidebar
- Your screen will appear like this:
Here is your on how to use the Studio:
- How to add other content along with your wall using Studio
- How to Change Screen Layout
- How to change content display time and shuffle content
- How to Add/ Rename/ Duplicate/ Delete Scene
- How To Enable/ DisableStudio
- How to showcase your studio content on your Tv Screen/ digital signage
Let’s Get Started!
1. How to add other content with social wall in studio
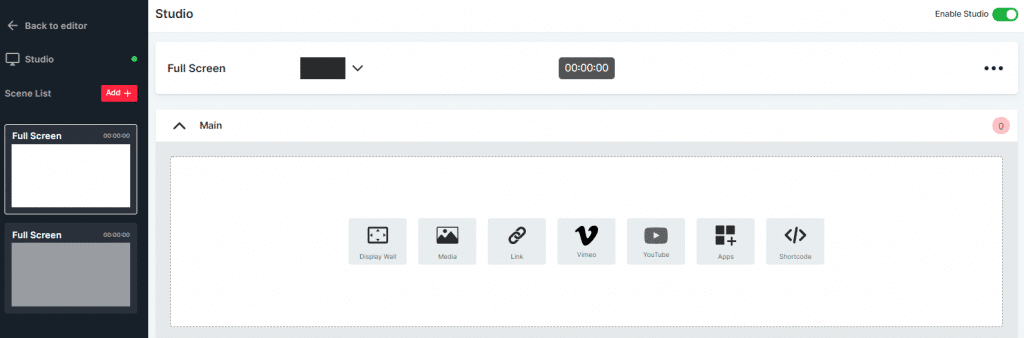
- Once you reach the studio, you will see that your social feed is already added as content to the studio
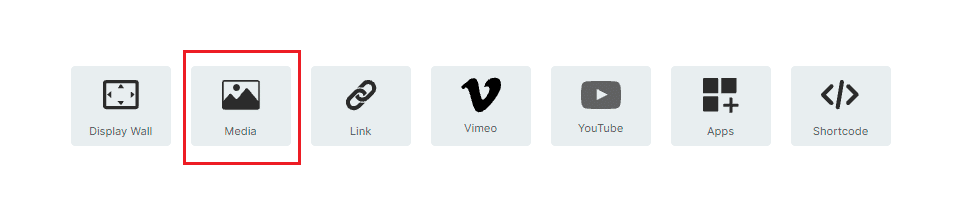
- To add more content on your social wall, choose among the icons given below
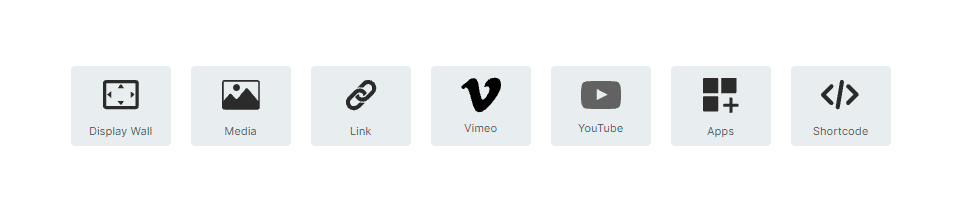
These are your options:
- Media
- Embed URL
- Vimeo
- Youtube
- Apps
- Embed Code
Let’s Start With Media
Step 1: Choose Media as your option.
- A pop-up will appear
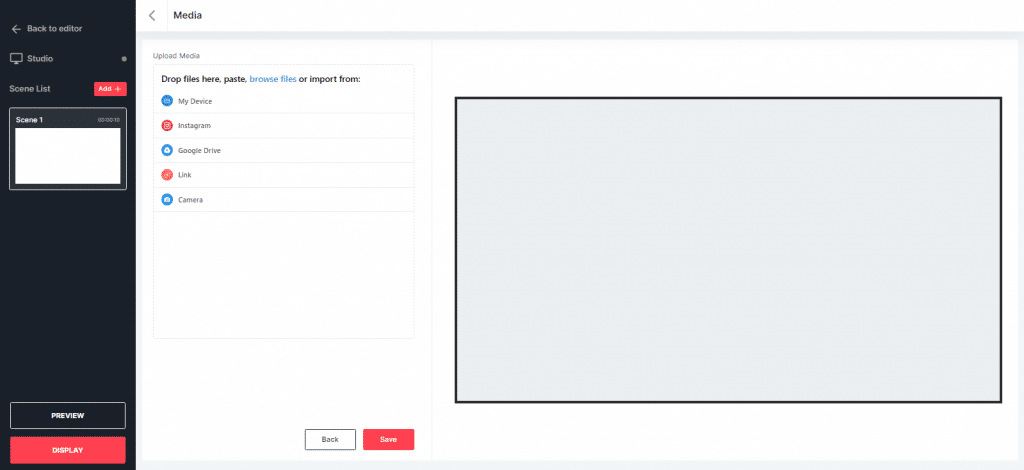
You will get multiple options to import media and you must choose one:
- Your Device
- google drive
- link
- camera
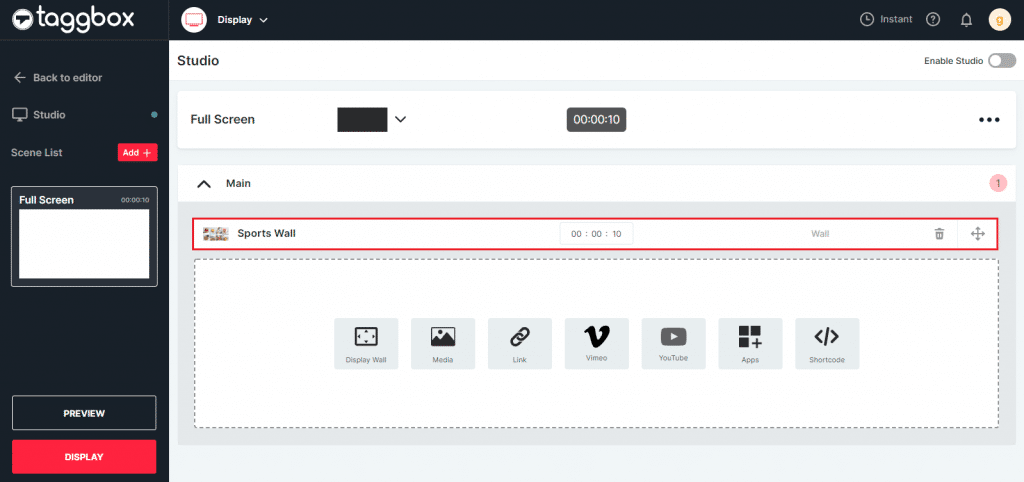
Once you have uploaded the media, you can see a preview on the right side of your screen.
Step 2: Click on the Save button to add this media to Studio.
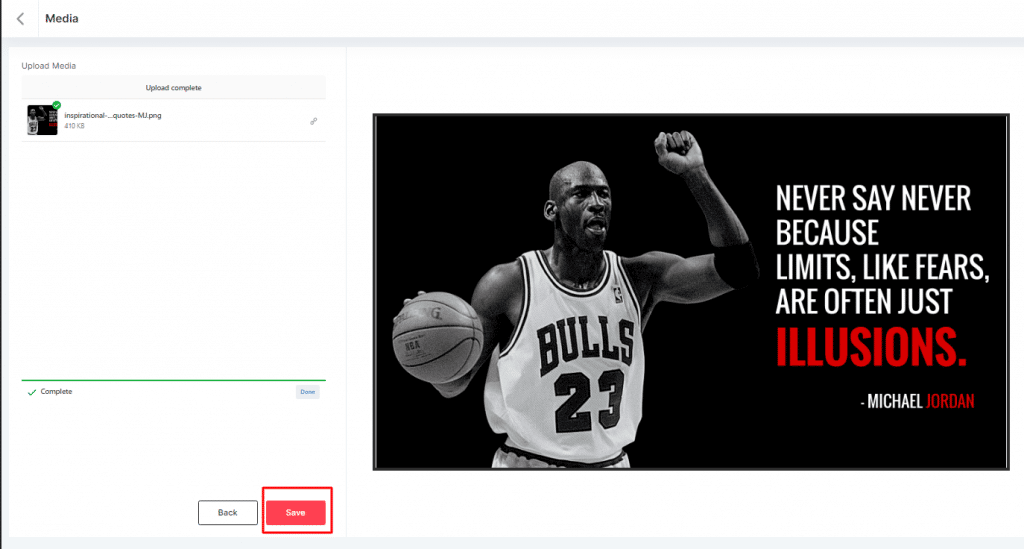
Once you click on save media popup will close and you can see image added in your studio feed.
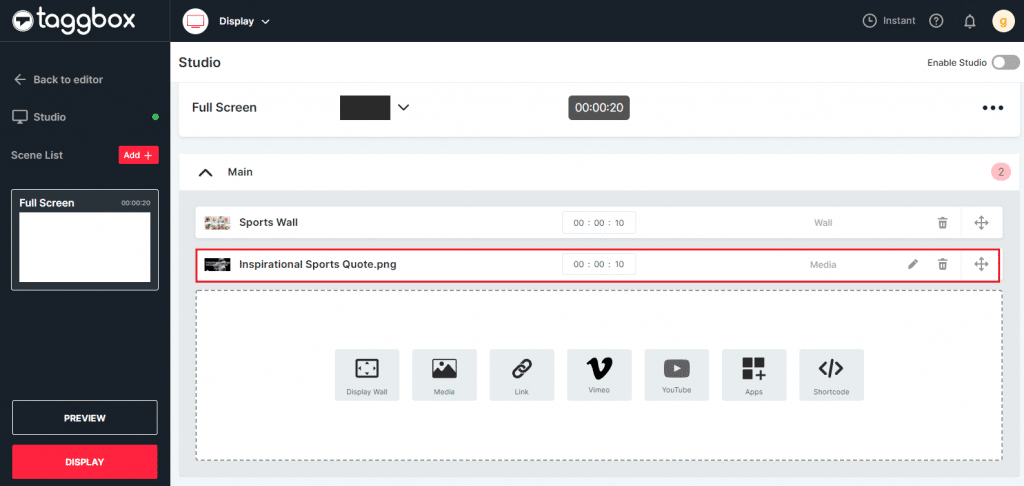
Step 3: Click on the Preview button at the bottom left corner of your screen to check how your social wall has turned out.
Preview video
Similery you can add other content with your wall
Apps
Now you can add a calendar, countdown, maps, quotes, and leaderboard along with your social wall by using the Taggbox Display Studio App feature.
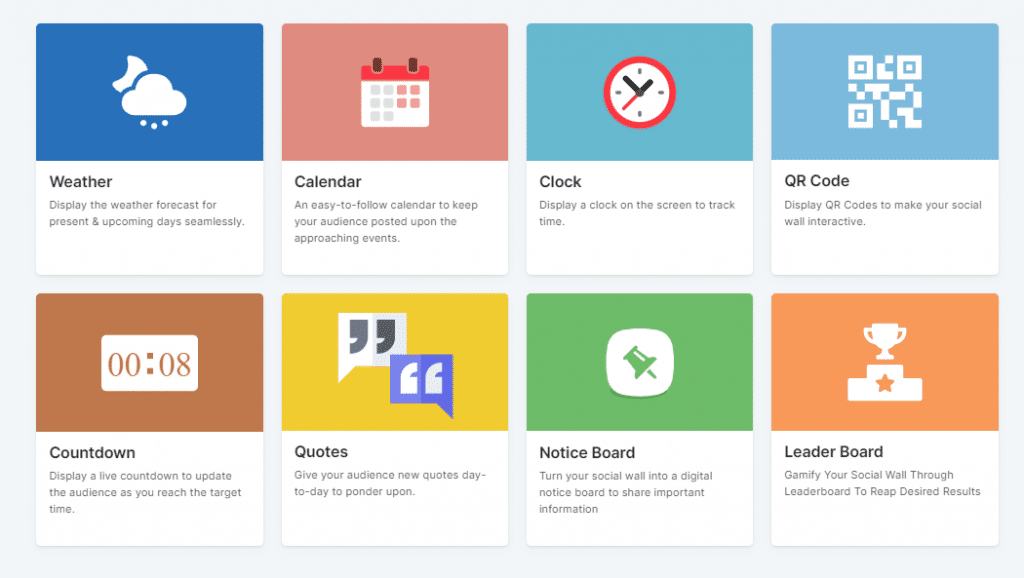
Steps to use Apps Feature
Click on the apps option
A screen with multiple apps appear
choose your preferred app, do all customizations & hit the save button.
2. How to Change Screen Layout
With Taggbox Display Studio, you get the option to either run the social media wall content on full screen or display it on any part of the screen parallel to other content.
Let’s start with how it works.
Step 1: You will see a section with a down arrow on the top of the page, as shown in the screenshot. Click on it.
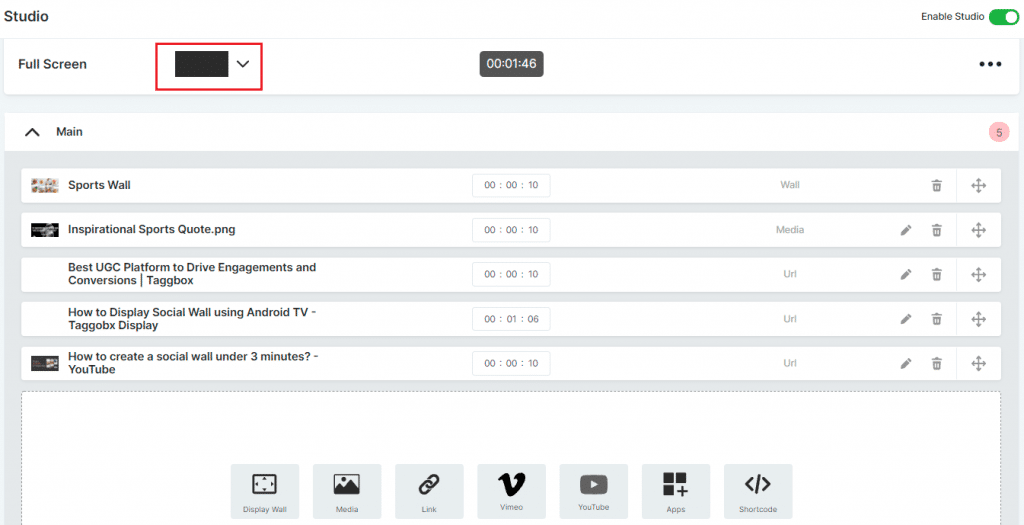
- After clicking on the down arrow you will see three options
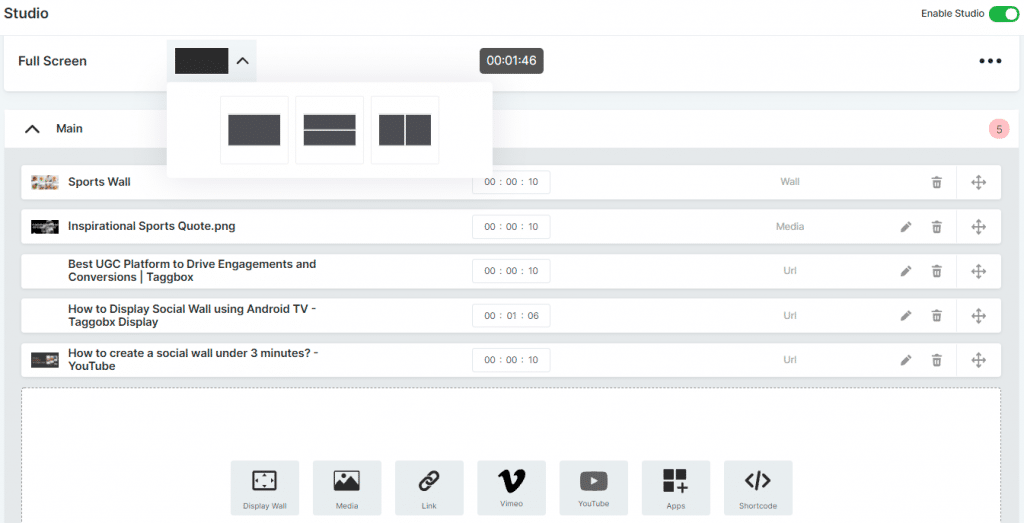
These are the currently available options with Taggbox Display Studio
- Full Screen: This is the default Screen layout. In this layout, the content will be on a fullscreen display.
- Horizontal Split: Screen will divide into two parts horizontally, and you can display two different content streams.
- Vertical Split: In this layout, you divide your screen with two pieces of content vertically.
Horizontal Split:
- When you choose Horizontal Split, this is how your screen will appear:
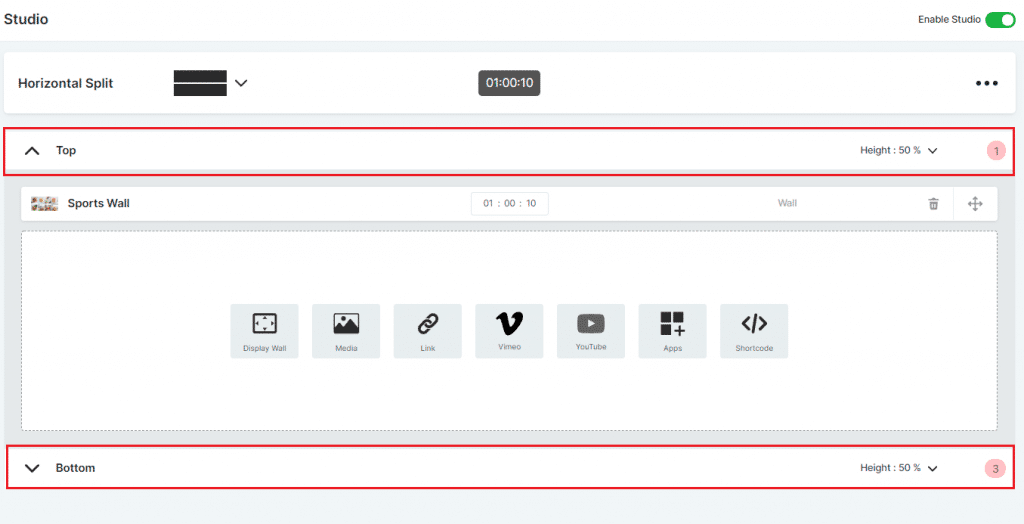
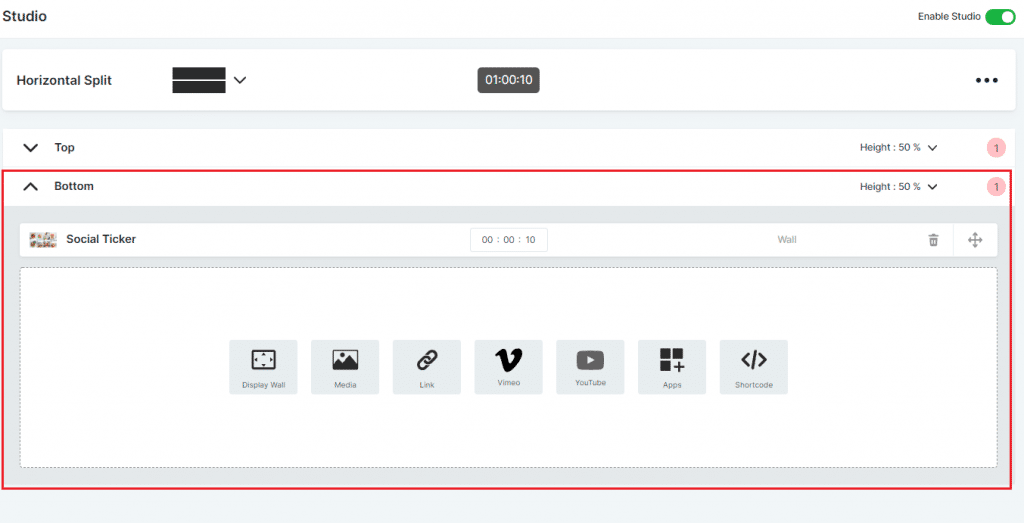
- You will see two sections to add content: top and bottom
- When you the layout from full screen to Horizontal split, all the full-screen content moves in the top section of the Horizontal split layout
- You can add more content in the bottom section to display content on both sides.
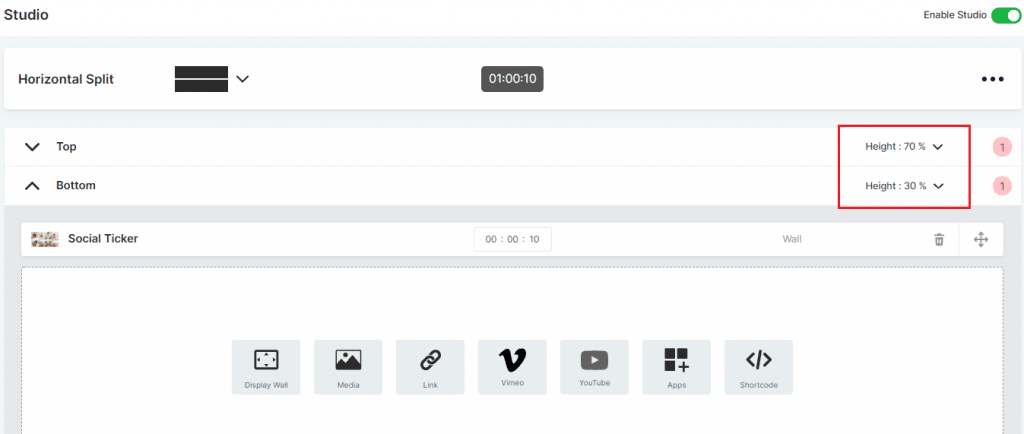
- By default, both sections cover 50% height of the screen, but you can change it by clicking the down arrow shown on the screenshot.
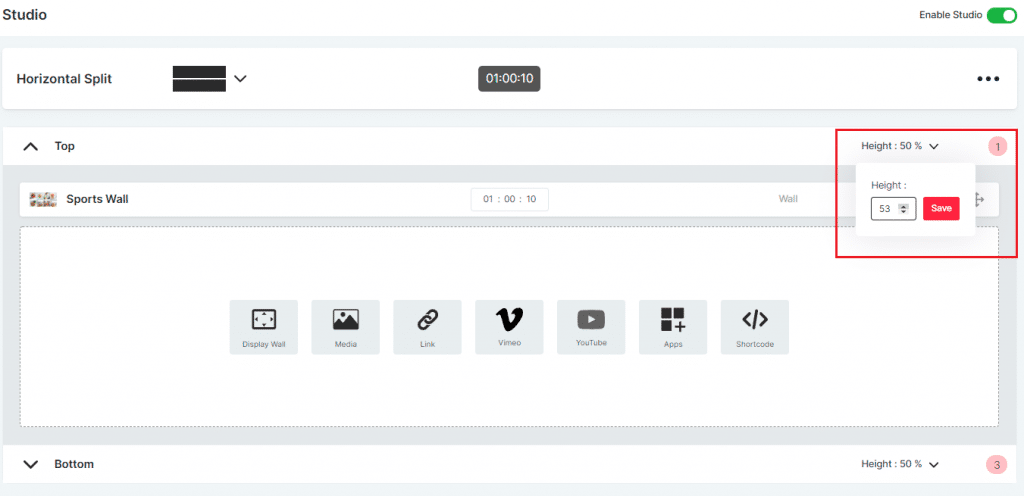
- Once you change the height for one section, the other section’s height changes automatically.
- You can check the preview of how it looks on your screen by clicking on the preview button on the left sidebar.
Horizontal Split preview Examples:
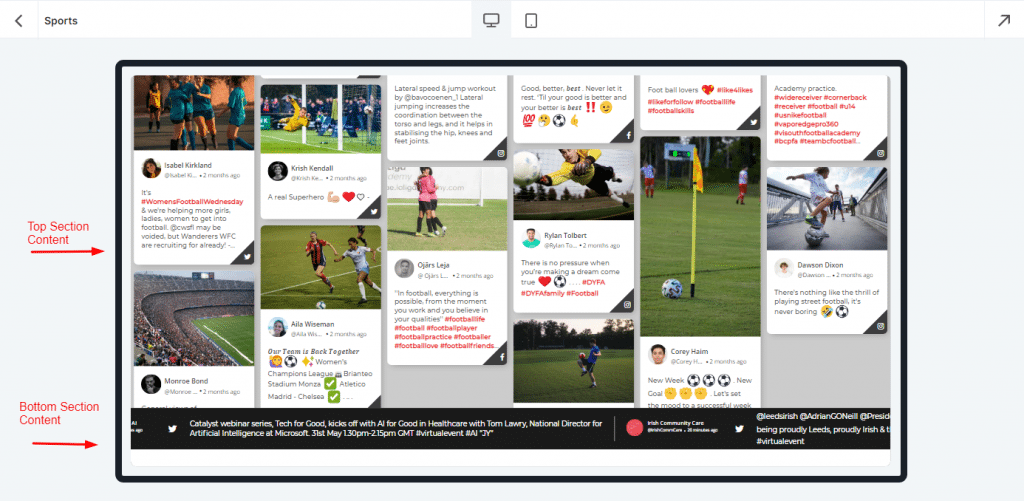
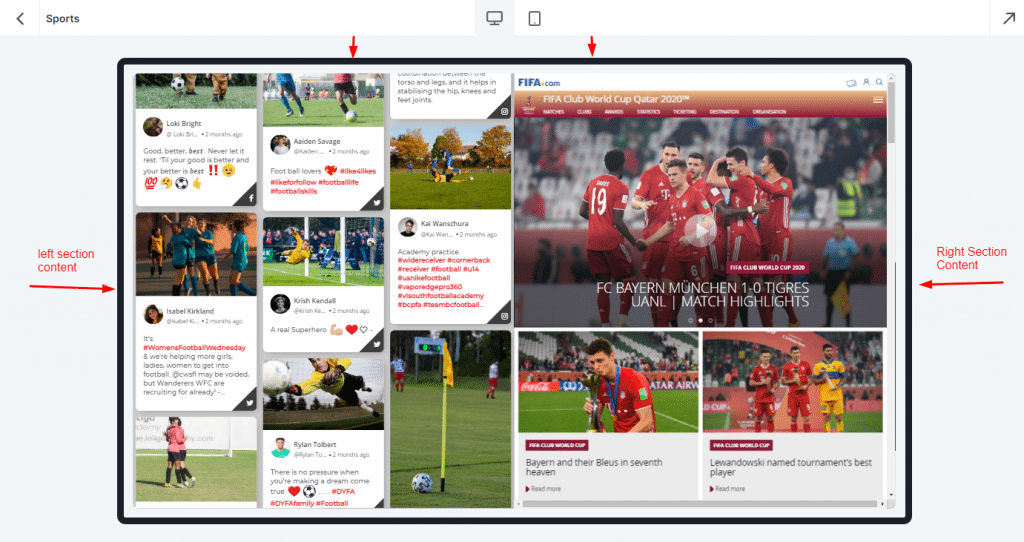
Vertical Split:
- When you choose Vertical Split, this is how your screen will appear:
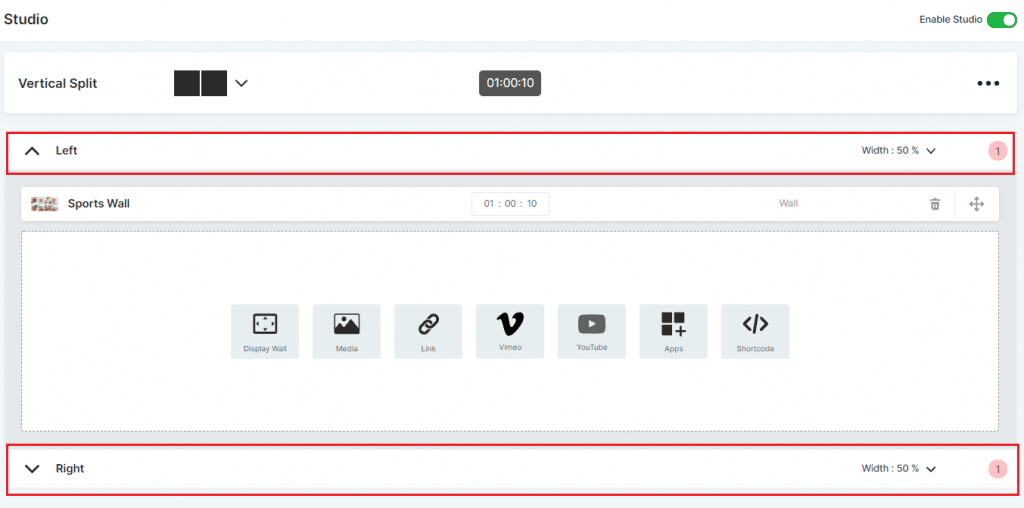
- You will see two sections to add content: left and right
- When you the layout from full screen to vertical split, all the full-screen content moves in the left section of the vertical split layout
- You can add more content in the right section to display content on both sides.
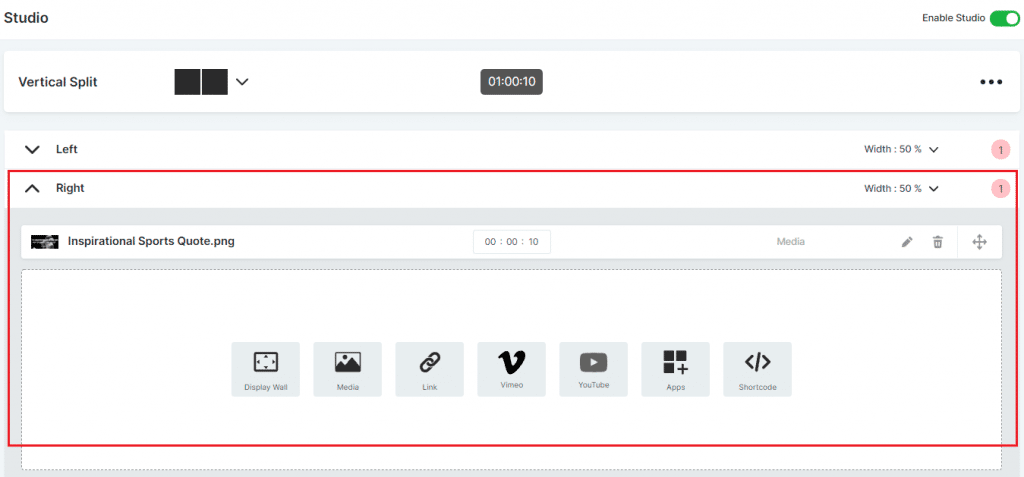
- By default, both sections cover 50% width of the screen, but you can change it by clicking the down arrow shown on the screenshot.
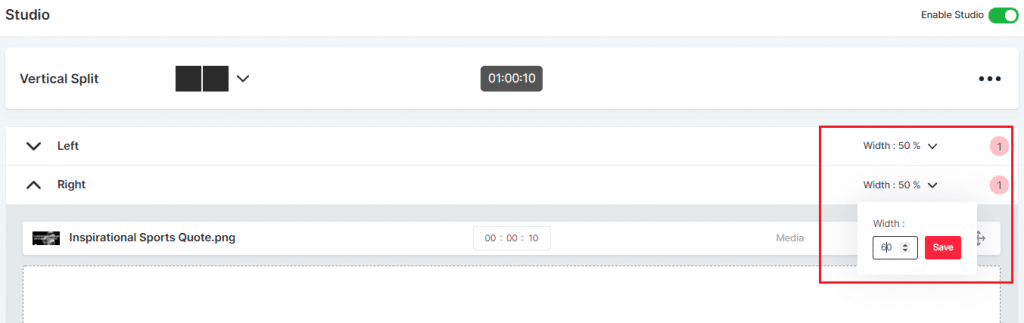
- Once you change the height for one section, the other section’s height changes automatically.
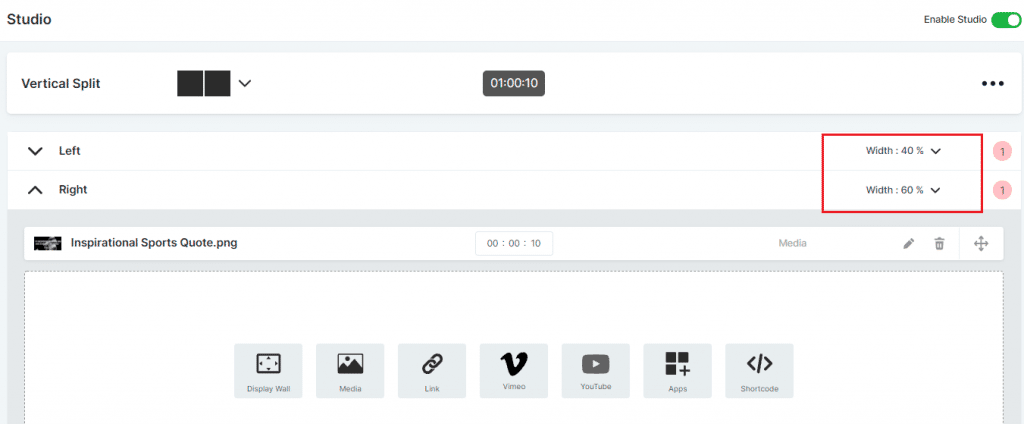
- You can check the preview of how it looks on your screen by clicking on the preview button on the left sidebar.
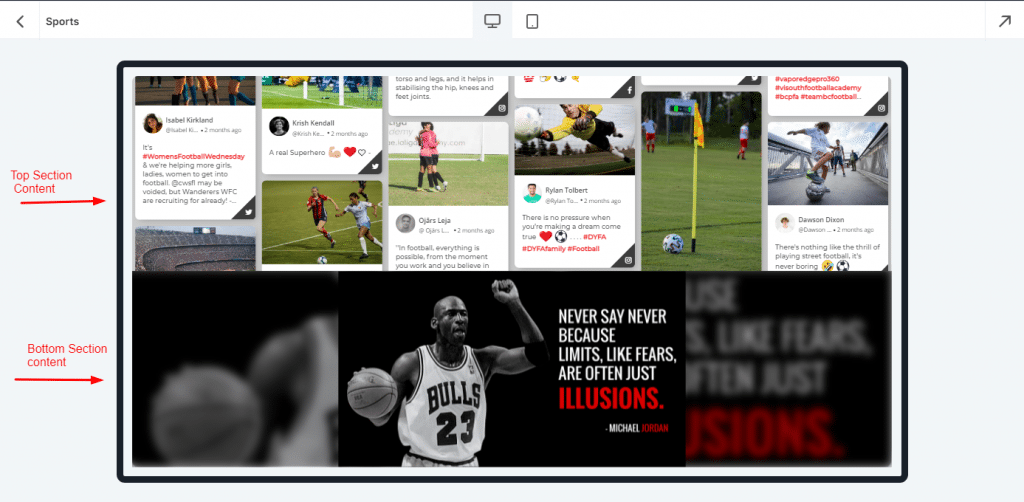
Vertical Split preview Examples:
3. How to change Content Display Time and Shuffle Content
Change Display Time:
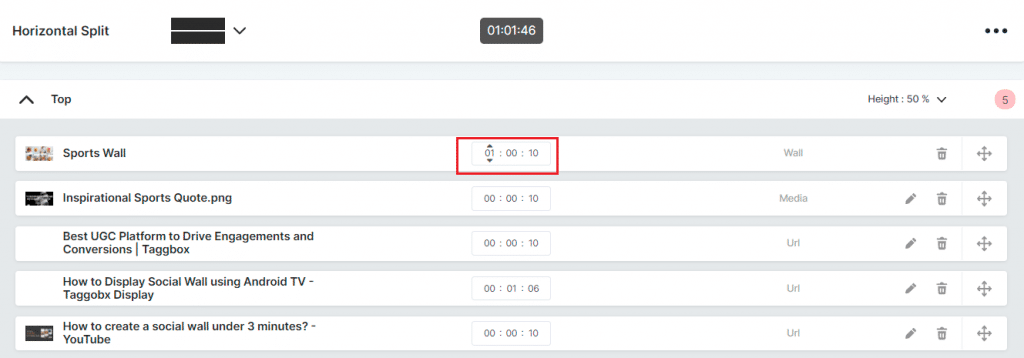
- When you add content, there is a default time shown for each one as:
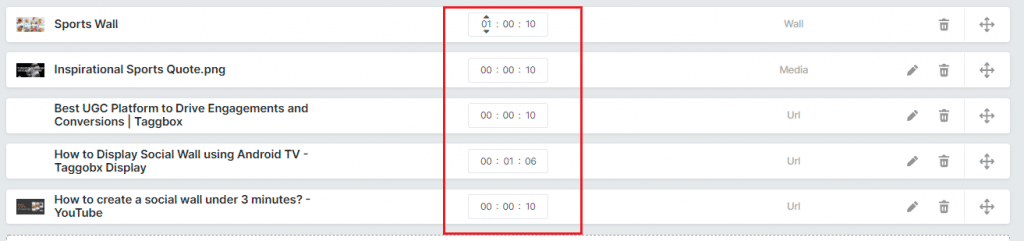
- To increase or decrease content time, move your mouse cursor as per the time frame of the content and make the changes
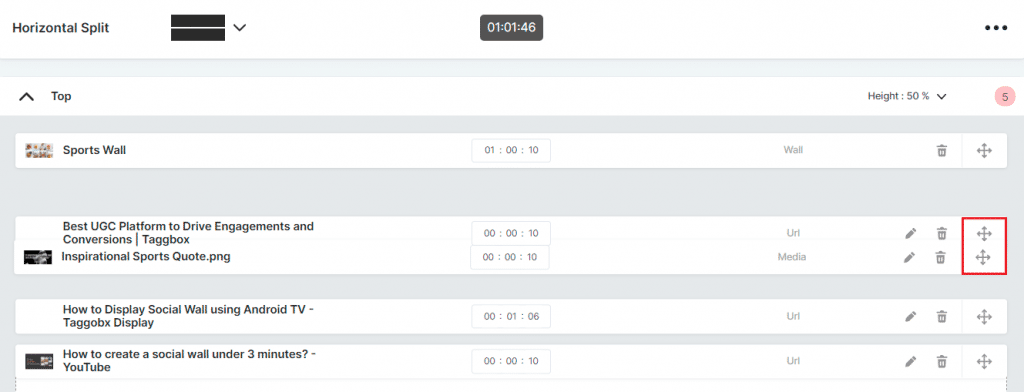
Shuffe/ Move Content
- You can rearrange content as per your need with Taggbox Display Studio.
4. How to Add/ Rename/ Duplicate/ Delete Scene
With the Taggbox Studio, you can create endless content by adding scenes.
What Is Scene: A scene is a set of content running for a fixed time duration with content added.
How to Add Scene:
- To Add Scene Click on the Add+ icon as shown in this screenshot:
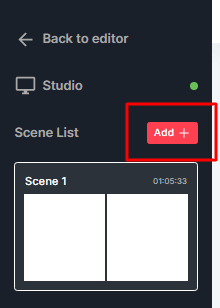
- After clicking on Add Scene Icon, you will see the screen as:

- Now choose the layout in which you want to display content on screen. After this step, you will see the option to add content to the scene of the next screen.
How to Rename Scene:
- To rename your scene name, take your mouse hover as shown on the screenshot, a pencil icon will appear. Click on it.
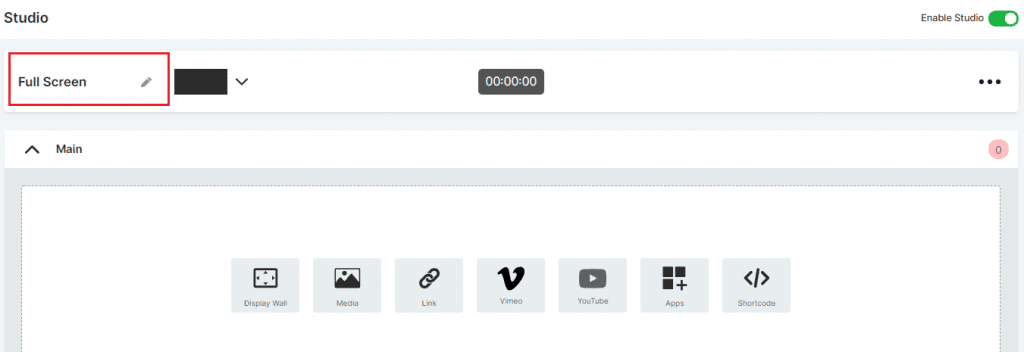
- After clicking on the icon, you can input any name from your keyboard.
- Once you enter the name, click outside, and this will save.

- You have now successfully renamed the scene name.
How to Delete Scene:
- To delete any scene, hover the mouse on its thumbnail like this.
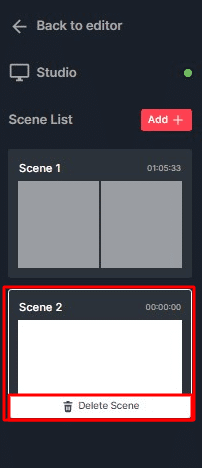
- Click on delete scene. After clicking on it, a popup message will appear.
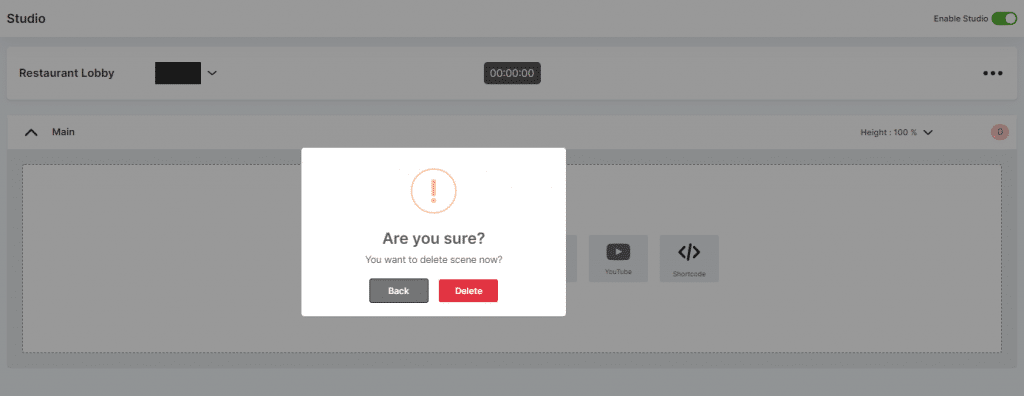
- Click on delete, and it’s done.
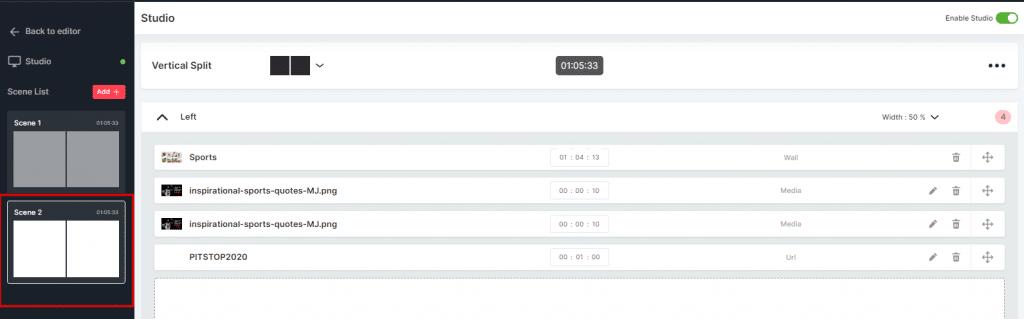
How to Duplicate A Scene:
If you want to duplicate the Scene, you can also do this using the Taggbox Studio. Follow the steps:
Click on the three dots on the right corner of the Scene. And then, click on the duplicate.
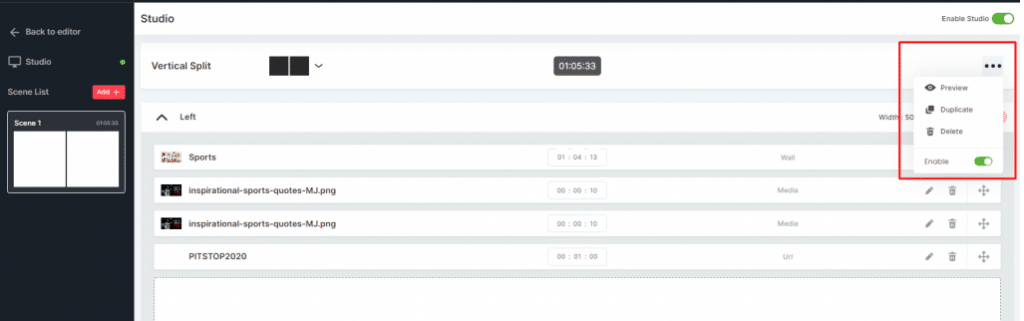
- All the content and setting of this scene will copy to a newly added scene.
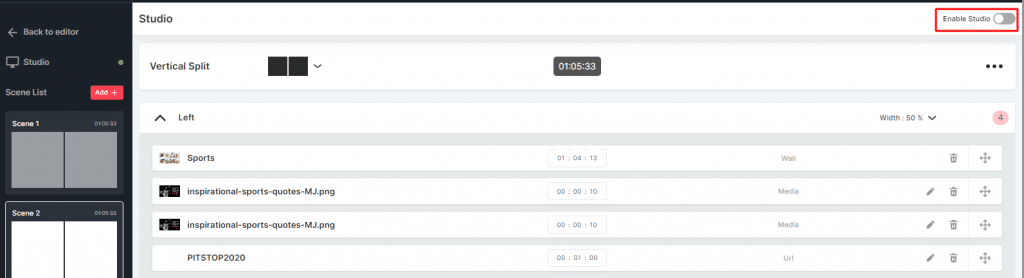
5. Enable/Disable Studio
- To Display all the content you have added along with your social wall, you need to enable studio by clicking here:
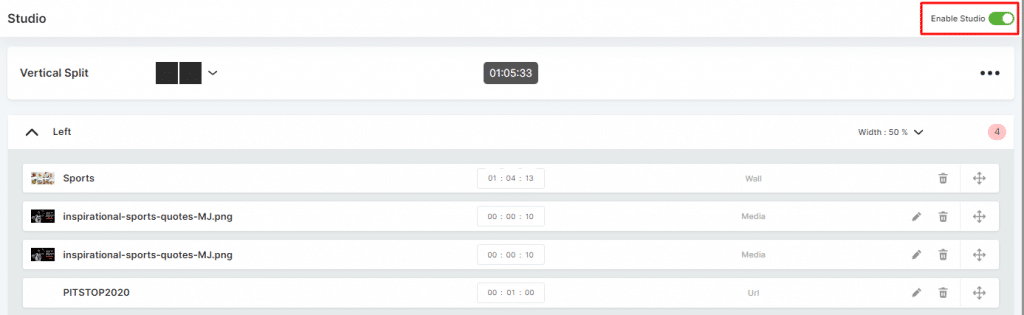
- If you don’t want to show content added to the studio but want to display your social wall, disable the video by switching the button.
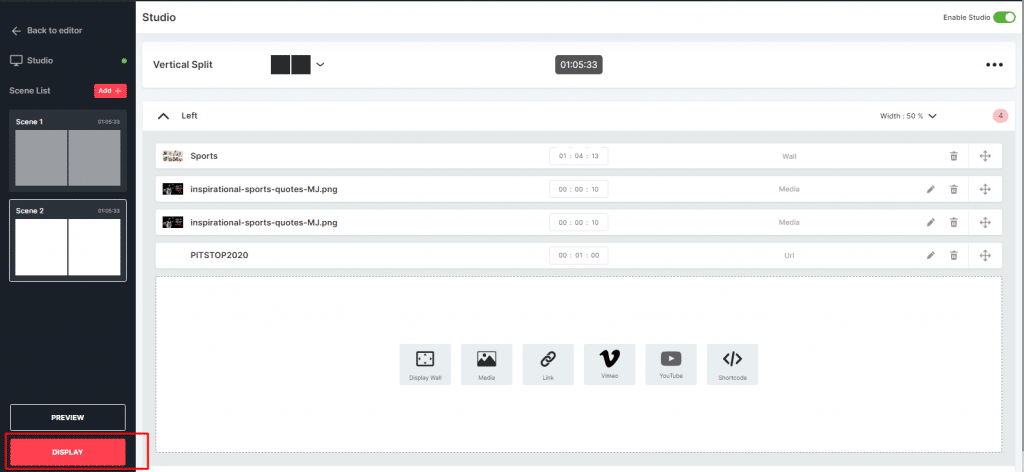
6. Display Studio Content on Tv/ Digital signage
- To Display your studio content, click on the Display Button in the Bottom left sidebar.