Taggbox widget has made it easy for its & Klaviyo users to insert inspiring user-generated content into their email marketing campaigns with Klaviyo. Adding UGC into emails increases the possibilities of open rate, CTR, conversions, and overall ROI of your email marketing campaign. Hence, begin to insert UGC into your emails to gain all these exceptional results on your email marketing campaigns.
Here, below is the step-by-step process to curate, customize, and integrate user-generated content into the email marketing templates on Klaviyo. (Follow Along)
3 Simple Steps To Add UGC Into Klaviyo Email Campaign Platform
These steps guide you through adding UGC into your Klaviyo Email Campaign with the Taggbox widget.
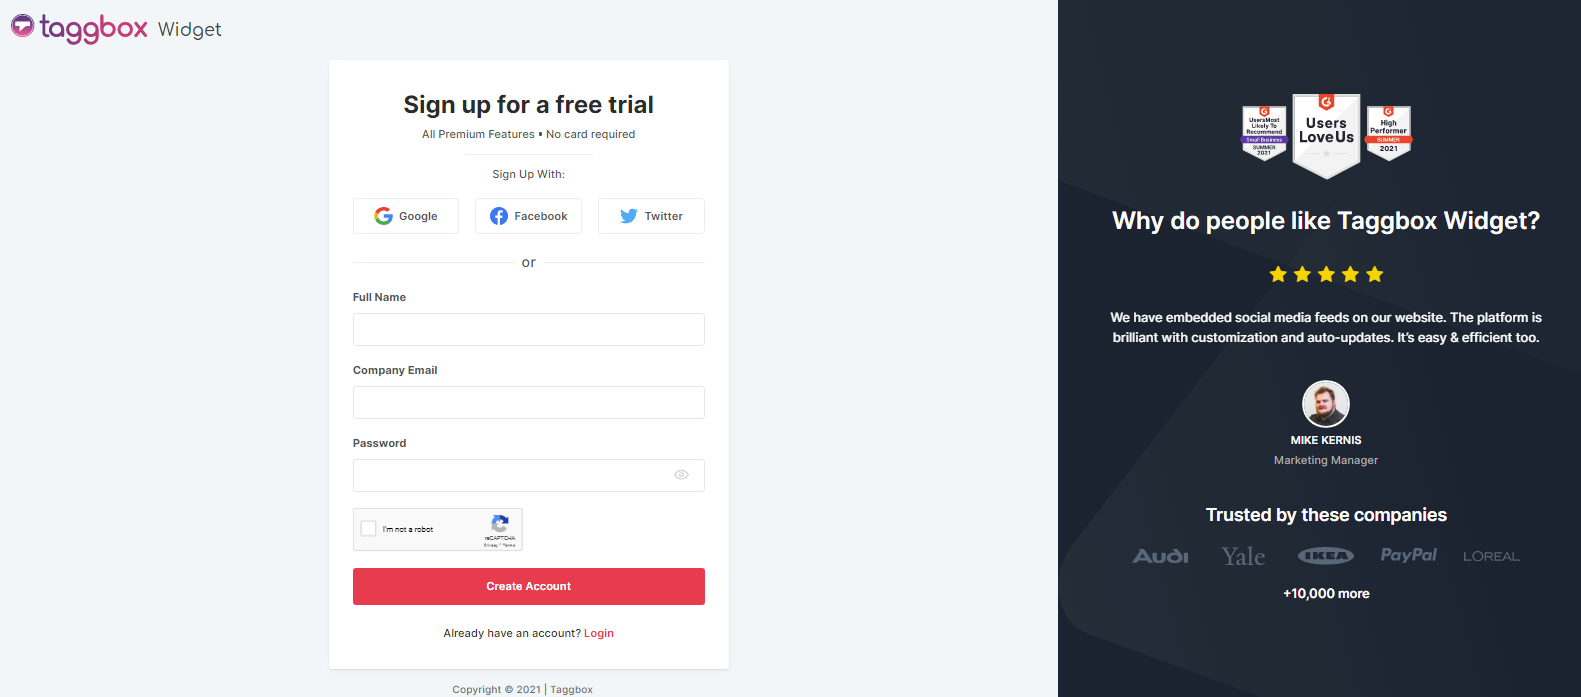
Start with a for free on Taggbox Widget if you are a new user or login to your existing account to start the process.
Step 1: Collect UGC Using Taggbox Widget
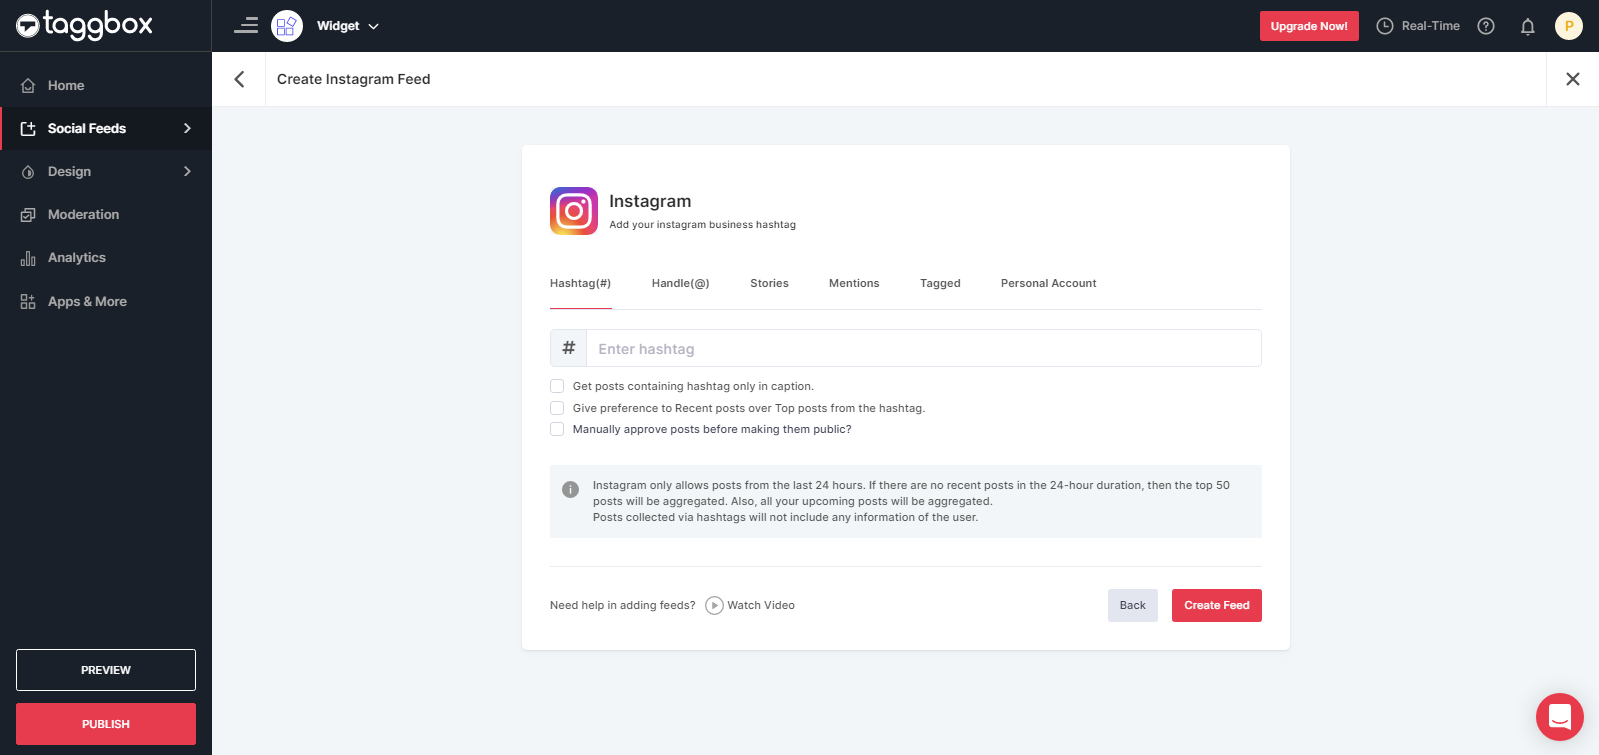
1.1: Create a new widget and select a social media source you like to collect social media feeds. For example, Instagram, Facebook, Twitter, Linked In, Pinterest, Yammer, etc.
1.2: Type a hashtag, handle, mention, tag, or URL depending on your selected social media source. For instance, select Instagram, type #summerfashion in a hashtag connection box, and click on the Create Feed button.
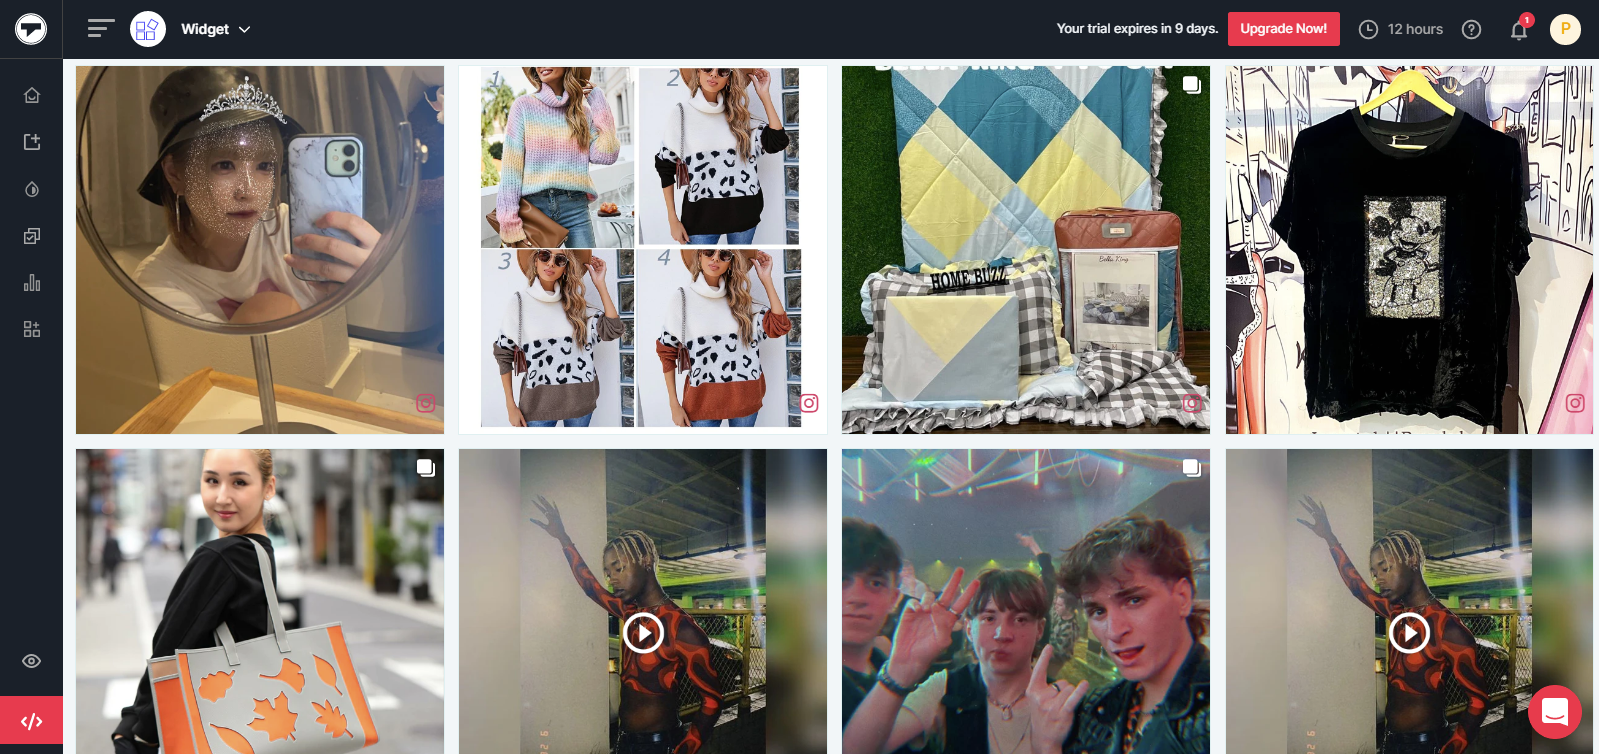
1.3: All the related social media feeds will appear on the screen. You can follow the same process to collect UGC from different social media sources and connection types (one at a time).
Step 2: Publish UGC On Klaviyo Email Campaign
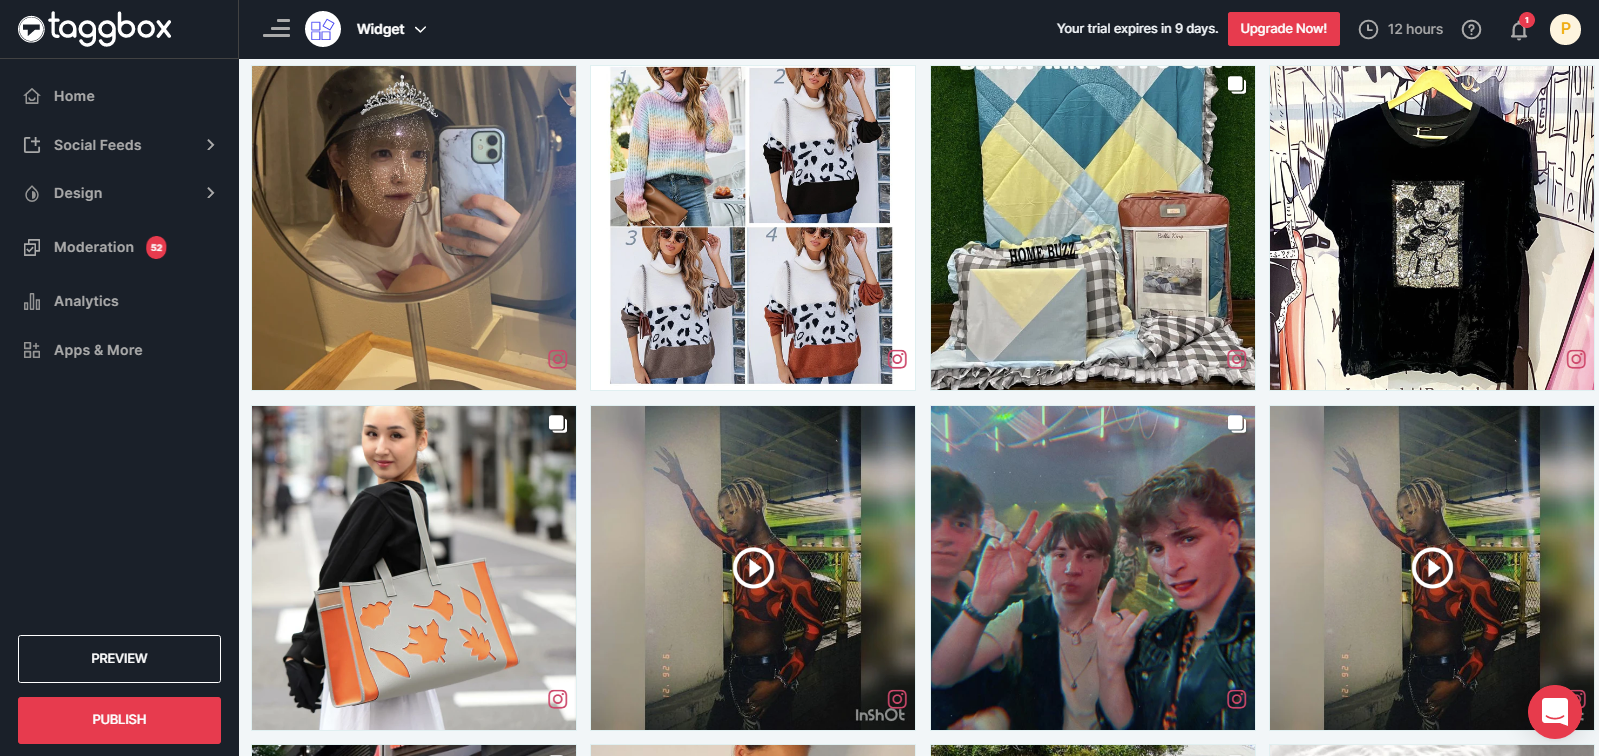
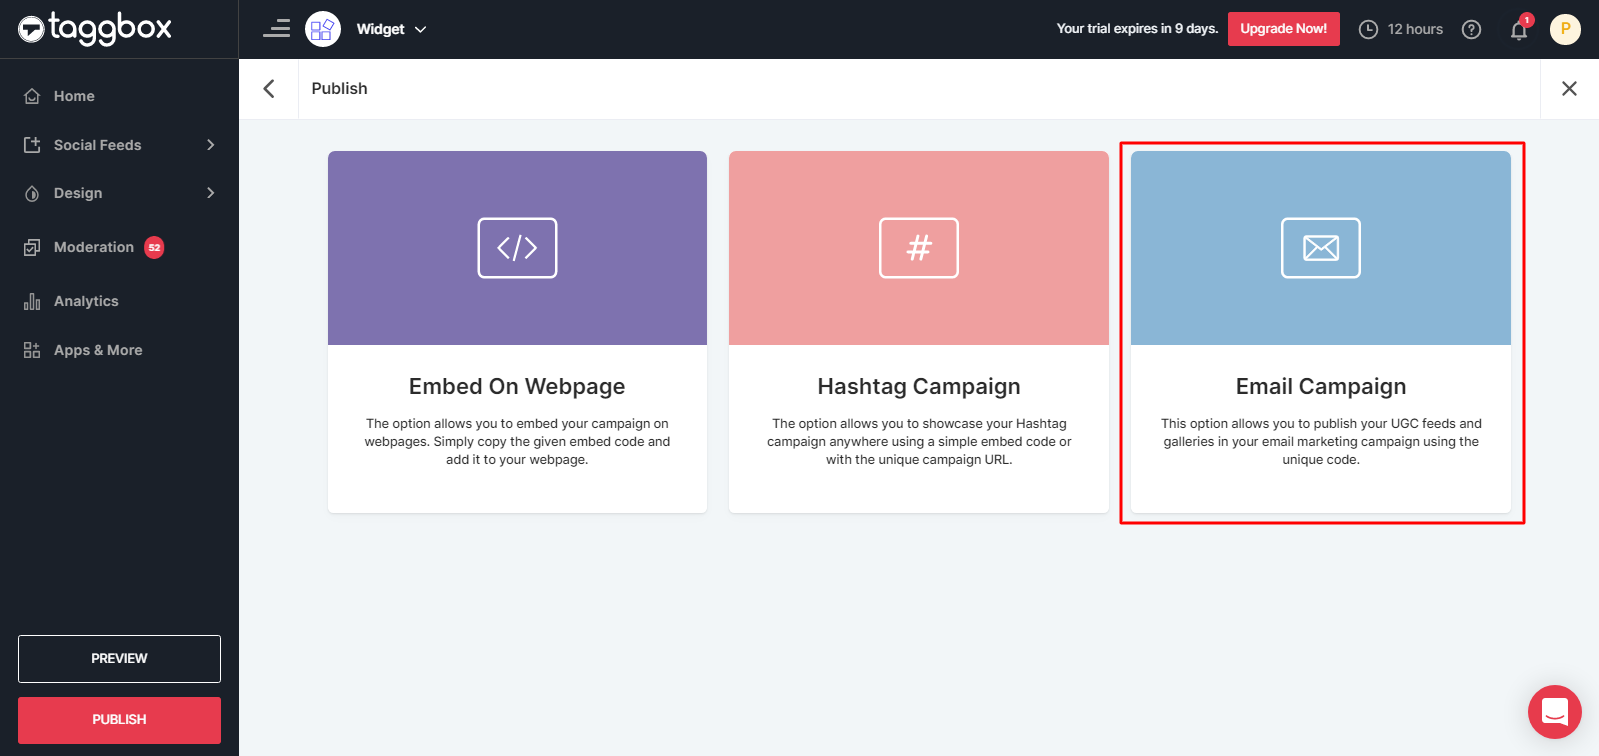
2.1: Click on the Publish button in the left-bottom corner of the screen.
2.2: A new screen will appear. Here select email campaign.
2.3: Now select Klaviyo and choose a layout style you want to display on your email campaign.
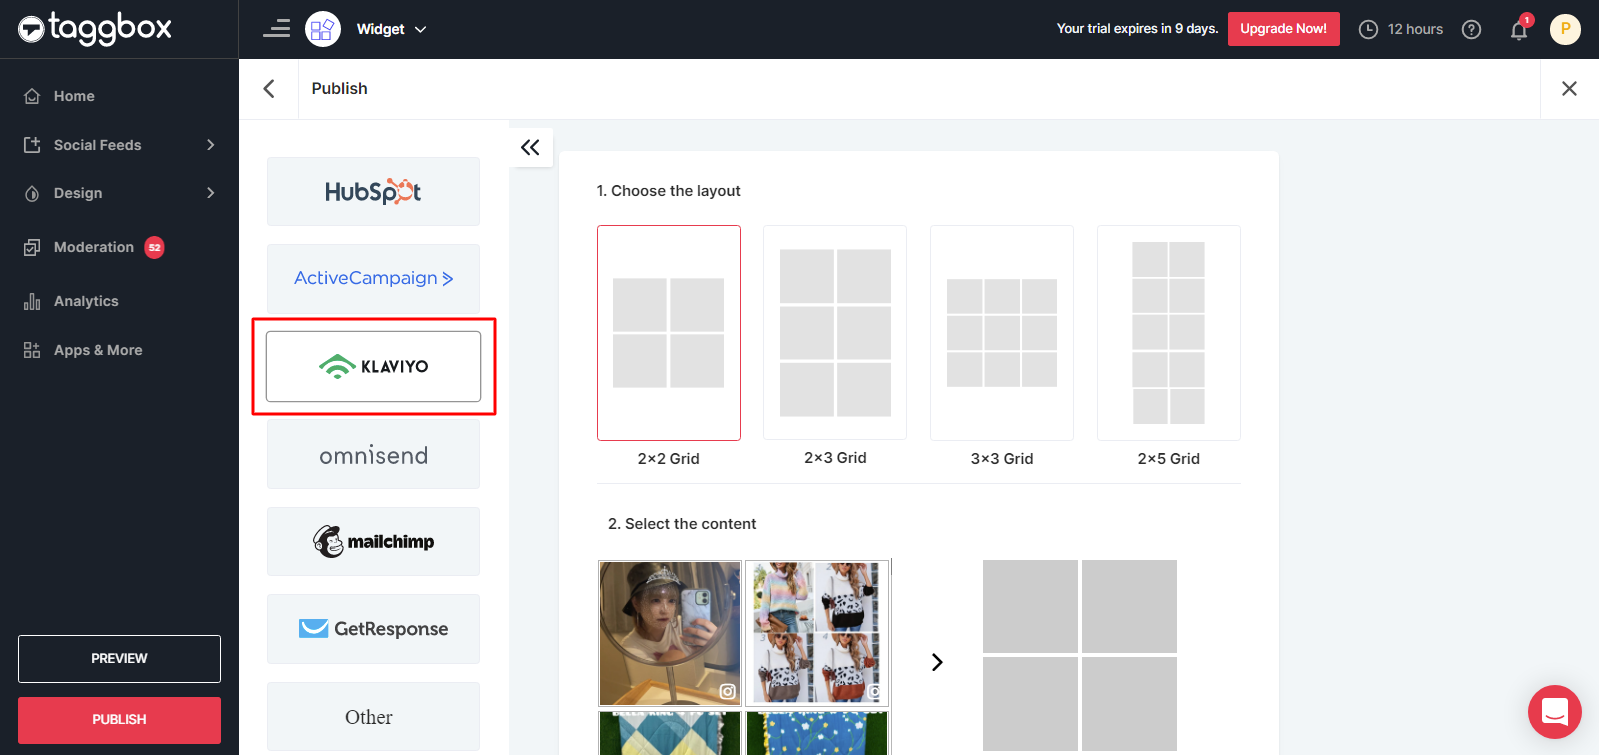
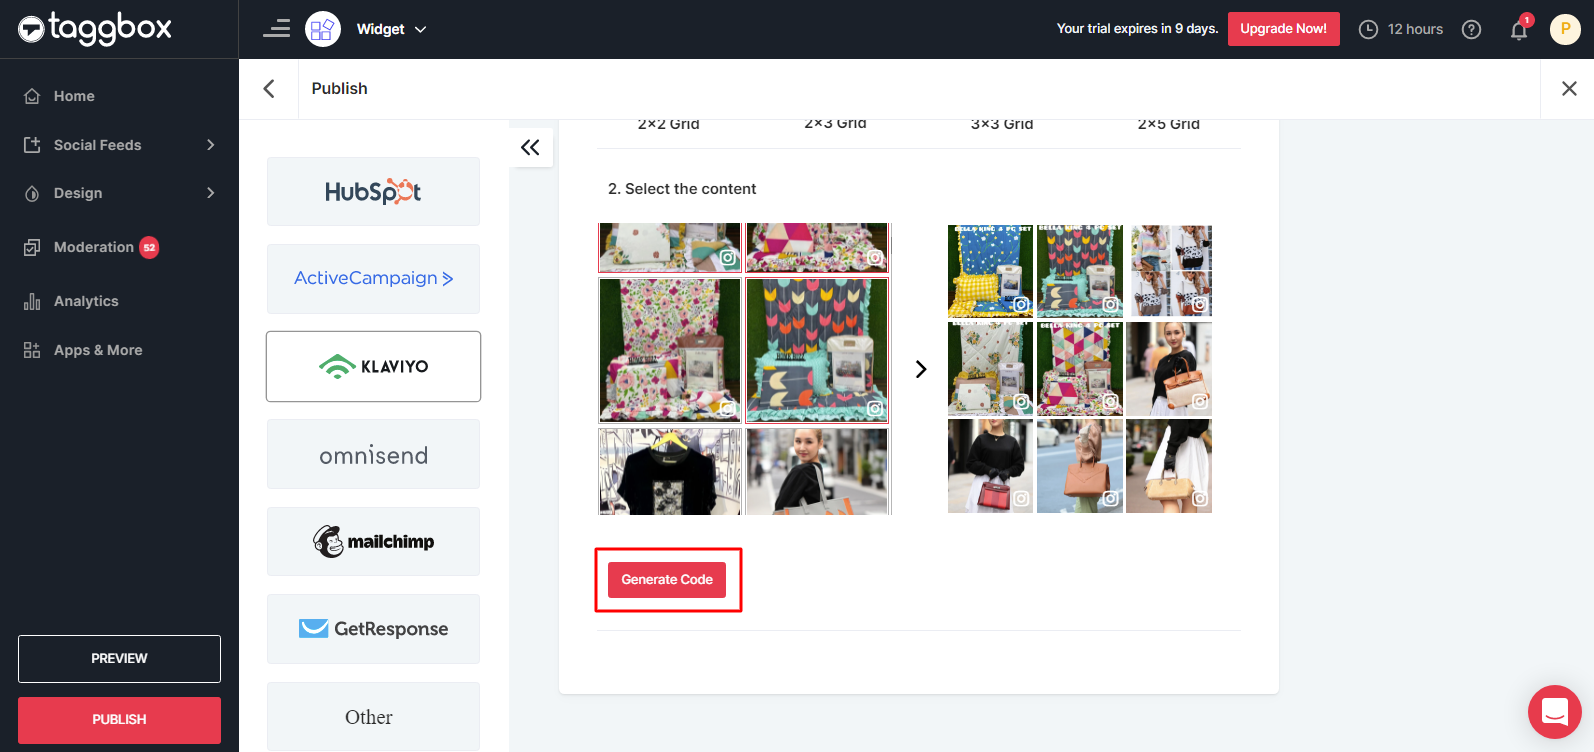
2.4: In the second section, you will see the Select Content option, where you choose the posts you want to display in your email campaign.
2.5: Once done, click on the Generate Code button and copy the generated email campaign code on the clipboard.
Step 3: Publish UGC Into Your Klaviyo Email Campaign Platform
3.1: Login to your Klaviyo Account and open the Campaign tab, and click on the ‘Create’ option for a new email campaign or open the existing email campaign.
3.2: Give your email campaign a name and select recipients from your email list.
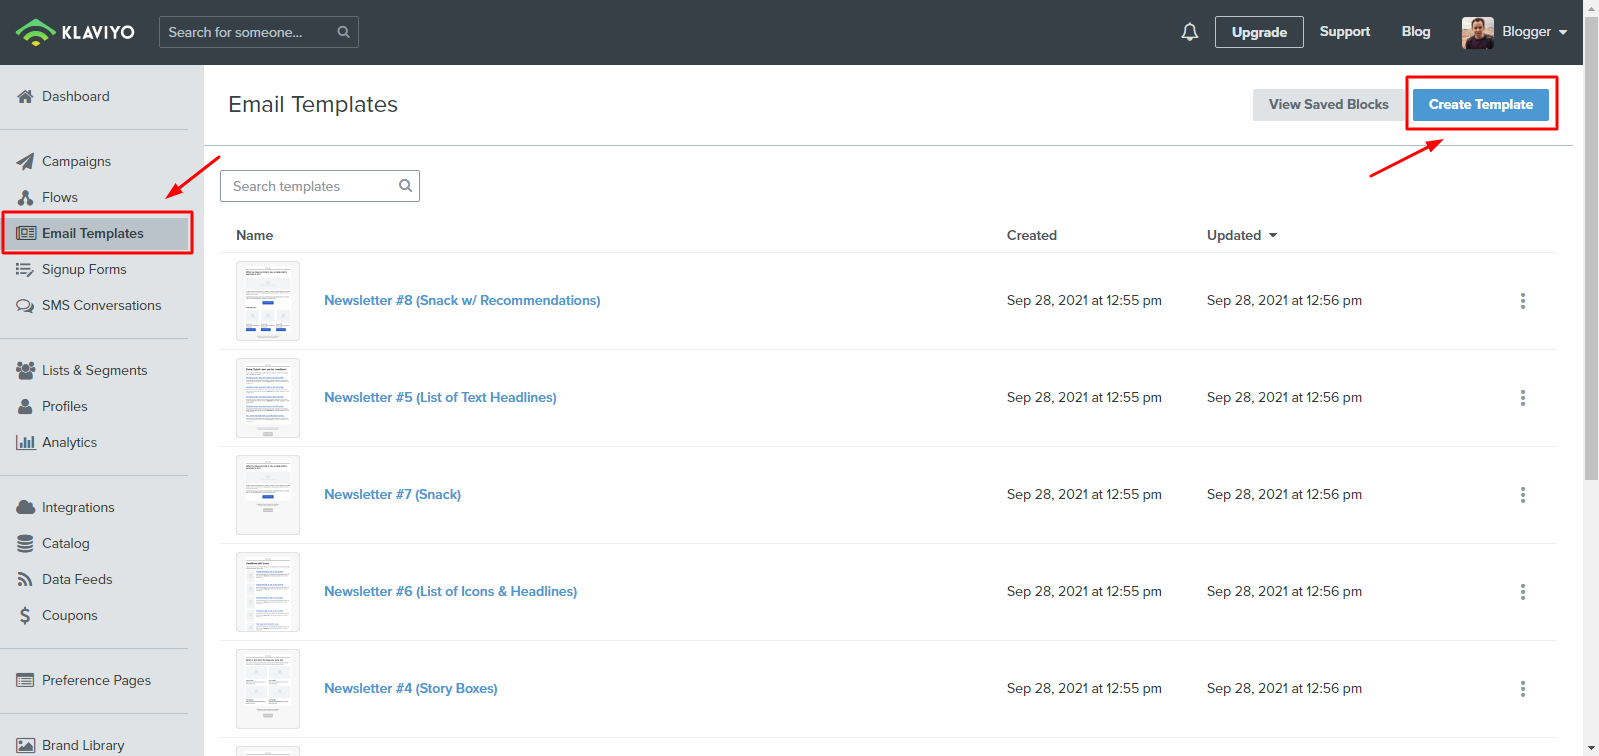
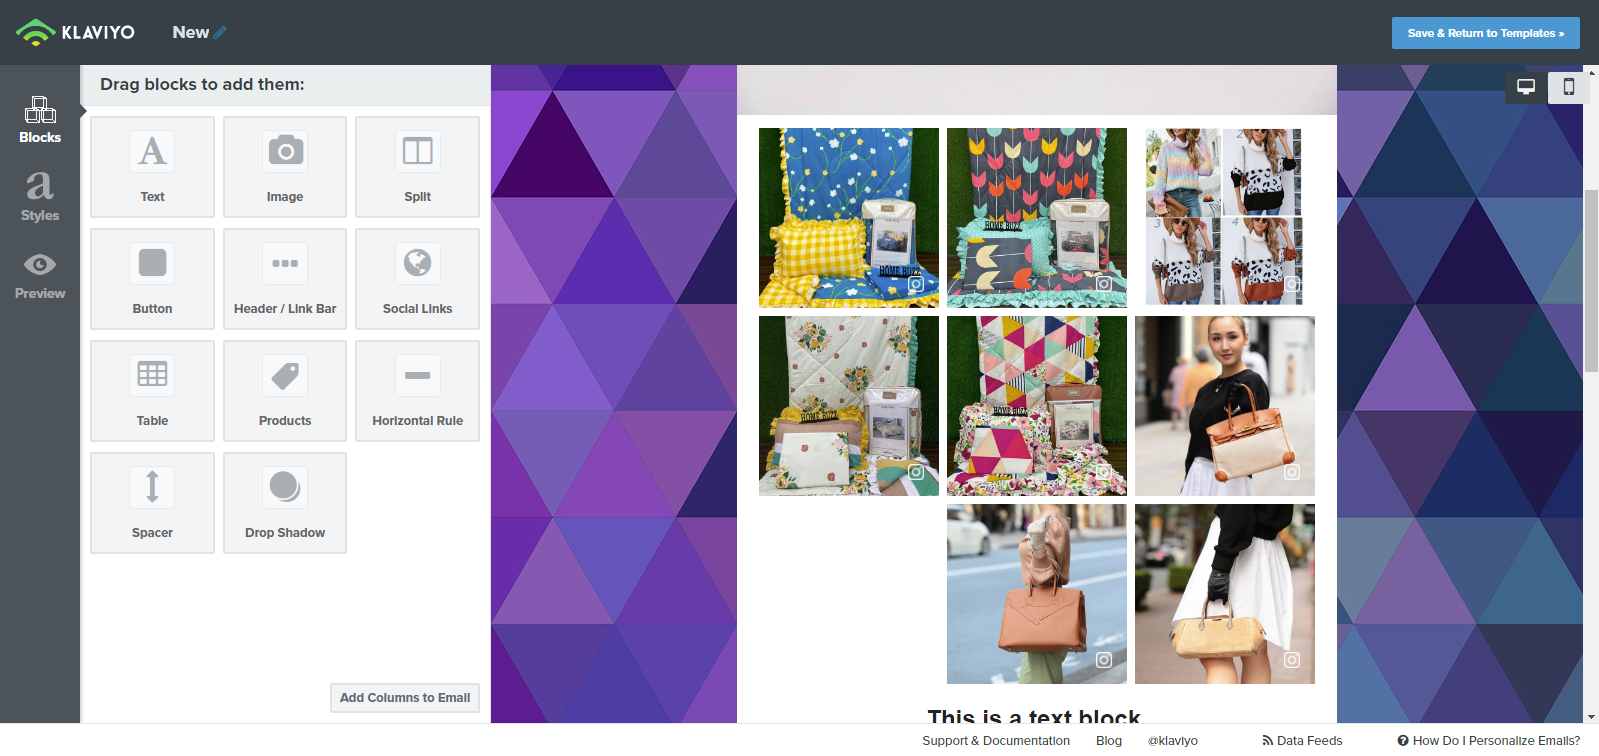
3.3: Now, choose an email template from the template library or create your own.
3.4: Create content for your email and then select “Source” to insert UGC email campaign code into your email template.
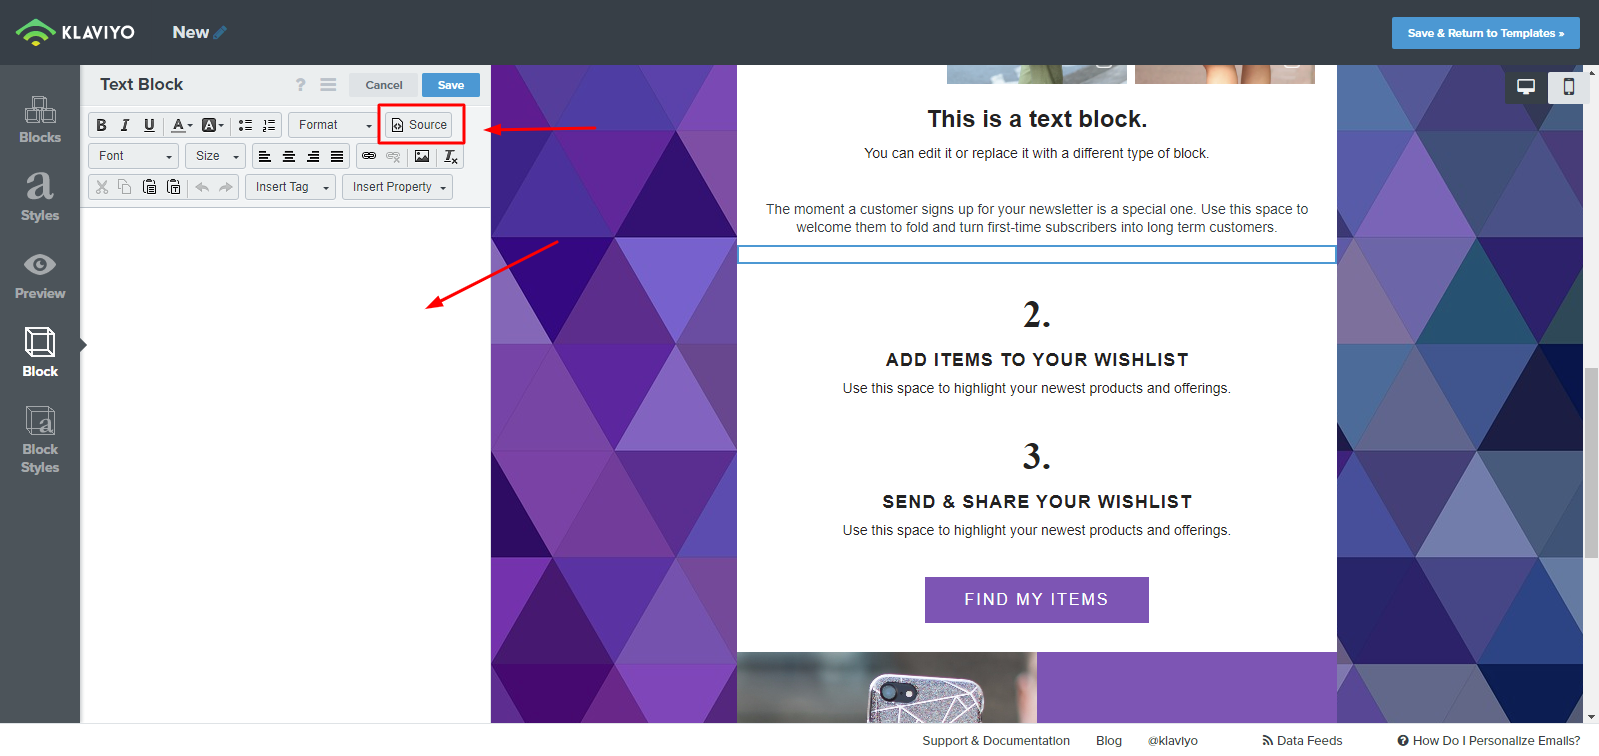
3.5: Paste the copied UGC email campaign code into the designed template in the section where you want to display UGC.
3.6: Lastly, review all sections and UGC content displayed in your email campaign. Once all is perfect, click on ‘Schedule’ or ‘Send’.
Voila! You are now ready to display user-generated content in your email campaign on Klaviyo. We are more than happy to have you on board and are building UGC to enhance your email campaign.
Follow these steps along, and you’re ready with powerful integration of UGC into your email campaigns using our intelligible and uncomplicated Taggbox Widget that offers an easy interface to its users to aggregate, curate, and integrate UGC into diverse marketing campaigns without any harsh technicalities.
Try Taggbox Widget – Start Your 14 Days For Free
If you have any questions or need help, please contact us or write to us at support@taggbox.com