Introduction
Reviews play a major role in influencing the purchase decision of potential customers. They assist brands in building a social proof of the brand. In today’s shopping environment, potential customers make their purchase decisions smartly.
Be it any industry, displaying social proof of the brand is important since it urges potential customers to go ahead and purchase the products.
Yelp is a highly used platform that helps users to go through reviews about a business before finalizing its services. The platform now has around 184 million reviews worldwide that have helped potential customers all across the world to make decisions more wisely.
Displaying your reviews on digital signage and placing it strategically can help your business a great deal to ensure maximum visibility, more engagement from the people, and gradually for generating more sales and revenues.
All you require is a responsive social media aggregation tool and you shall be able to display your yelp reviews on digital signage easily.
Taggbox Display is a brilliant User-Generated Content and social media aggregation platform that enables its users to collect, curate, and embed content from over 15+ social media platforms including Yelp.
The best part about Taggbox Display is the incredible features it offers. Using various customization options, users can enhance the look of the wall. Users can select from a variety of templates, layouts, fonts, colors, and other options.
The advanced moderation panel has a profanity filter using which the users can remove any objectionable or inappropriate content from the wall.
The platform also offers an analytics option to track the performance of the reviews wall. Users can get insightful details like the total number of clicks, total impressions, users behavior, etc.
If at all, you come across an issue while using the wall or there is a technical hindrance while using the platform, then the active back support team of the platform will assist the platform users till their issue is resolved.
Mentioned below are the steps in which you can seamlessly display Yelp reviews on digital signage.
Step 1
First Login to your Taggbox Display account
Step 2
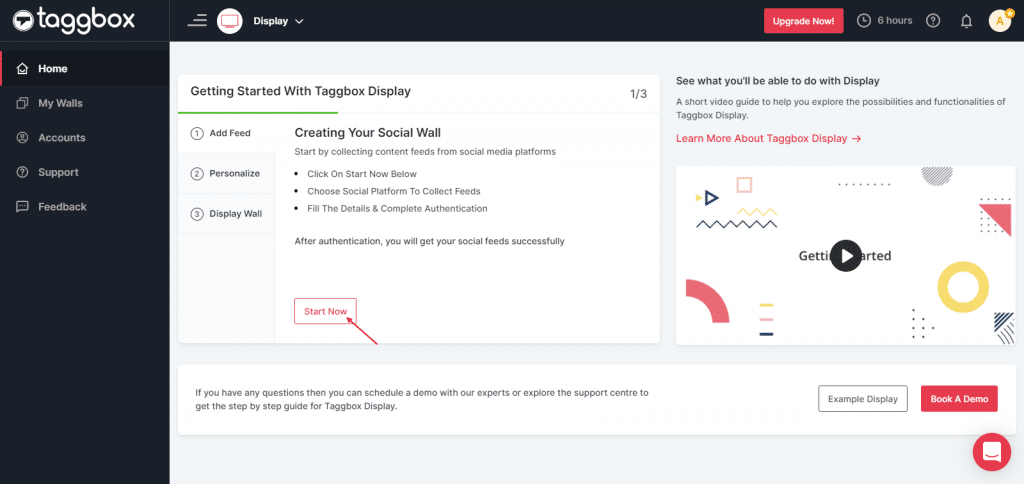
After Login you will be land upon the Taggbox Display Home dashboard, here click on ‘Start Now’.
Step 3
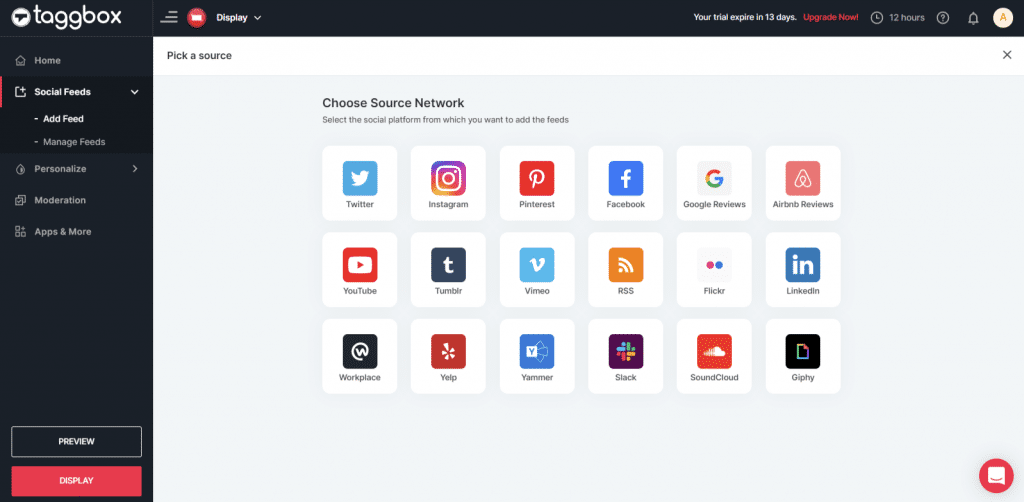
On the next screen, you will be asked to ‘Choose Source Network’. Here choose Yelp as your option and update the required details.
Steps 4
Now choose one of the following to fetch Yelp Reviews
1. Business Page: To fetch Yelp Reviews from Business Page enter the Yelp business page URL
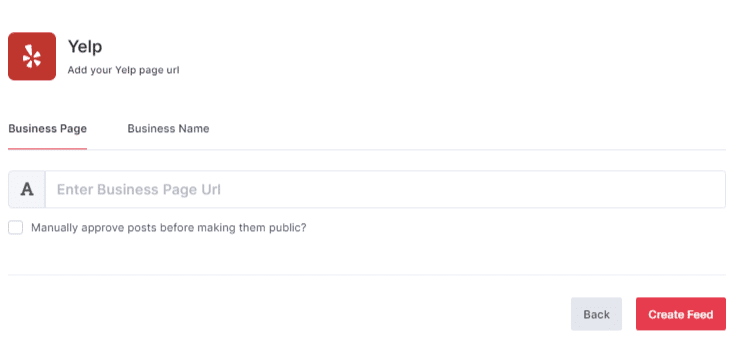
2. Business Name: TTo fetch Yelp Reviews with the help of Business Name, enter location and keyword.
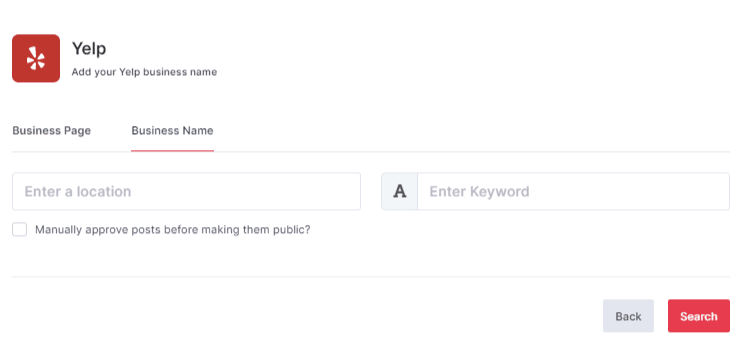
To enable Moderation on the connection, select “Manually approve posts before making them public”.
Then click the “Create Feed” button to complete adding.
(You can also use the Personalize and Moderation Panel to set up your Yelp Review according to you (You can find them below the Feeds option).
Display Yelp Reviews on any Digital Signage Platform
To display the Yelp Reviews on any digital signage platform, you need to follow the below steps:–
Step 1
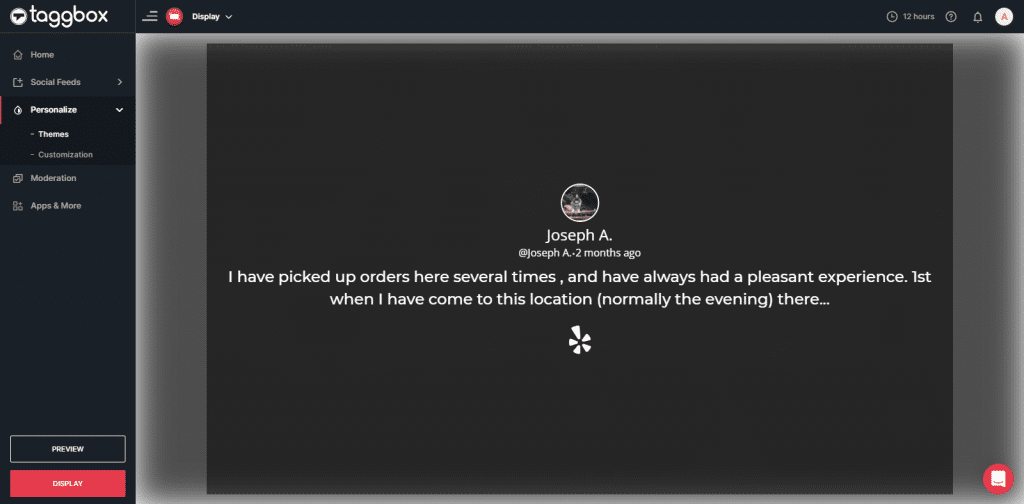
Click on the Display button at the bottom of the left column on your wall editor.
Step 2
Select your Platform (Eg: Screen Cloud, Mvix, Enplug, etc.)

Try Taggbox Display– Start Your 14 Days Free Trial
Display on Screencloud
Step 1
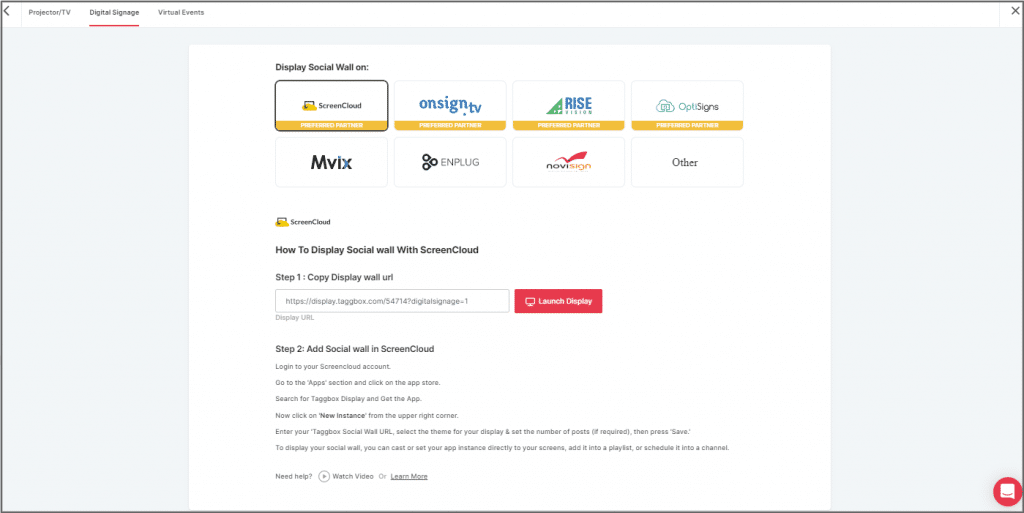
Select Screencloud as your digital signage option to display Yelp reviews on Screencloud digital signage platform.
Step 2
A dialogue box explaining steps to display the social wall on Screen Cloud will appear. Here, copy the Embed Code/ URL to the clipboard.
Step 3
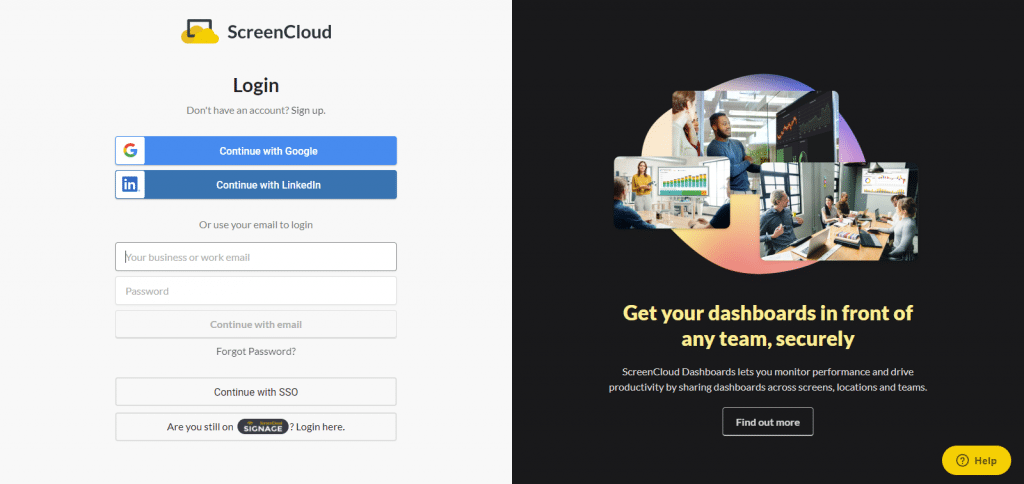
Now, login to your ScreenCloud account.
Step 4
Click on “Apps” and Search for Taggbox Display
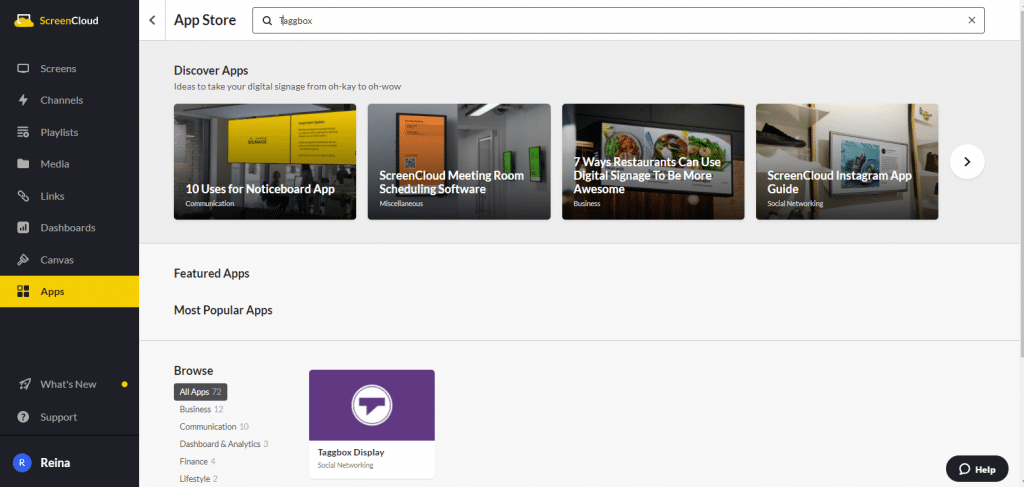
Step 5
Now you will get the app guide, click on get option

Step 6
Now give a name to your social wall, paste the copied social wall URL in ‘Wall URL’ field, select the theme and number of posts then click Save.
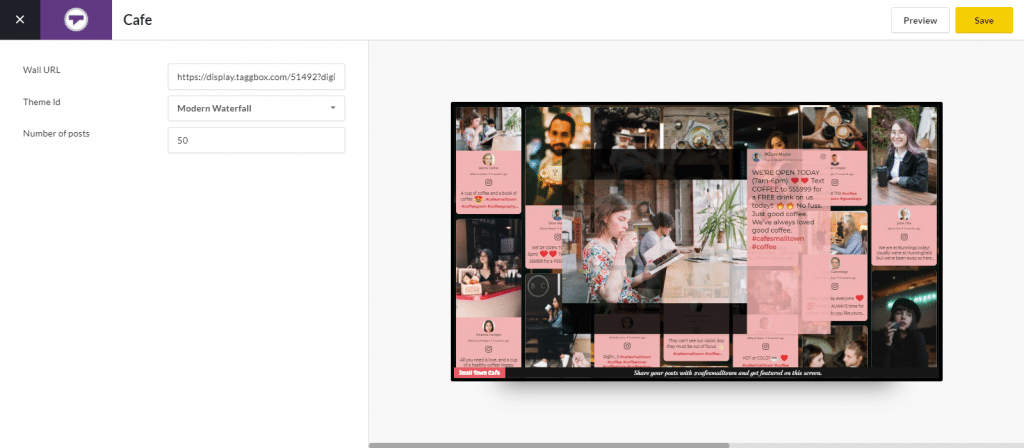
Great! You have successfully integrated a social wall on your ScreenCloud digital signage.
Display on Onsign
Step 1
Click on the Display button, and you will get the following options. Here you have to select Onsign.tv
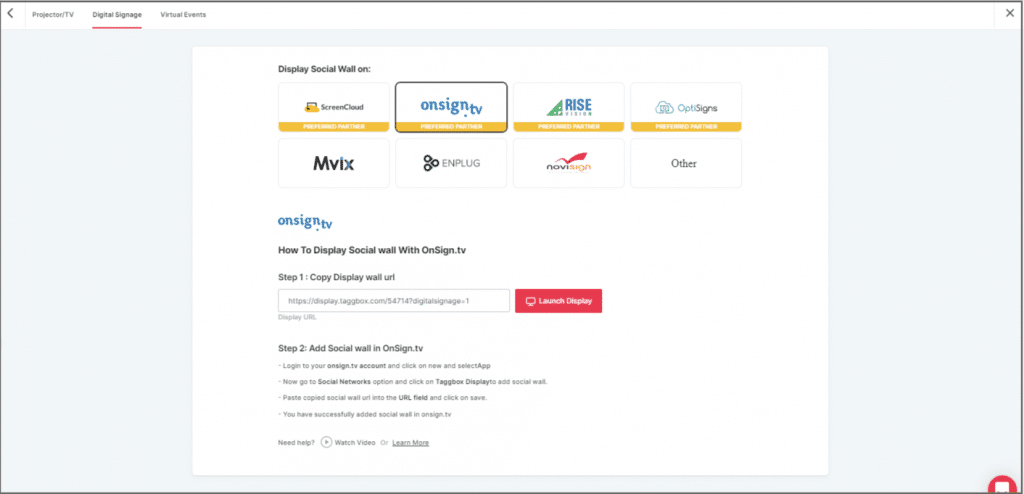
Step 2
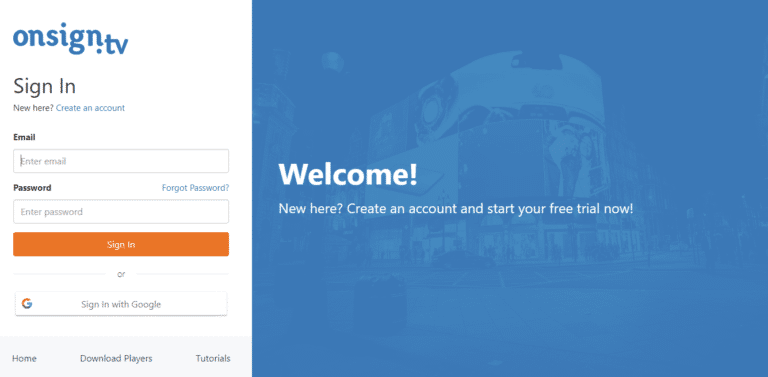
Now, Register on OnSign or log in to your existing account.
Step 3
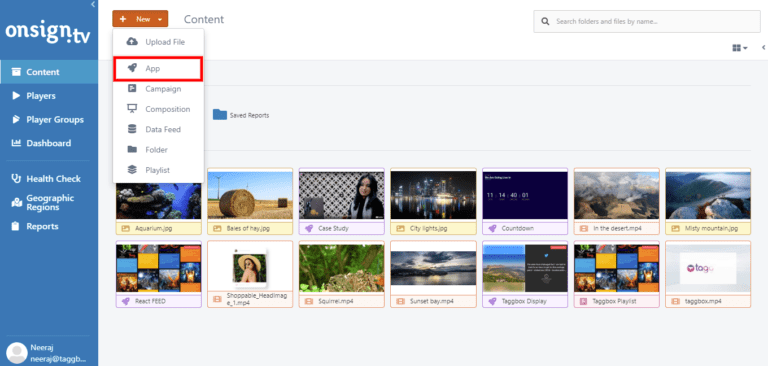
Go to the Content section on the upper left. Click on New and then select App.
Step 4
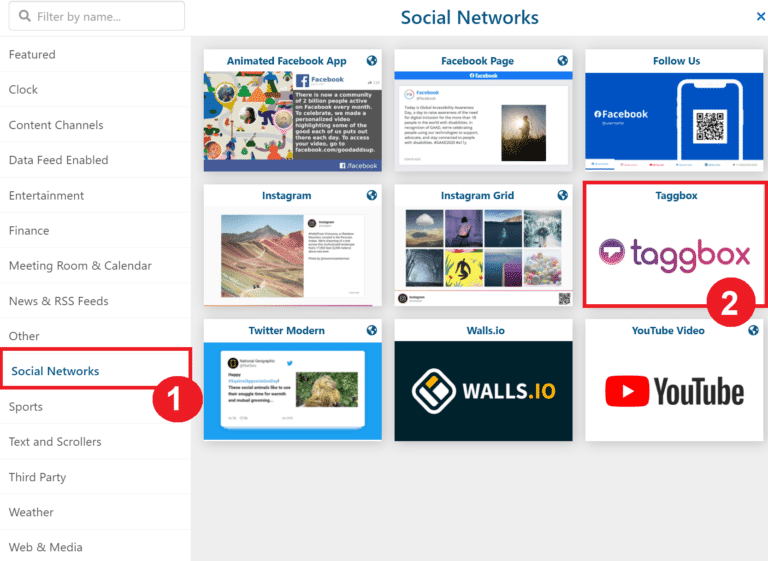
Search here for social networks and click on the Social Networks Tab. Then choose the Taggbox App Option.
Step 5
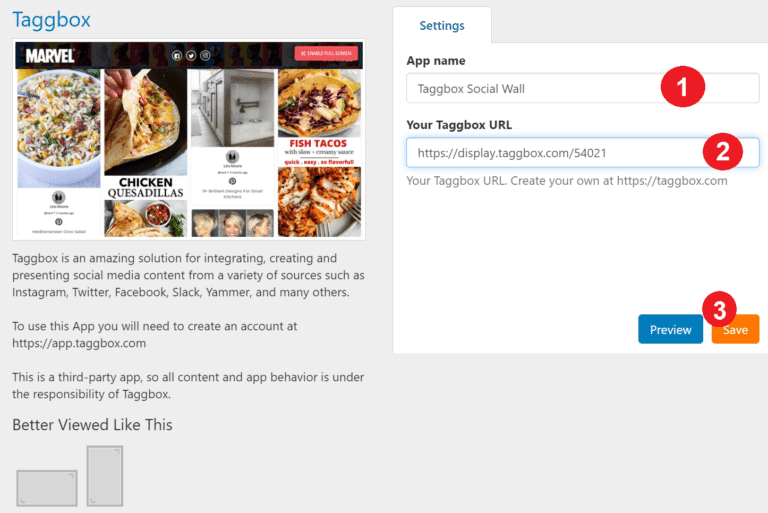
Paste your Taggbox wall link into the URL field. Then select the ‘Preview’ button in the lower-right corner. Everything looking good? Hit the Save button.
Display on Rise Vision
Step 1
Click on the Display button, and you will get the following options & Choose Rise Vision.
Step 2
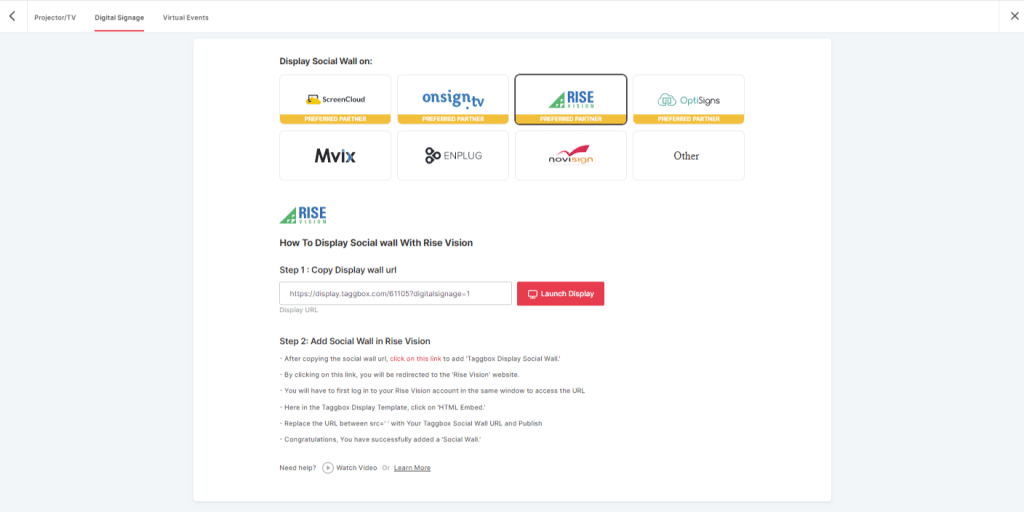
A dialogue box explaining steps to display a social wall on Rise Vision will appear. From the first step, copy the Embed Code/ URL to the clipboard.
Step 3
Now, Register or log in on Rise Vision or log in to your existing account. Or, if you have already logged into the Rise Vision, then directly follow Step 4.
Step 4
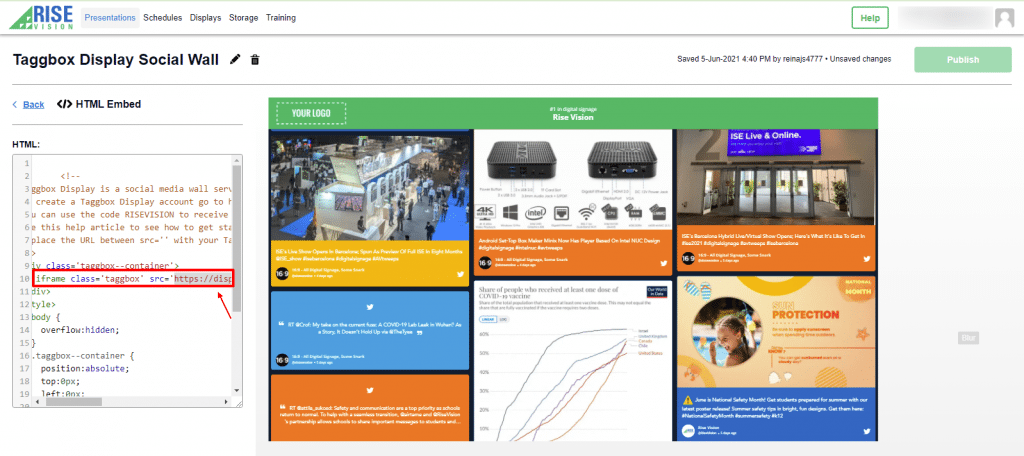
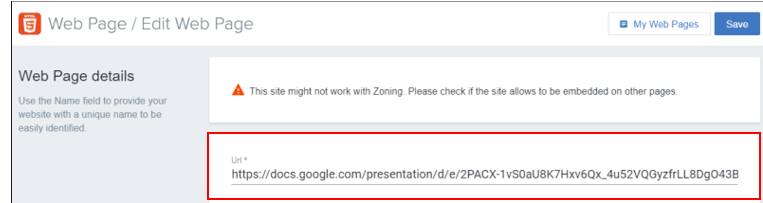
Now click on this link “https://bit.ly/3igriSA” and you will see the Taggbox Display Social Wall Template Screen. Here you have to select the “HTML Embed” Option.

Step 5
Now Replace the URL between “src=’ ‘ in the iframe class section” with your Taggbox Display Social wall URL and click on publish button.
Congratulation, you have successfully integrated Taggbox Display Social Wall on Rise Vision.
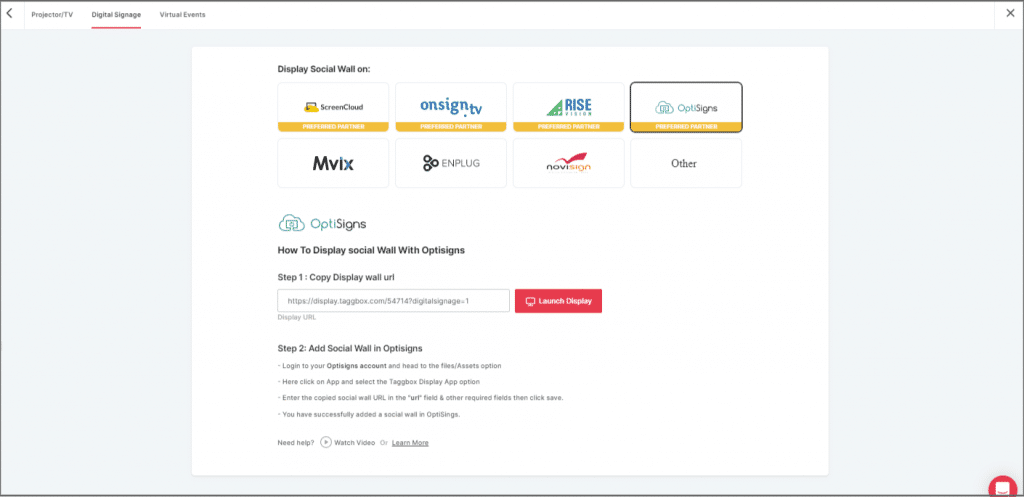
Display on OptiSigns
Step 1
Click on the display button and choose OptiSigns as your option.
Step 2
Now Register or login to your existing Optisigns Account.
Step 3
Go to Files/Assets, Click on “App” and search for the Taggbox Display App
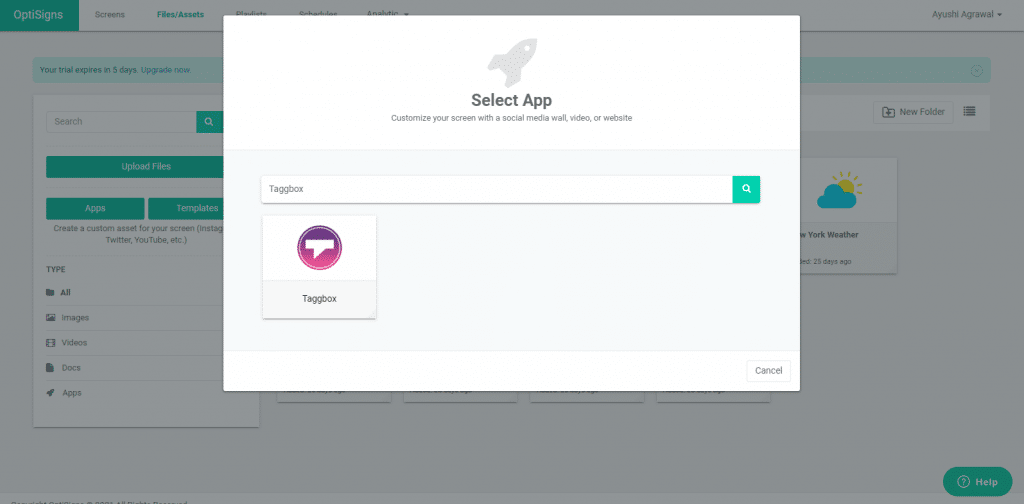
Step 4
Click on the Taggbox Display app & Enter the required information
Name: Enter your unique social wall name
URL: Copy the social wall url from taggbox display account & paste it in the URL bar
Update Interval: Manage the frequency of updating of your social wall
Preview: Check the preview of your social wall
Save: If everything looks fine then click Save
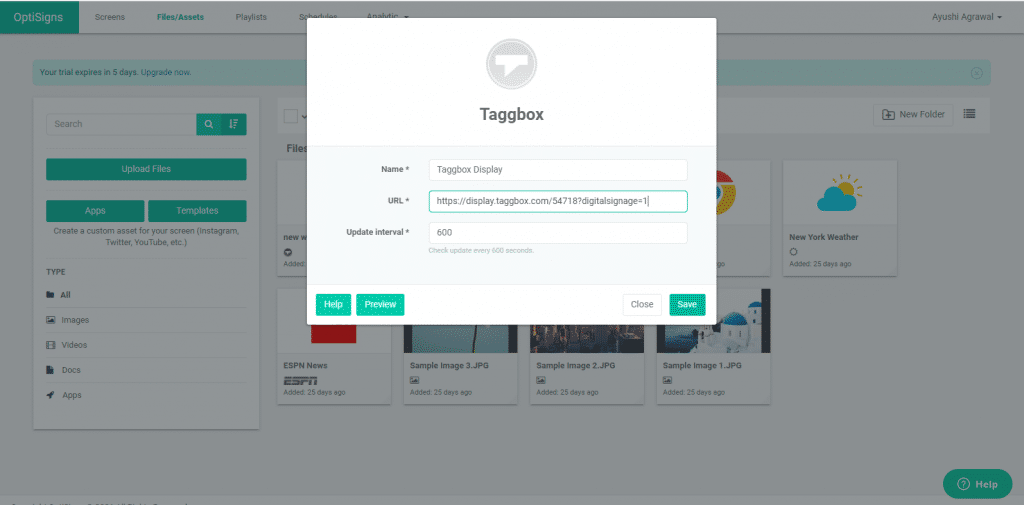
Congratulations! You have successfully integrated the Taggbox Display social wall on OptiSigns Digital Signage.
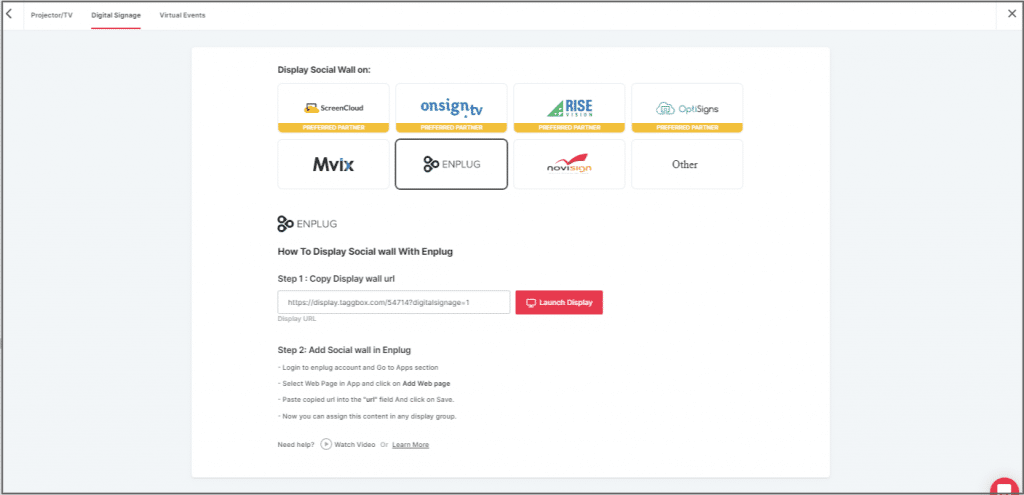
Display on Enplug
Step 1
To display on Enplug, select Enplug as your digital signage option.
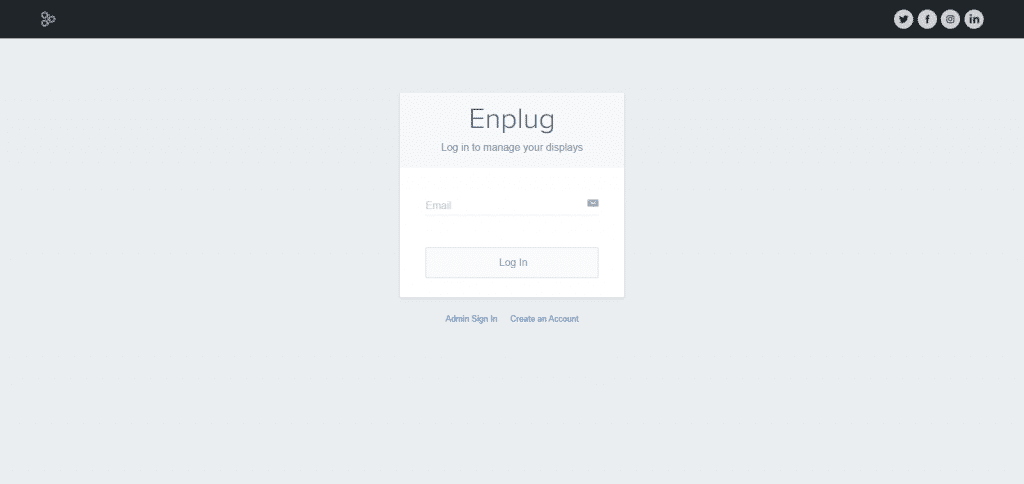
Step 2
Now, login to your Enplug account.
Step 3
Next, click on the Apps dropdown.

Step 4
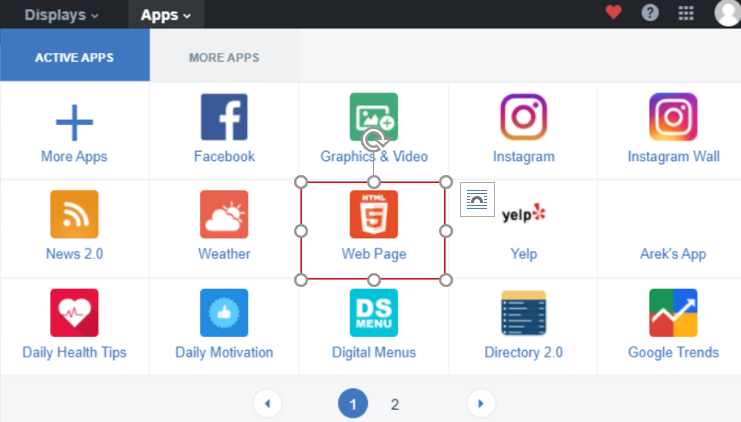
Select the Webpage App.
Step 5
Now, click on Add Website.

Step 6
In the URL Field, paste the copied Embed URL.
Great! You have successfully integrated social wall on your Enplug digital signage.
Display on NoviSign
Step 1
Select Novisign as your digital signage option.
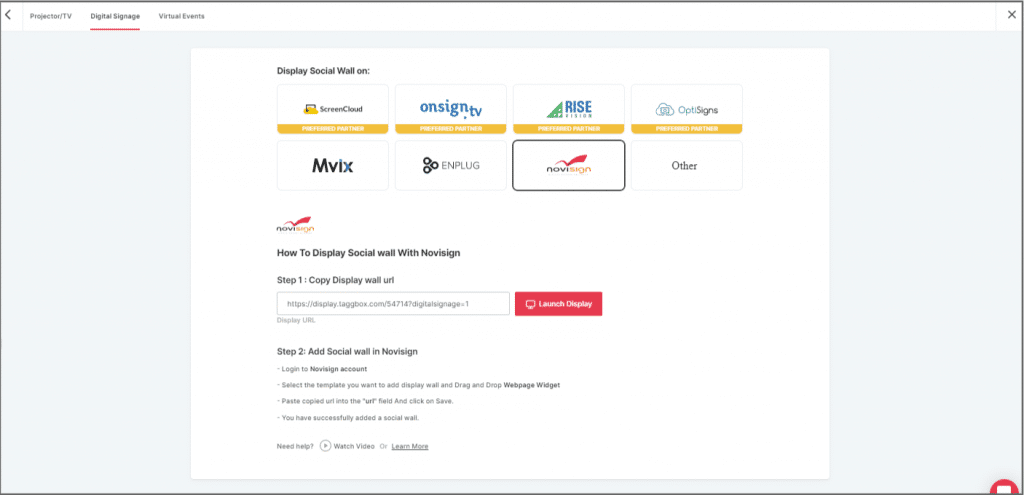
Step 2
Now, login to app.novisign.com.

Step 3
Next, click on the Compose button.

Step 4
Select Template.

Step 5
Now, drag and drop widgets: Webpage.

Step 6
In the Webpage Field, paste the copied Embed URL.
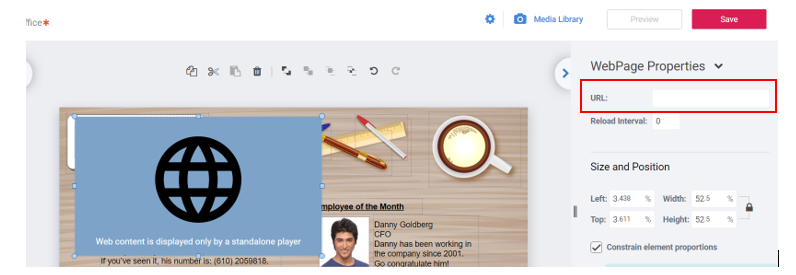
Great! You have successfully integrated a social wall on your Novisign digital signage.
Conclusion
We are sure that you must have found the process extremely quick and easy.
Displaying reviews on digital signage can be a real game-changer for your business as it helps your potential customers to trust your brand and try out your products.
Since you are well familiar with the best tool and the process, what are you waiting for?