Follow the simple step by step guide to embed Facebook Widget on WordPress website.
Taggbox Widget – Start your 14 days Free Trial Now
Embed Facebook Widget on WordPress
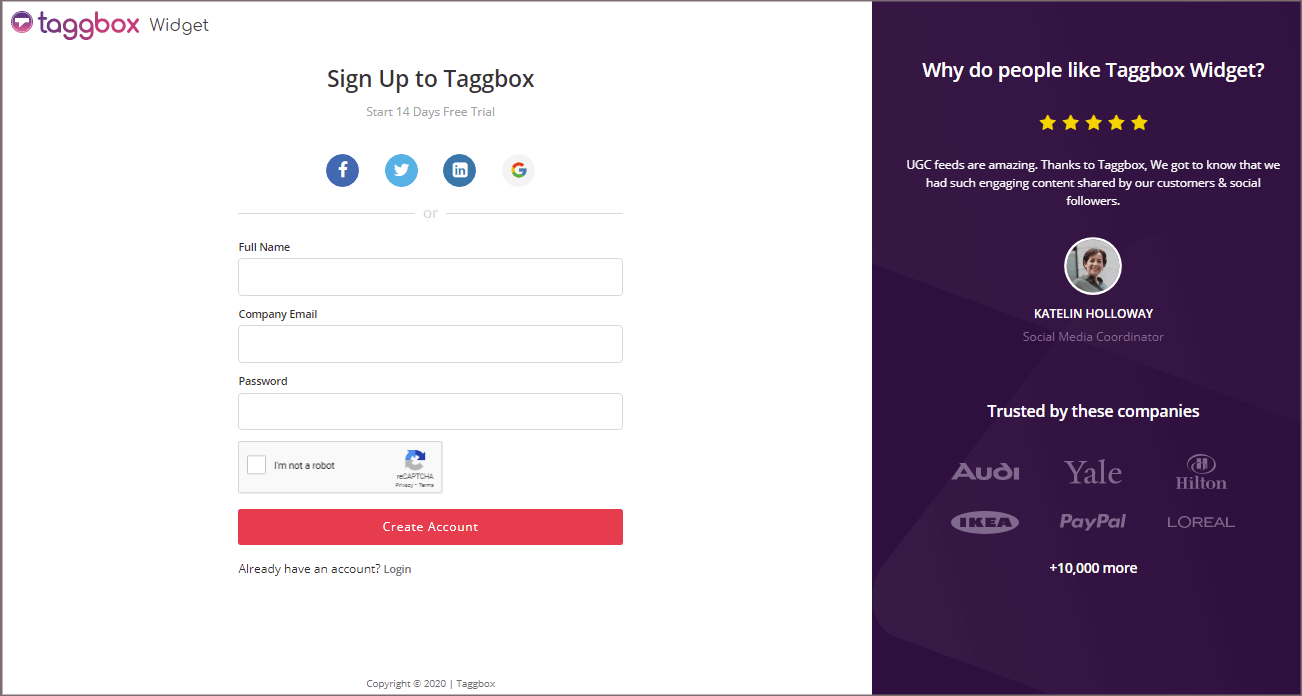
1. Create a Taggbox Widget Account or Login if you’re an existing Taggbox Widget account holder.
2. Now, you’ll be redirected to Taggbox Widget Dashboard.
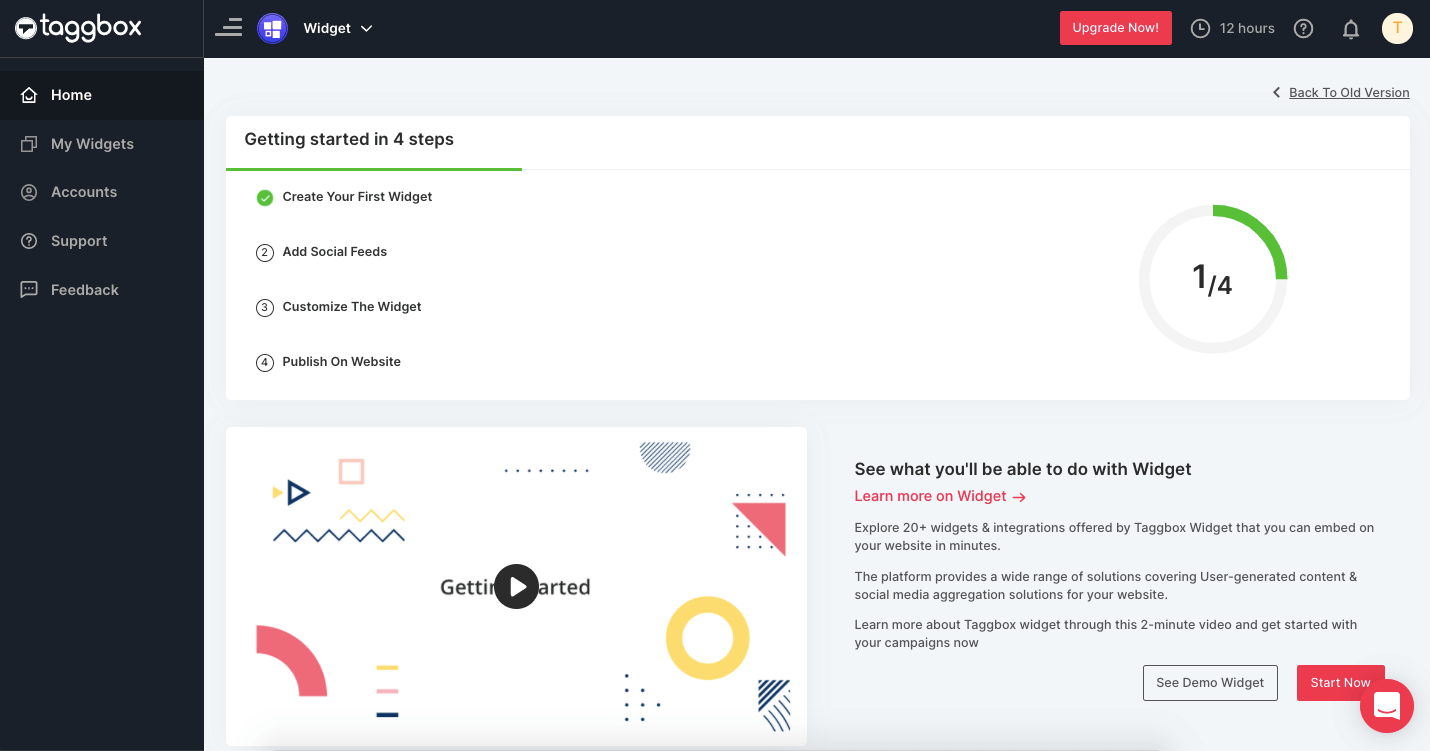
3. Click on the “Add Social Feeds” option to start adding Facebook feeds to your widget.

4. A dialog box “Pick a source” will appear, select Facebook as a source of aggregating feeds.
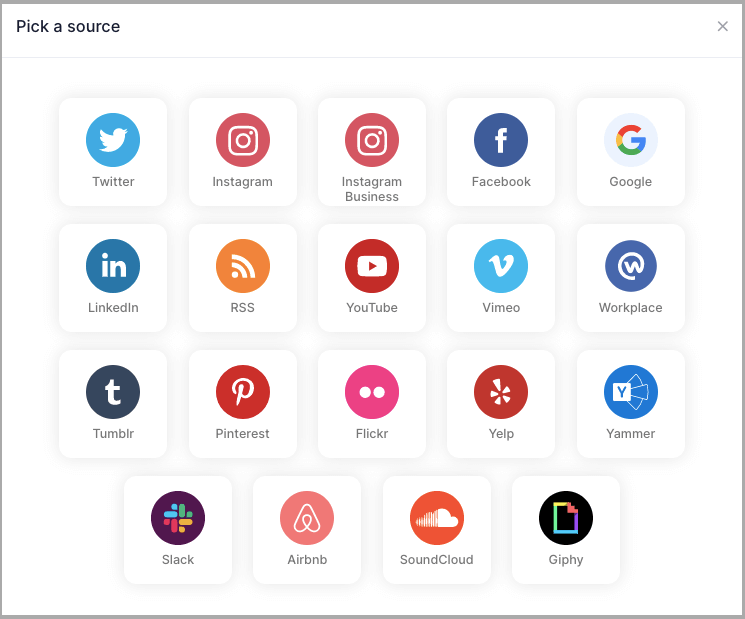
Tip 1: You can also add multiple feeds from multiple sources like Instagram, Facebook, Twitter, Youtube, etc all in one widget.
5. A new dialog box “Create Facebook Feed” will appear to aggregate feeds from:
You can aggregate feeds from the following sources:
- Page – enter the URL of the page you want to aggregate feeds from.
- My Profile Posts – Login to Facebook directly to fetch your handle feeds.
- Albums – Enter the URL of the Facebook photo gallery to get the photos from the Album
- Page Reviews – Get reviews for your Facebook page.
- Page Mentions – Get all feeds in which your Facebook Page is mentioned.
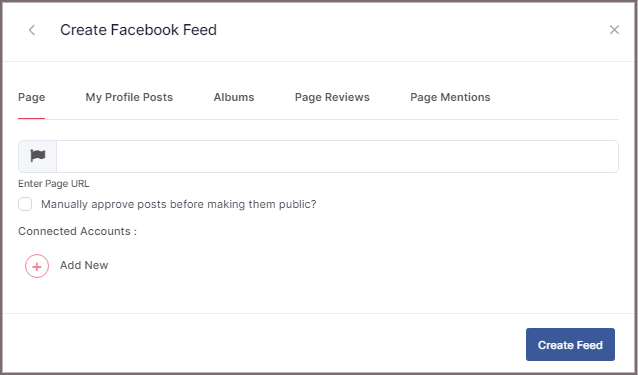
6. Choose your aggregating method and enter the input accordingly.
Finally, Click “Create Feed” button.
7. A “Continue with Facebook” pop-up will appear; proceed to Login to a Facebook account to provide authorization for aggregating feeds.
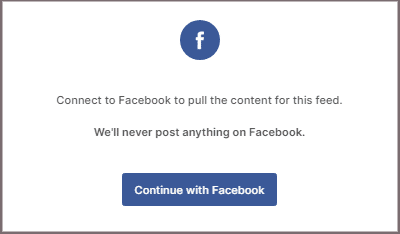
Enter the correct Facebook credentials, in some seconds; your feeds will be displayed on the Taggbox Editor.
Tip 2: You can refine the aggregation process, enable the checkboxes on the above options accordingly.
Tip 3: Taggbox provides a “Personalize” option to customize the display of your feed, with many options to choose between according to your need.
Steps to Generate Code to Embed Facebook Widget on WordPress
Generate Facebook Widget embed code by following the below steps.
1. Click the “PUBLISH” button on the bottom-left of the screen; You can also see the PREVIEW of how your feeds gonna look on different devices.

2. Dialog Box “Choose Your Platform” will appear, select WordPress to generate code for WordPress website.
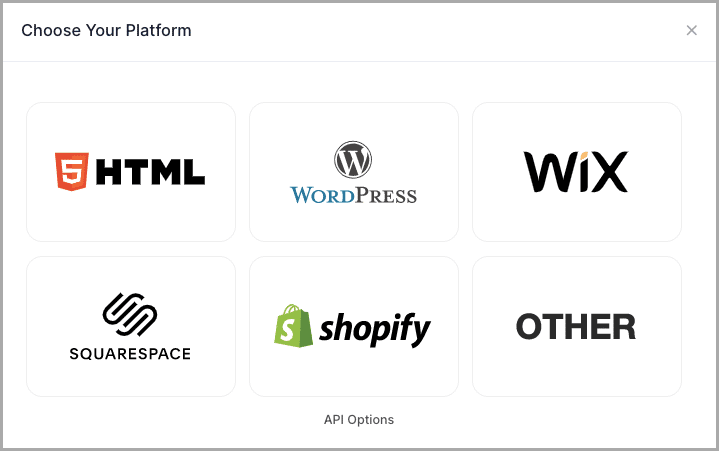
3. A new Dialog box “WordPress” will appear.
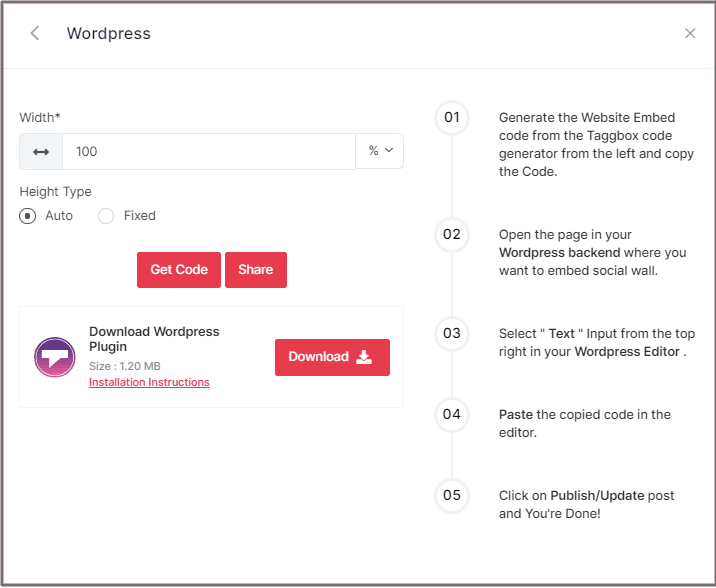
Select auto or set width and height according to your requirement;
4. Then just click on GET CODE and copy the generated code.
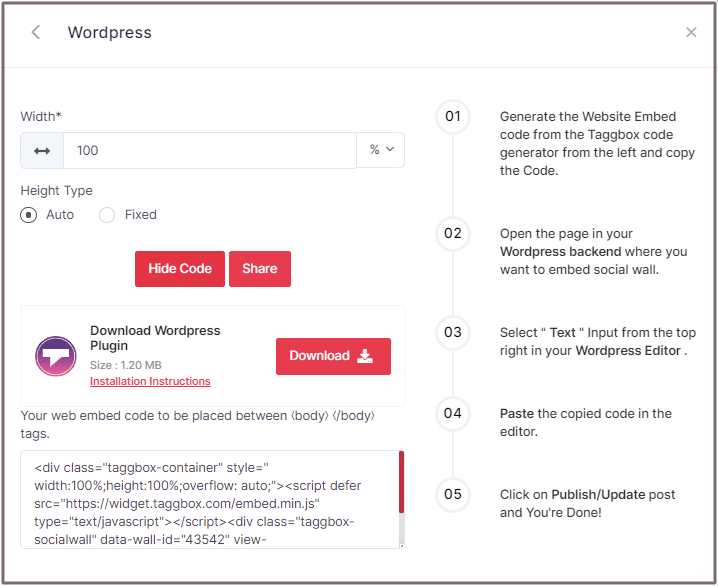
Tip 4: You can also download Taggbox Widget WordPress Plugin for the WordPress website to make the process easier.
To Embed Facebook Widget On WordPress Website
Follow the following steps:
1. Log in to the WordPress Admin panel to edit the web pages.
In WordPress backend open the page and select the location where you want to embed the Instagram Hashtag Feeds.
2. You’ll see “(+) Add Block” on the left top of the editor or on the middle of the contents. Click it.
3. Paste the copied code into the “CODE <>” editor.
Click on Publish/Update, and it’s Done.
Open your live website and enjoy the Embedded Facebook Widget on your WordPress website.
Taggbox Widget – Start your 14 days Free Trial Now
If you have any questions or need help, please contact us or write us at [email protected].